
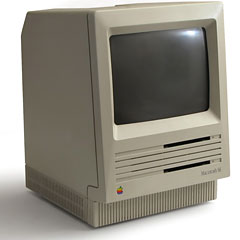
This is part two of an epic saga about one man and his Macintosh SE. If you missed the first part or maybe you just need to get a quick refresh about part one, feel free to go back and enjoy it again.
With the Mac SE’s hard drive promptly failing after installing System 6.0.8, I knew I had to fix it. The only problem, was staying within my preset budget of zero dollars. I posted a “Want to Buy” ad on the Low End Mac swap list. There were a few people who offered drives for sale, but the prices were out of my range. It was going to be tough to justify a $40 hard drive on a free computer to my wife.
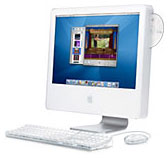 The next thing that came to mind was trying to make a trade. I had a particular 17″ iMac G5 that had a failed power supply unit that just needed to be recapped. It was in mint condition, with the original box, power cable, keyboard, and mouse. The only things that were missing were the software discs that come with it when bought new. I decided to spend the $7 for some capacitors and fix the power supply unit.
Through a stroke of luck (or possibly pity), a random post by myself on Low End Mac’s Facebook page led to a series of messages with Low End Mac’s head honcho, Dan Knight. It had started off innocently enough by telling me he had a spare IIfx and a spare Quadra 950. If you read the previous installment in this series, you know those were the two I was originally searching for. We made a deal to trade my iMac for his IIfx, Quadra 950, a 13″ RGB monitor, a SCSI hard drive for the SE, an AAUI RJ-45 ethernet connector, an Apple Extended Keyboard, a SCSI CD-ROM, and a tear drop ADB mouse. What a deal. All I had to do was recap the power supply in the iMac while he dug out the IIfx and the Quadra, and we were good to go.
The recap procedure was somewhat intense. The way Apple designed the iMac G5’s circuit board for the power supply doesn’t allow some of the capacitors to be fully seated on the circuit board. There simply wasn’t enough room, and they had to be soldered in with about 1/4″ of space between the bottom of the capacitor and the board. It took about an hour and half from start to finish, but I got it all done and the iMac was up and running like a champ.
I met with Dan a few days after repairing the iMac, and we did the swap. Dan is the founder of Low End Mac and has a nice collection of Mac hardware. After loading up some of the fastest and biggest Apple computers that had been built in their respective timeframes, I headed back home. It was a good deal for both sides. Dan got a beautiful G5 iMac to help round off his Mac collection, and I picked up the two Macs I’ve wanted since I first saw them.
Once back home, I enlisted my oldest son to help bring the gear in from the van. If you’ve never seen a Quadra 950 in person, let me just let you – it’s massive. The IIfx is also a larger computer, but the Quadra makes it look tiny.
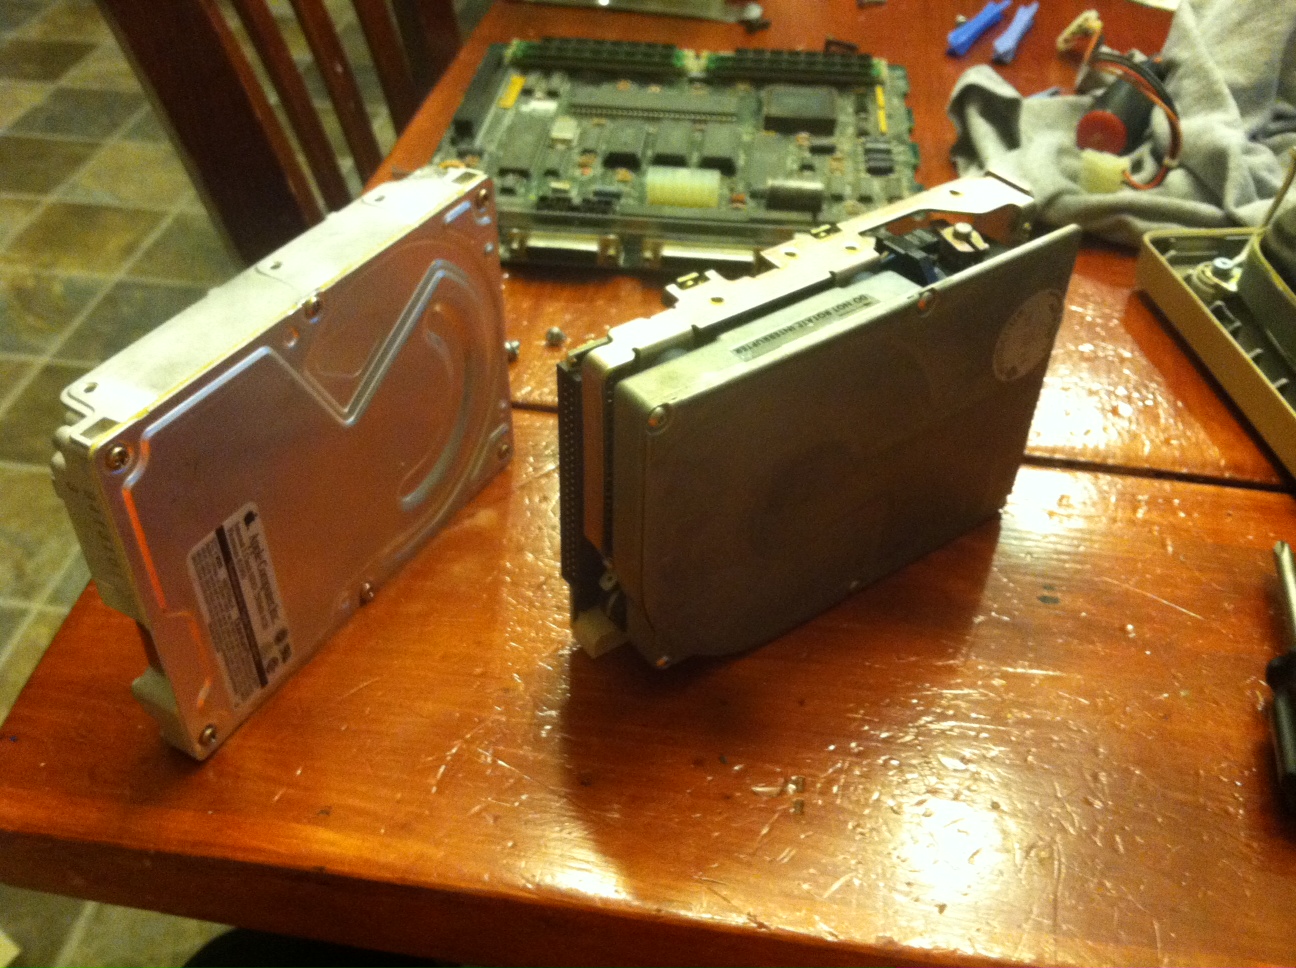
After bringing in all of the gear, I set about installing the newly acquired hard drive into my SE. The original hard drive in the Macintosh SE was a 20MB Miniscribe drive. It was replaced with a 230MB Quantum hard drive. It uses the same 50 pin SCSI connector and was told it was probably formatted.
To tear down a compact Macintosh, you need a T15 Torx screwdriver that is at least 8″ long. The longer the better for the top two screws.
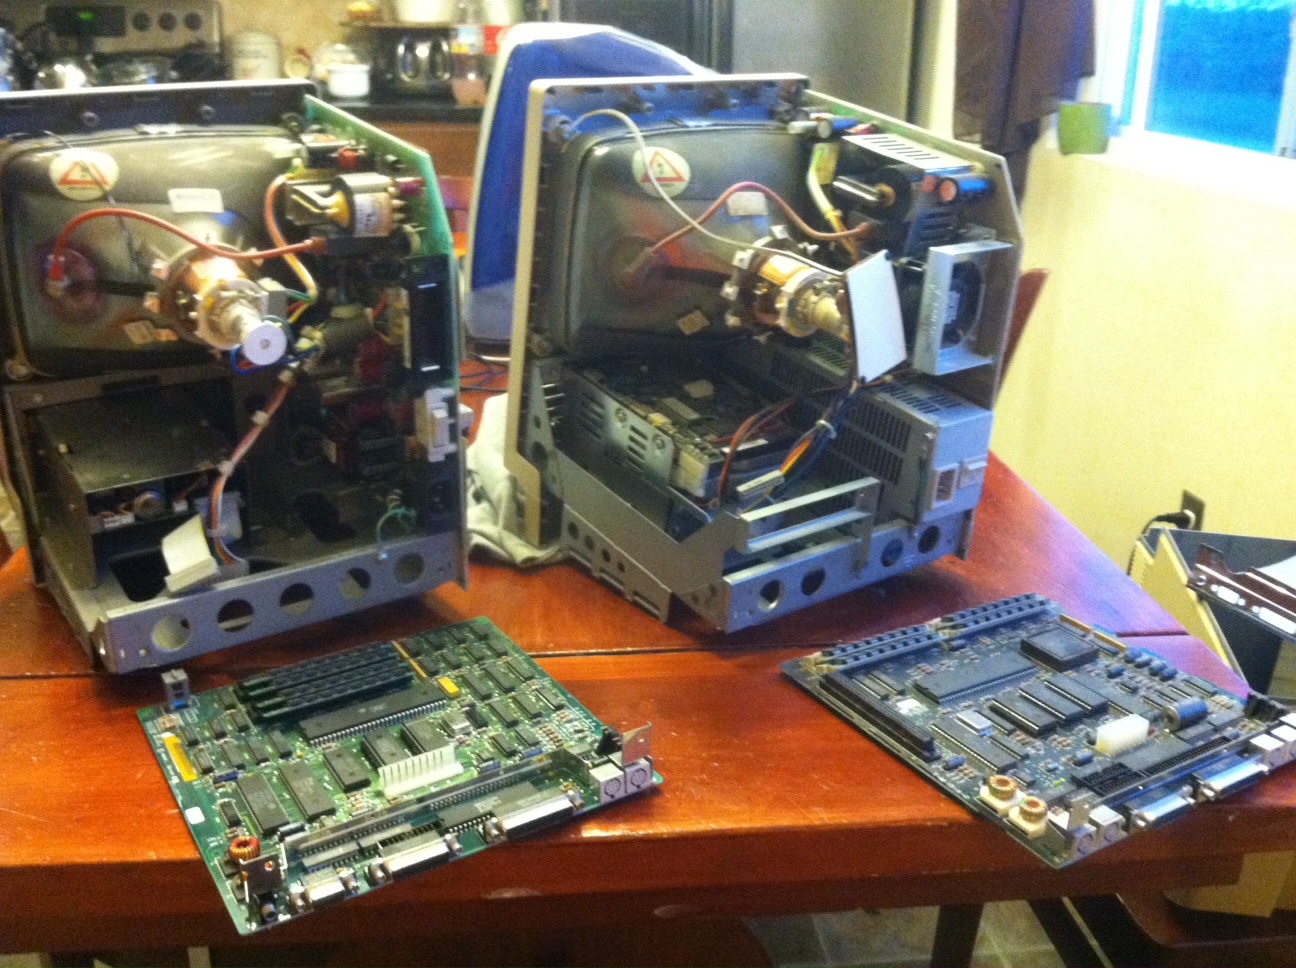
While I had the SE apart, I thought it would be a good time to check the capacitors, solder joints, and other points of failure in these early Macs. The caps on the power supply looked clean and unbulging. This was a good sign, but from the scrape marks I had seen on the fan I knew this wasn’t the first time someone had been inside this old computer. The inside was relatively clean. There was no visible cracking near the solder joints on the connectors.
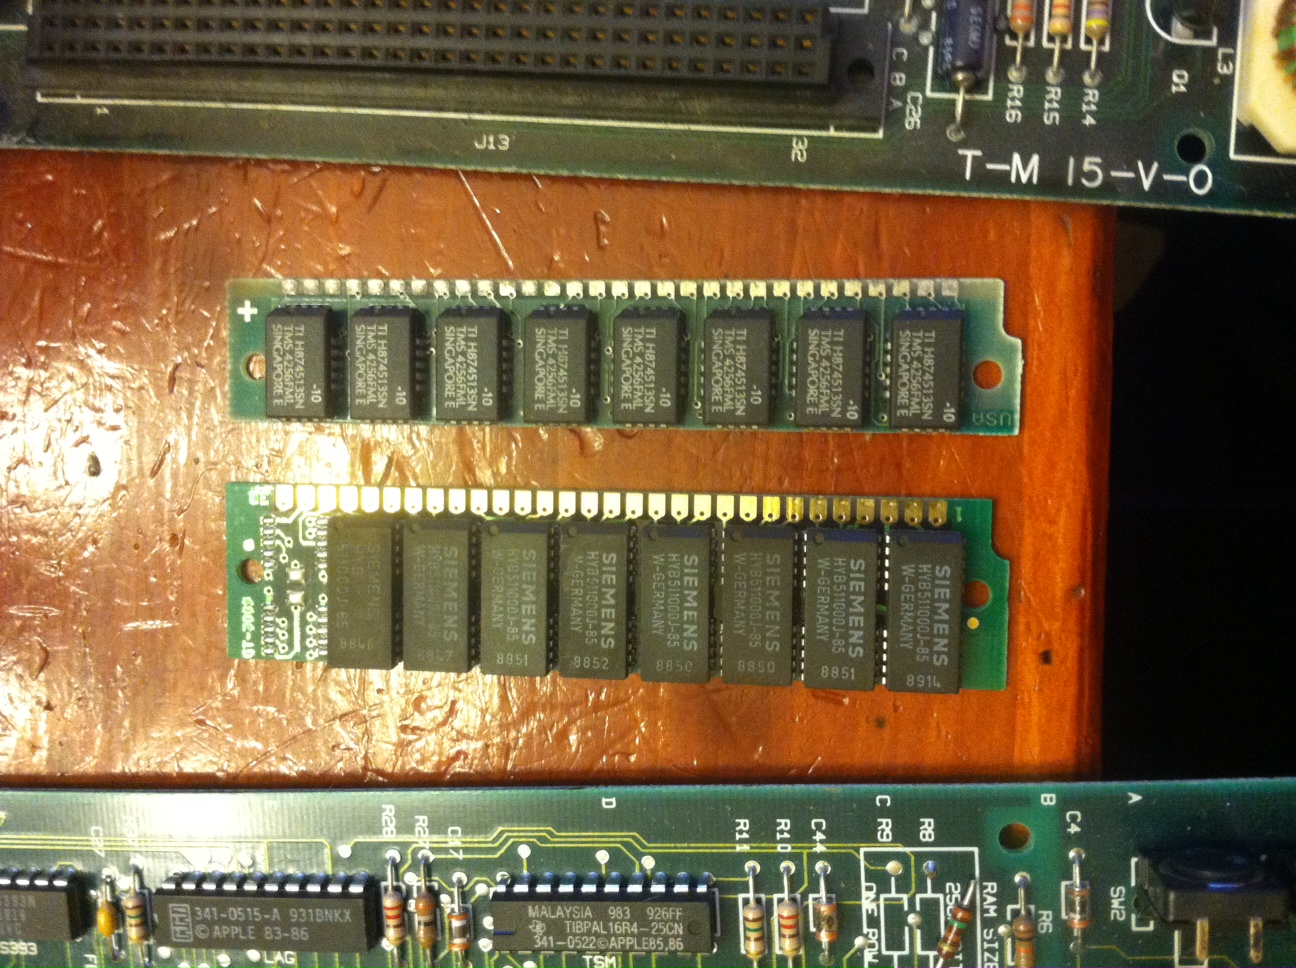
 I also decided to pull the four 1 MB RAM sticks from my other compact, a Macintosh Plus. My full time System 6 machine was going to be the SE, and I wanted it as nice as I could make it.
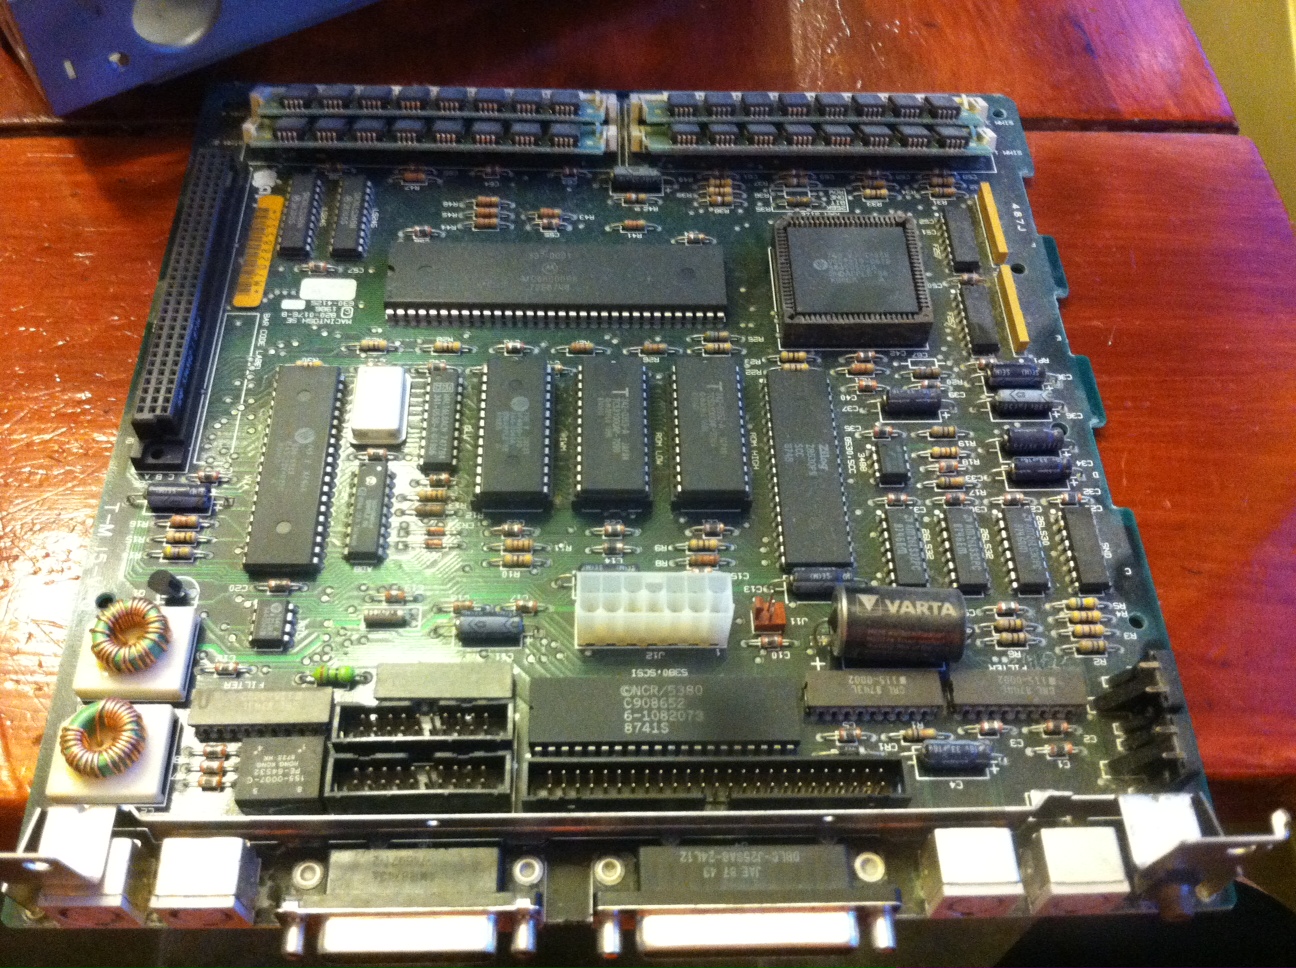 The inside of the Plus and the SE were very different. Besides the obvious changes of an internal SCSI connector and a fan on the SE, there were a great deal of changes to both the power supply and the main logic board.
When working inside a compact Mac make sure to be careful around the end of the tube for the CRT display. Overall, the Plus was much easier than the SE to work on and around.
![]() After getting it all put together, I popped in Disk 1 of 4 of the System 6.0.8 install and flicked the power switch. The floppy drive sat quiet as the hard drive started to softly click and clack to life as a Happy Mac face smiled at me on the tiny 9″ display. It then switched over to the regular Welcome to Macintosh splash screen.
After getting it all put together, I popped in Disk 1 of 4 of the System 6.0.8 install and flicked the power switch. The floppy drive sat quiet as the hard drive started to softly click and clack to life as a Happy Mac face smiled at me on the tiny 9″ display. It then switched over to the regular Welcome to Macintosh splash screen.

The thing that bothered me about this was that my SE was not reading from the floppy drive. Soon enough I was stopped at an error screen. According to the pop up box, some of the loaded extensions wouldn’t work because of the low amount of memory available. After clicking OK, I was greeted with a sparkling clean System 7.5 desktop. I have nothing against System 7.5; I love System 7.5. It really has no place on a compact Mac with 4 MB of RAM though, and I desperately wanted System 6 back in my life.
 The issue was still that the floppy drive not reading and mounting the disk. I tried turning off the Mac, hoping it would eject the disk, but alas, the drive held firmly onto my disk.
Enough was enough, it was time to crack this bad boy back open and make sure that I had done the job right the first time. After removing the four screws and looking at the back of the floppy, I instantly saw the problem. It’s impossible for a floppy drive to read disks if it is not plugged in. After correcting the issue and screwing it back together, I switched it on again with the first System 6 install disk in. I grinned a grin of success as the floppy drive made the loud click noise as it was seated and started being read.
Once up on the bootable install disk, I erased the 230 MB drive and got about installing System 6.0.8. The install went smoothly enough and took less than 10 minutes. After one more reboot, I was using the 230 MB drive as a boot drive and making sure everything was fine with my SE.
 The installation of the hard drive is easy as pie in this model of Mac, if you have the right tools and small amount of patience. If you have an old compact Mac that has some intermittent power issues, crazy screen problems, or just a bad drive, pop it open. If you are handy with a soldering iron, there are plenty of walk-throughs available through some simple internet searching.
In my next article I will be getting the Quadra 950 ready for some everyday file hosting.
Thanks for reading my article and feel free to leave your comments below or on Facebook.
Keywords: #macse #macintoshse #system6
Short link: http://goo.gl/iMvC8f
searchword: macseexperience
