I recently brought an original iPhone back from the brink, but it had audio issues. This article shows how to fix the reversed audio issue.
After bringing my original iPhone back to life, it still had some issues that needed fixing. Whilst fixing a non-working power button, I installed the wrong flex cable. There are two different models used. After searching eBay, there were none of the 821-0600-A cables that I originally had, only the 821-0449-09, which was the one I bought to replace the broken one.
Installing the wrong cable will mix up the sound. Without headphones it thinks there are some plugged in, plug some in and the sound plays through the internal speaker.
Luckily there is a fairly simple mod that doesn’t require hunting down the very hard to find 821-0600-A cable and only takes a few minutes.
Remove the Back
You need to remove the silver back of the phone. Take out the SIM tray first. Then prise off the black antenna cover carefully and undo the three small screws holding the silver back on. Then using a toothpick or thin screwdriver, slide it in the sides of the phone and work it off.
Be careful not to pull the back straight off, as it is still attach via the power button flex cable. This is connected via a small connector, simply pop it off and the back and the phone are now seperate.
More in-depth instructions on how to remove the back can be found at iFixit.
Mod the Socket
This is where we mod the headphone socket. You could remove the flex cable from the back of the phone, but I didn’t. Installing it is quite fiddly and time consuming, and modding it while still in the phone gives you something to grip on it.
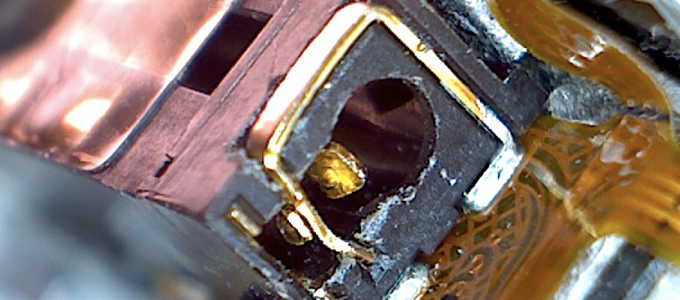
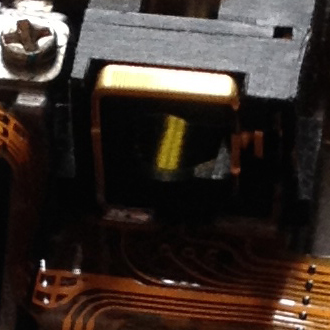
Take a look at the end of the headphone socket. You might have a piece of sticky paper on the end, buy I didn’t. If you do, pull it off to reveal the copper pins.
The end of the headphone jack before modding takes place.
We are looking at two brass pins/contacts. Be careful with these as they are fairly fragile. You will need to exert some force but not too much.
See the large pin on the right hand side of the socket. It goes from the top of the socket to the bottom. This needs to be pulled and moved out of the temporarily. Pull it out slightly, and bend it up.
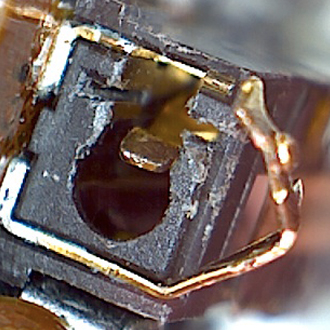
See the inner pin bent out. Then move the outer one in to the headphone area.
Then with a small flat headed screwdriver or a needle, push the other pin across. You need to push this right to the other side, so it sits in the round hole where the headphone jack slides in. Once done, bend the other pin back in to position where it was. Job done.
This took me a few attempts to get it to work. I wasn’t pushing it far enough across and therefore the headphone jack wasn’t making contact properly.
Once done correctly it will work and will make the headphone connection quite tight. I am not sure if this will wear lose after a while or whether the connection will continue to be fine. You may need to do this is future.
Conclusion
This is a fairly simple mod to get round the cable issues, and one that doesn’t seem to well documented online, so I thought I would share my experience with you.
Enjoy.
Follow Simon Royal on Twitter or send him an Email.
Like what you have read? Send Simon a donation via Tip Jar.
keywords: #iphone2g #originaliphone #iphonerepair #iphoneheadphonesocket #techspectrum #simonroyal
short link: http://goo.gl/C32Egv
searchword: revive


