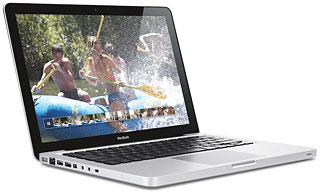
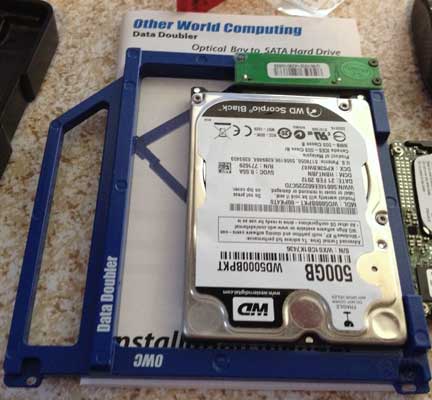
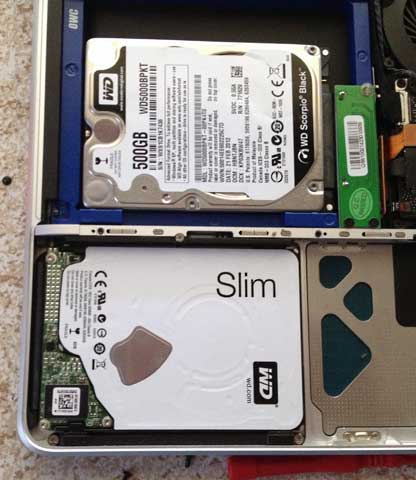
Your MacBook or MacBook Pro probably came with one hard drive and, in most instances, a built-in optical drive that you rarely use. The OWC Data Doubler lets you install a second hard drive in place of that SuperDrive, and OWC’s SuperSlim enclosure gives your removed optical drive a new home.
 My newest Mac and only modern notebook is a Late 2008 Aluminum Unibody MacBook. It runs at 2.0 GHz, has 4 GB of RAM, and was upgraded with a 500 GB 7200 RPM WD Scorpio Black hard drive with a 16 MB buffer, one of the fastest traditional notebook hard drives available when I bought it. I originally ran Mac OS X 10.6.8 Snow Leopard on it, switched to 10.9 Mavericks when it came out as a free OS, and now have a second internal hard drive for testing 10.10 Yosemite, which it handles very nicely. This MacBook has a 3 MB/s SATA Rev. 2 bus, which is twice as fast as early MacBooks and half as fast as modern ones.
Last fall, I removed the MacBook’s SuperDrive, enclosed it in the OWC Value Line SuperSlim USB 2.0 enclosure, left the 500 GB hard drive in the optical drive bay, and installed a used 200 GB hard drive in the optical drive bay using an OWC Data Doubler.
 I partitioned the second drive with one partition for OS X 10.9 Mavericks and one for work files, especially my Dropbox folder with all the old HTML pages for Low End Mac, which I access frequently as I migrate archived content to WordPress and have to make sure the old links are updated so when I migrate other pages, they are up-to-date.
I also have a partition with OS X 10.6 Snow Leopard, which gives me access to several old PowerPC applications that can’t run with any newer version of OS X.
Although I have OS X 10.10.3 Yosemite, I do not plan on migrating to it, since too much of my software is incompatible with Yosemite and my 6-year-old MacBook doesn’t support a lot of Yosemite’s new features. Still, I can experiment with it when I want to.
Moving Drives Around
 Removing the hard drive is a quick and easy process, but removing the optical drive and replacing it with the OWC Data Doubler is a fairly involved process that is easier with magnetized screwdriver tips. OWC rates this moderate difficulty, and I concur.
Installing the SuperDrive in the black plastic OWC Value Line SuperSlim enclosure was a breeze. I had no problem mounting a CD with the drive connected to one of the MacBook’s USB ports, and the supplied cable can draw power from a second USB port if necessary. You can also buy an AC adapter.
My goal is to eventually install a high capacity hybrid drive or a 256 GB SSD, but until then, this setup is working quite nicely. I rarely rip CDs into iTunes and even less often burn discs, to having an external optical drive is not an issue.
By having my Dropbox folder on a separate drive, the buffer in that drive is dedicated to just those files, while the buffer on my boot drive handles everything else.
Keywords: #datadoubler
Short link: http://goo.gl/uGCuNz
searchword: datadoubler

