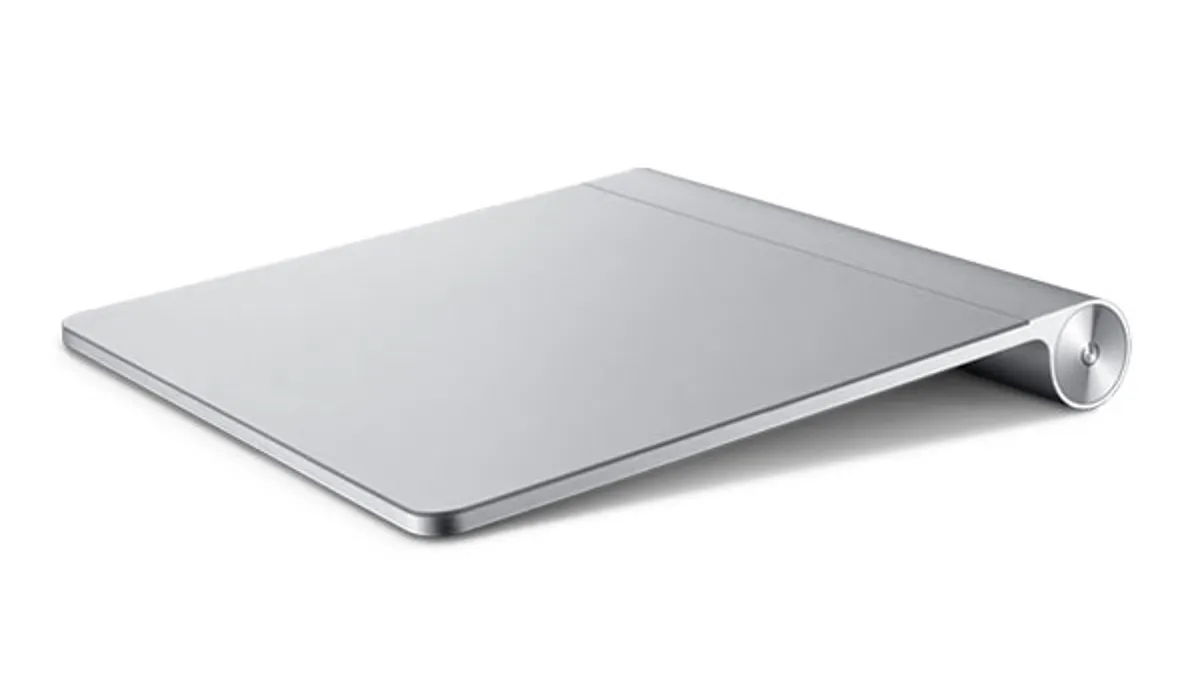
 So you wanna have multitouch on your old ‘Book without necessarily buying a Magic Trackpad? The way it was theorized to be possible: Taking the multitouch trackpad out of an A1260 MacBook Pro and plugging it into an older A1181 2007 MacBook. Many have said this wasn’t possible or doable, claiming there was possibly a missing Broadcom chip which prevented the functionality. That was until one user online found it’s actually as simple as ripping out the old one, and installing the new one! This guide covers how to do exactly this, reflecting this user’s process. All credits go to Tartarus from MacRumors, who made this post on August 30th, 2012. (See Post)
What You Need To Know
- This project was initially done on a A1181 2007 13″ White MacBook and confirmed to work on that specific machine without further modification or cable replacements.
- If you do this on a 2007 MacBook Pro, you will get multitouch but since the function key layout is different, you will need to perform a few extra steps. (Below Instructions Section)
Instructions
Note: We aren’t responsible for any damages or mishaps done to your computer – you are solely responsible. Read the instructions carefully. With that out of the way, let’s get to it. All credits go to Tartarus from MacRumors, who made this post on August 30th, 2012.
- 1: You need a trackpad assembly from an Early 2008, non-unibody MacBook Pro.
- Editor’s note: It’s assumed it can be an A1260 (15″) or A1261 (17″), but stick to an A1260 just to be certain – unless you know you’re going to modify a 17″ MacBook Pro.
- Some screwdrivers
- Editor’s note: (I recommend Micro Center screwdriver sets – cheap and practical)
- A thin knife or a pocket knife
- Time, patience, steady hands
- A Hairdryer to denature the glue between the trackpad and assembly.
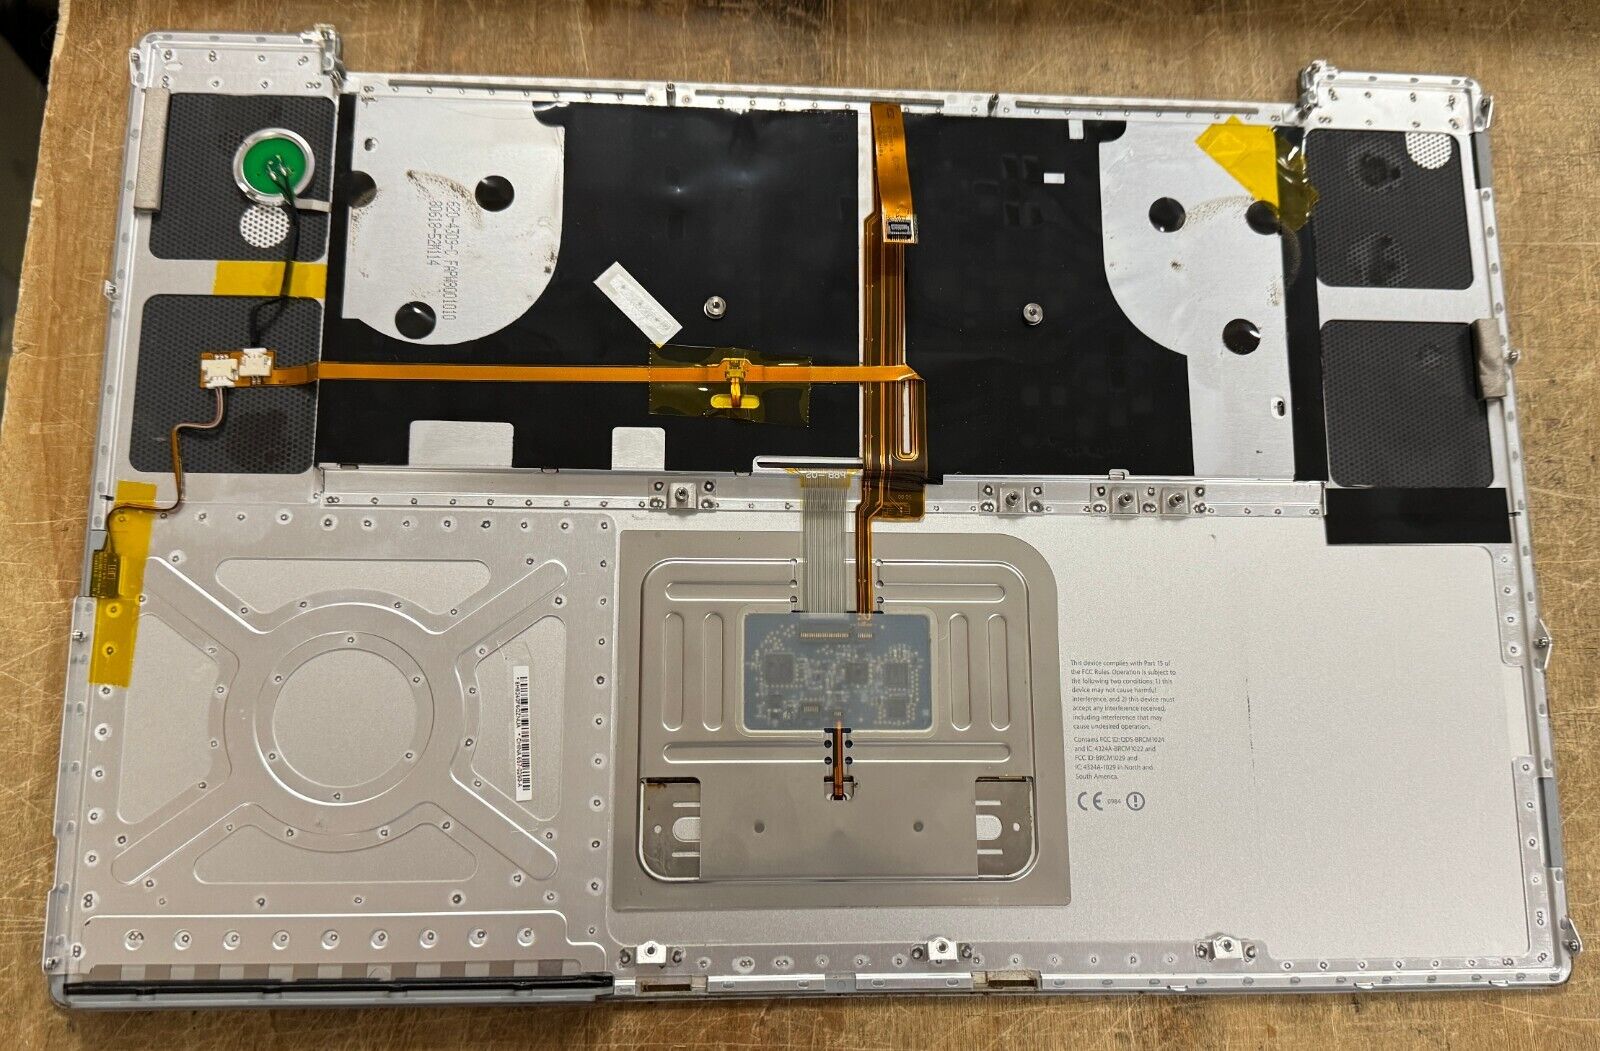
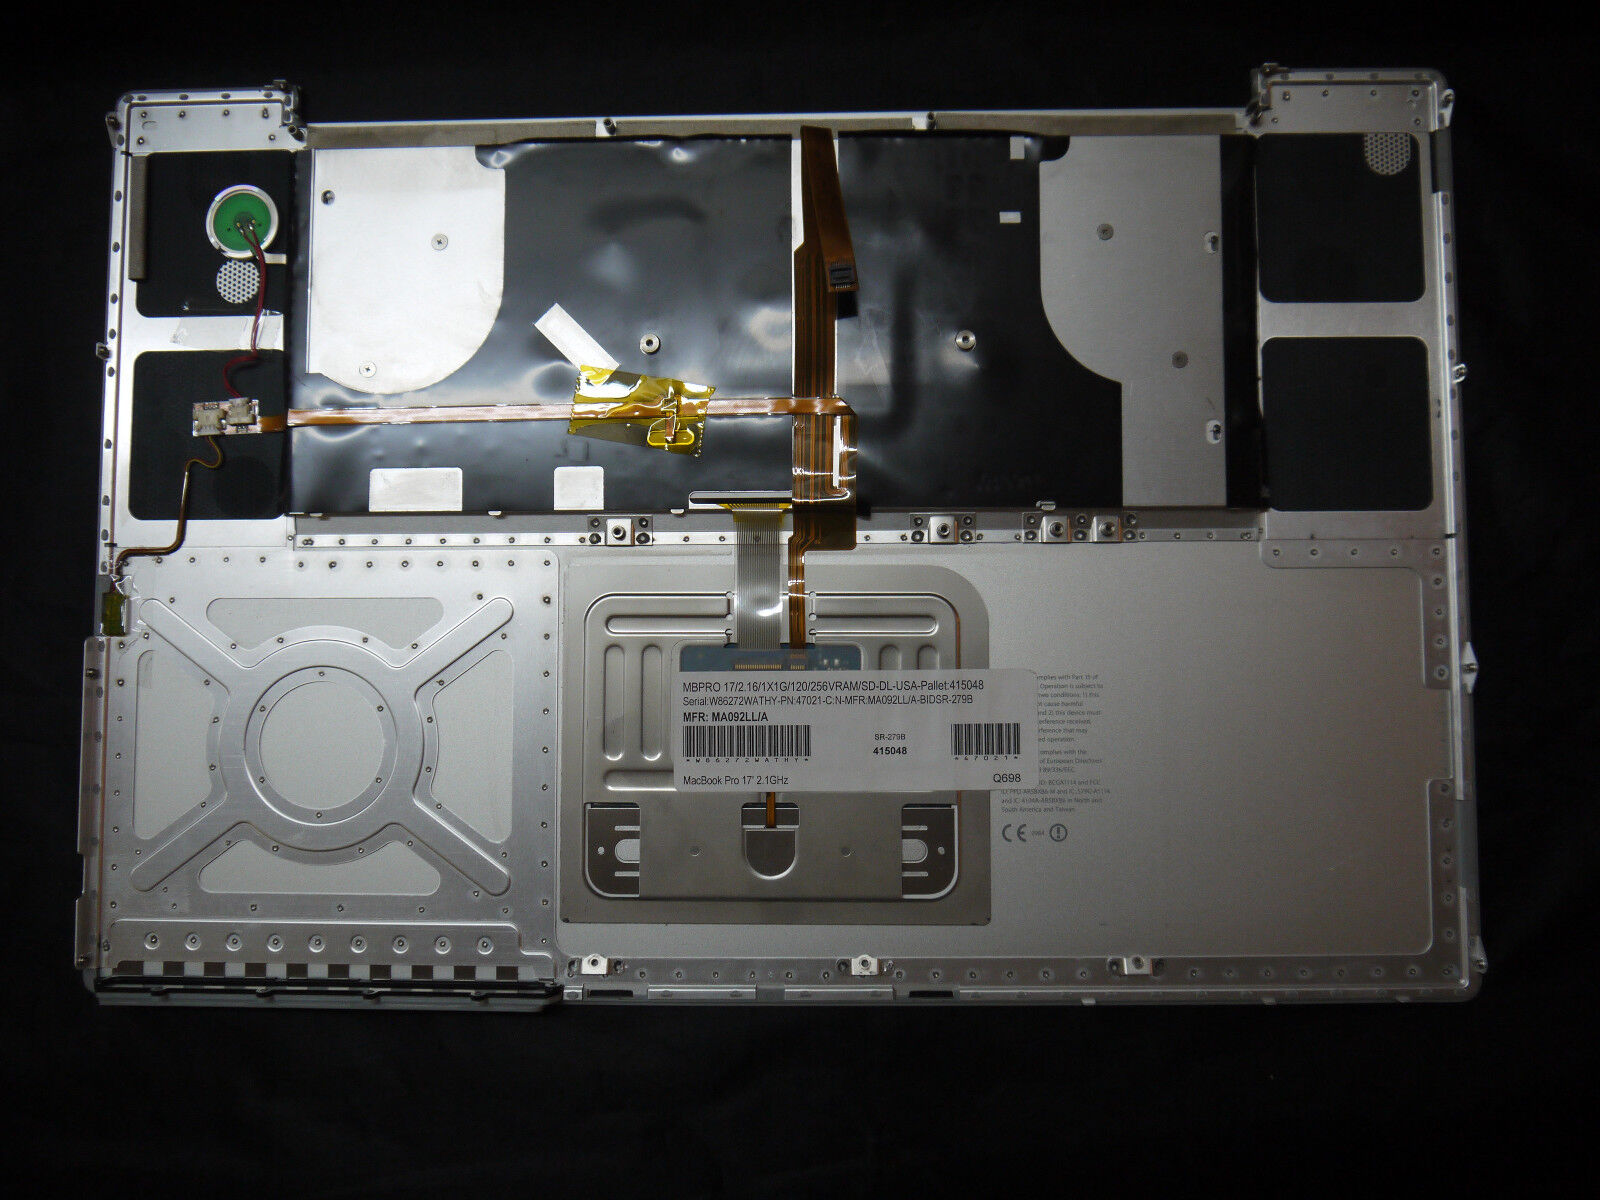
- Tartarus from MacRumors: “If you are looking at replacement MacBook Pro keyboard/trackpads on eBay, the original keyboards with an ‘Alt/Option’ key instead of an ‘Enter’ key next to the arrow keys are the ones to look for. If the eBay post shows images of the back, the trackpad shows 4 chips.”
.
 .
.
- 2: Remove the battery in your Macbook or take out the top case, you should see where the trackpad is located on the underside of the top case. Remove the plastic flap VERY carefully.
. - 3: CAREFULLY – remove the ribbon cables, lifting up on the connector clamps, pulling out the cables. You can easily rip the cables or break the trackpad.
- Tips by reukiodo: Use lots of heat (generous amount), Barely pry the trackpad away (as opposed to wedging it to separate), Start near the upper center, If you use a knife, WATCH OUT for the resistors and chips on the bottom and don’t break them off.
.
- Tips by reukiodo: Use lots of heat (generous amount), Barely pry the trackpad away (as opposed to wedging it to separate), Start near the upper center, If you use a knife, WATCH OUT for the resistors and chips on the bottom and don’t break them off.
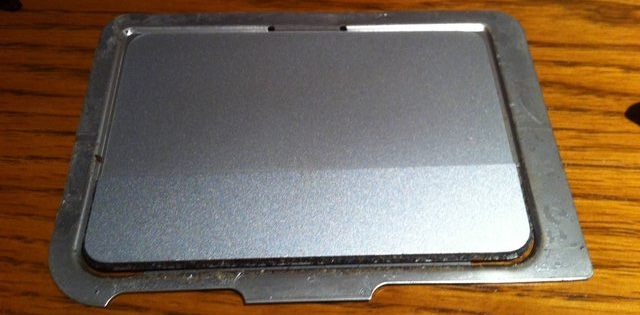
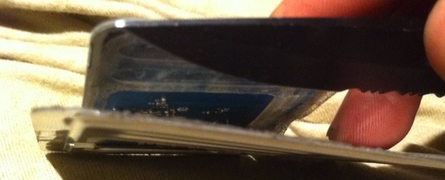
- 4: BEFORE – lifting up the trackpad, start using the hairdryer (or a low temperature setting on a hot air soldering station ~200 Fahrenheit), and using the knife, gently pry apart the trackpad part like in the image above. That way, it should look like the image below.
.
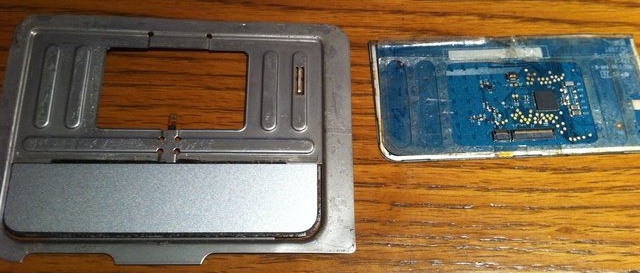
. - 5: Repeat the process from above but with your MacBook’s (A1181) trackpad. DO NOT remove the trackpad button below the trackpad, it will overwhelmingly likely never click properly again if you do.
. - 6: Once the old MacBook’s trackpad is out, simply place the new silver trackpad in the empty slot, and make sure it’s properly aligned.
. - 7: CAREFULLY – reconnect the ribbon cables as the gold wiring on the white ribbon cable “likes to peel off”. If you’re not careful enough you WILL have to source a replacement cable, possibly from an entire top case assembly. Once done, reassemble, and it should boot right up with multitouch gestures!
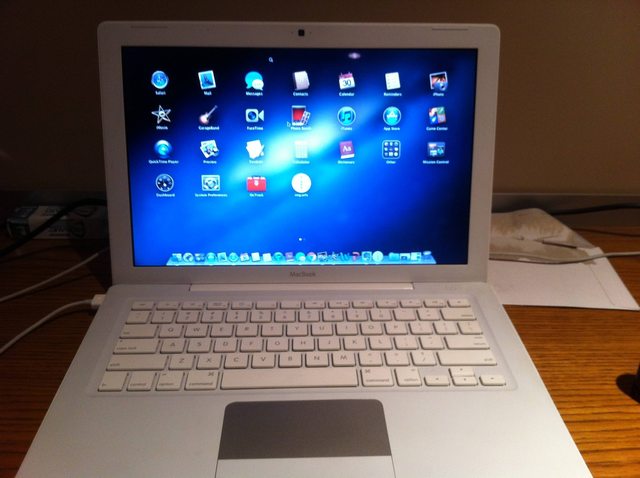 (Credit for above image and every image upwards goes to Tartarus from MacRumors.)
.
Doing this on a 2007 MacBook Pro
The function key layout differs between the 2007 and 2008 MacBook Pro models, but this won’t stop you from gaining multitouch features. As a result, you will need to do a .kext file modification in order to fix this issue, otherwise you won’t be able to adjust the keyboard backlight and other basic functions. The only side effect is your Caps Lock green LED won’t work after this. Unfortunately, the original MacWorld article is now gone from the internet forever, so the specific instructions on how to fix this aren’t available, so I’m going off of the MacRumors post.
 (Click to enlarge above image, sourced from eBay listings)
- 1: You won’t be able to use KeyRemap4MacBook to fix this. It is a kext within the system that needs a slight change to correctly map the keys.
- 2: There’s a string in the .kext that needs to be modified. Something from section “539” needs to be copied to section “560” of the file.
- 3: You must delete “com.apple.kext.caches” from “/System/Library/Caches”.
Editor’s note: I’m assuming you can transplant the top case of a 15″/17″ pre-unibody MacBook Pro from a 2008 model over to a 2006/2007 model – avoiding the entire above process, but this is unconfirmed. These older ‘Books are cheap, parts are plentiful, so the risk is far lesser than it was in decades past.


