
It was a relatively warm spring day as I was taking a long walk outside, when out of the corner of my eye I saw a 20″ 2004 iMac G5 sitting by the curb. It looked worn, the dirt on the bottom made me wonder if it was rained on. I asked for permission to grab the iMac, taking it home with cautious excitement knowing there could be destroyed capacitors in there or an iMac which didn’t work at all. Either way I knew what I was getting into but I wouldn’t feel as bad messing up working on replacing capacitors in the shape it was in.
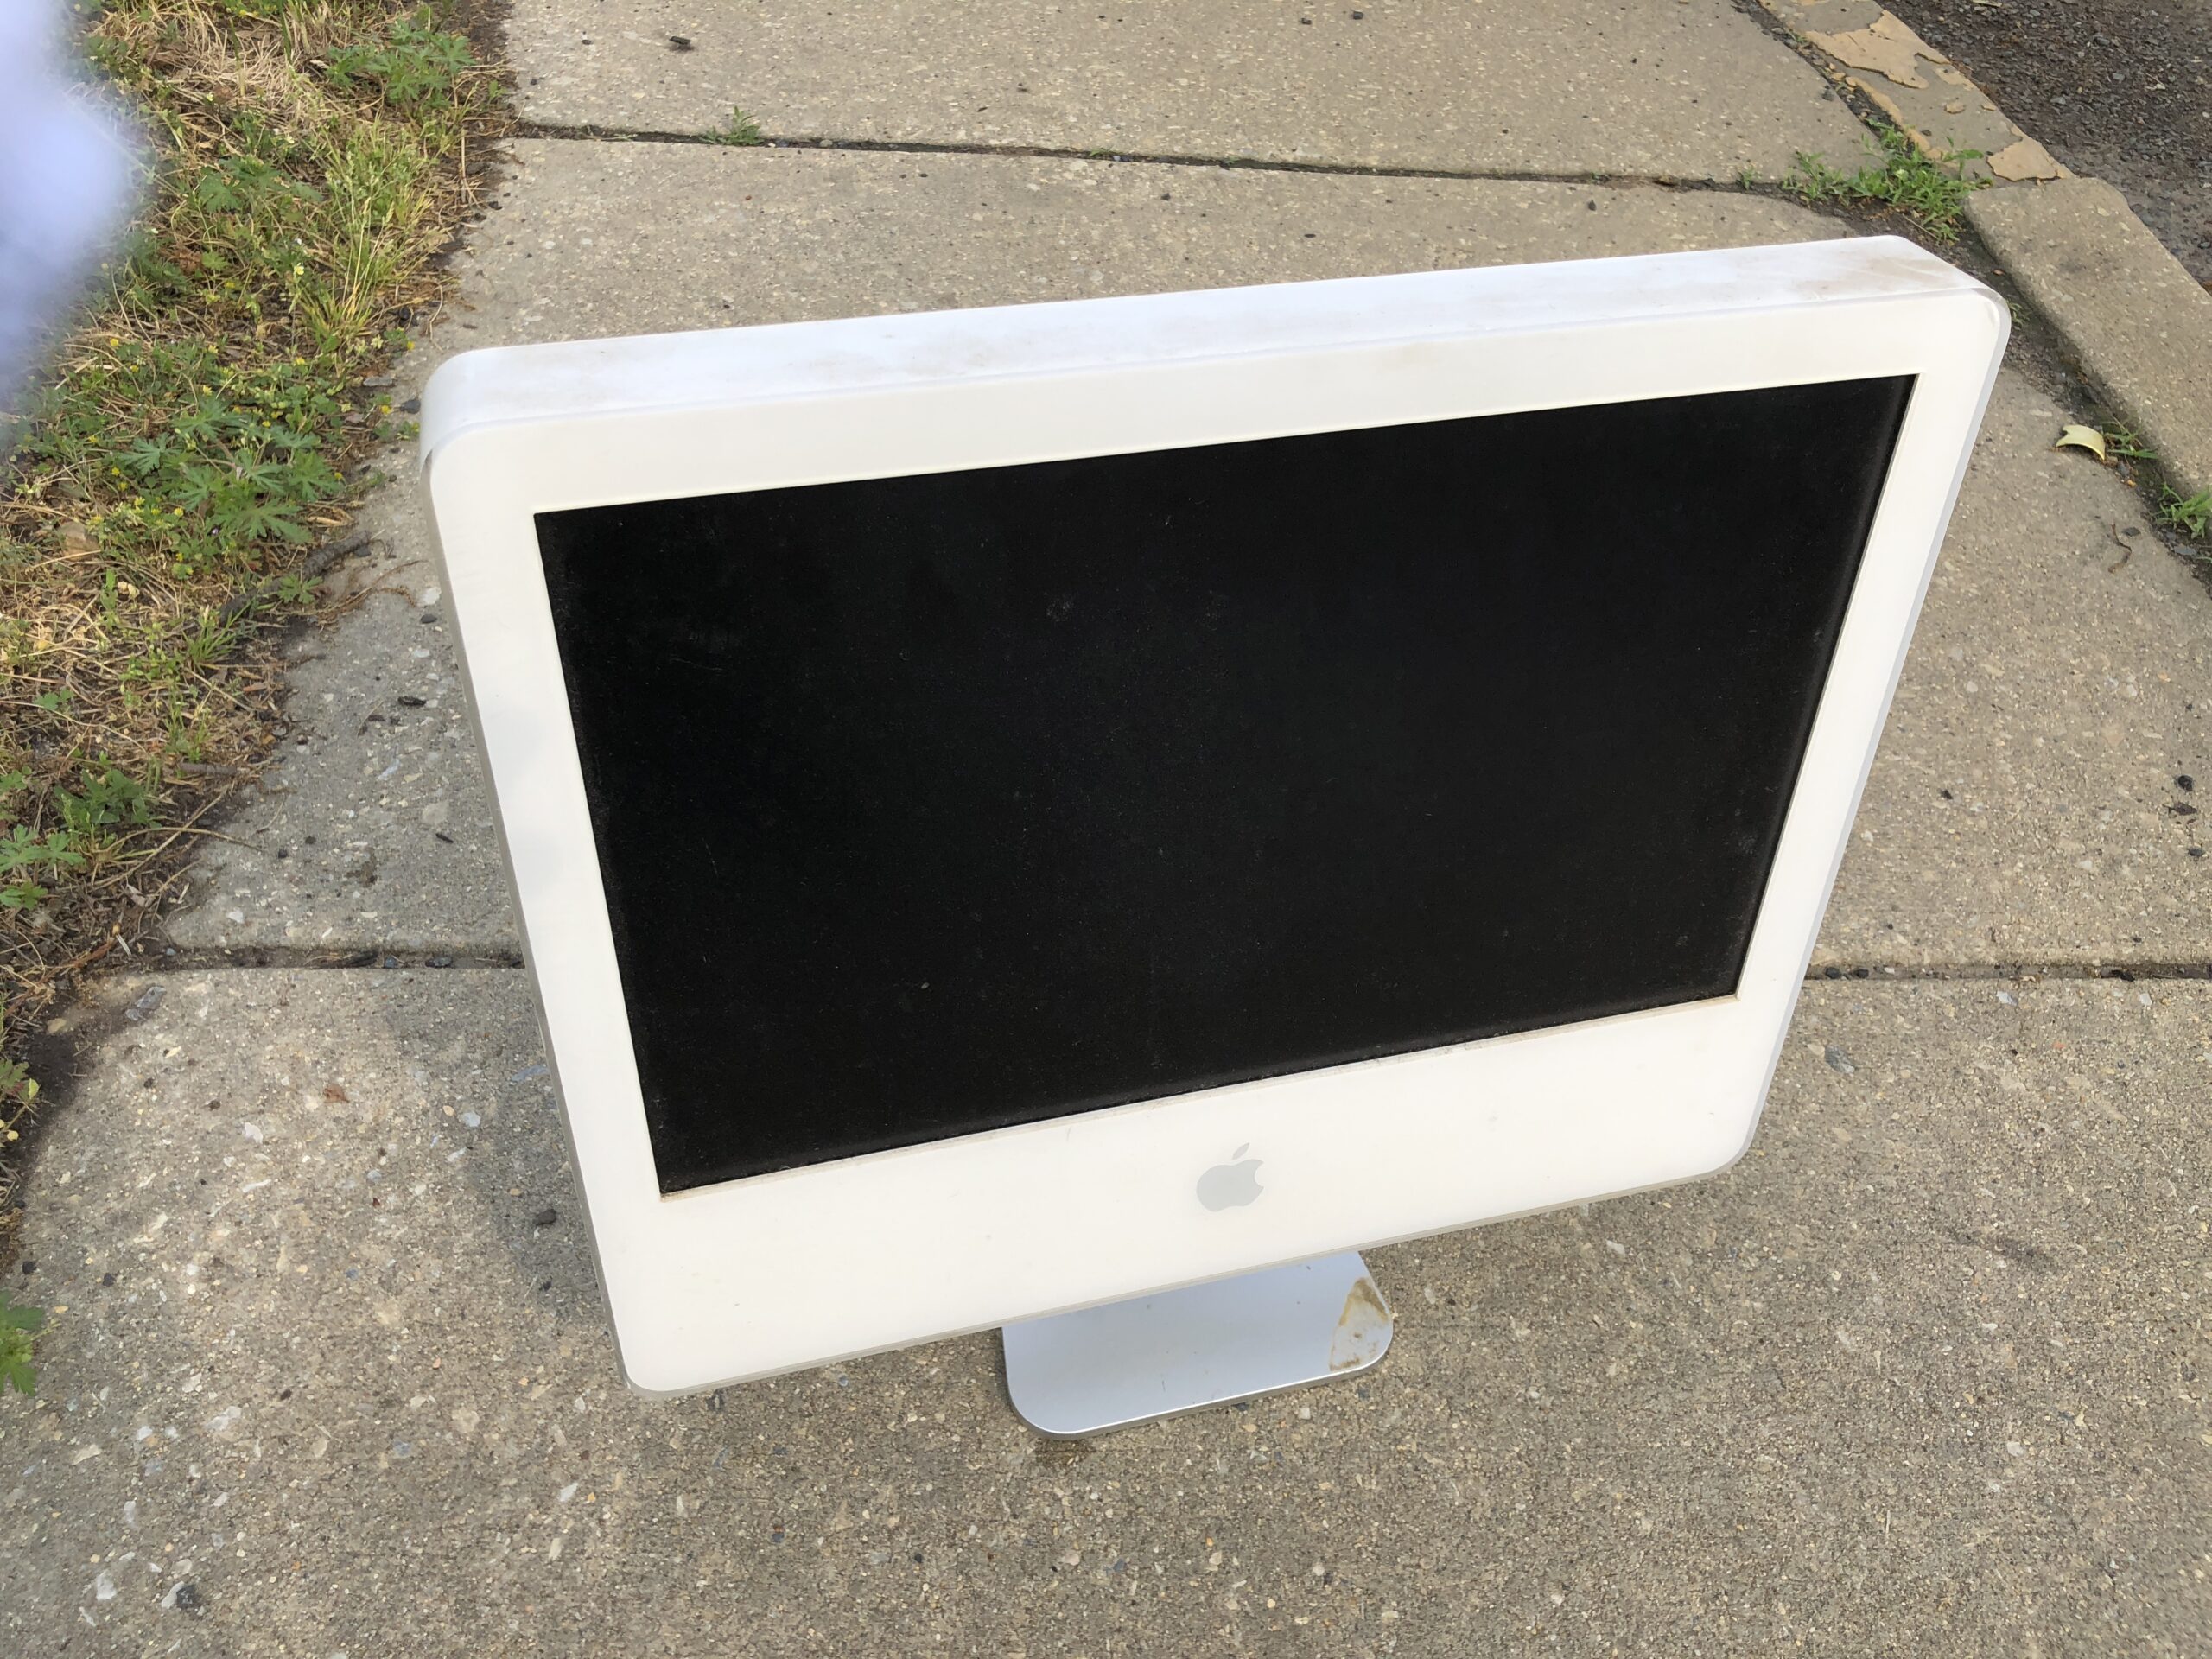 (Above: iMac G5 found on the curb)
Bringing it home
So I plugged it all up – power cord, ethernet and a USB KB/mouse set, and at first glance it looked okay however the colorful glowing folder icon was rather unusual in contrast to a normal color background and was of cause for concern. Right away my assumptions went to capacitors or something graphics chip related. Thankfully I find out later the issue was solely capacitor related.
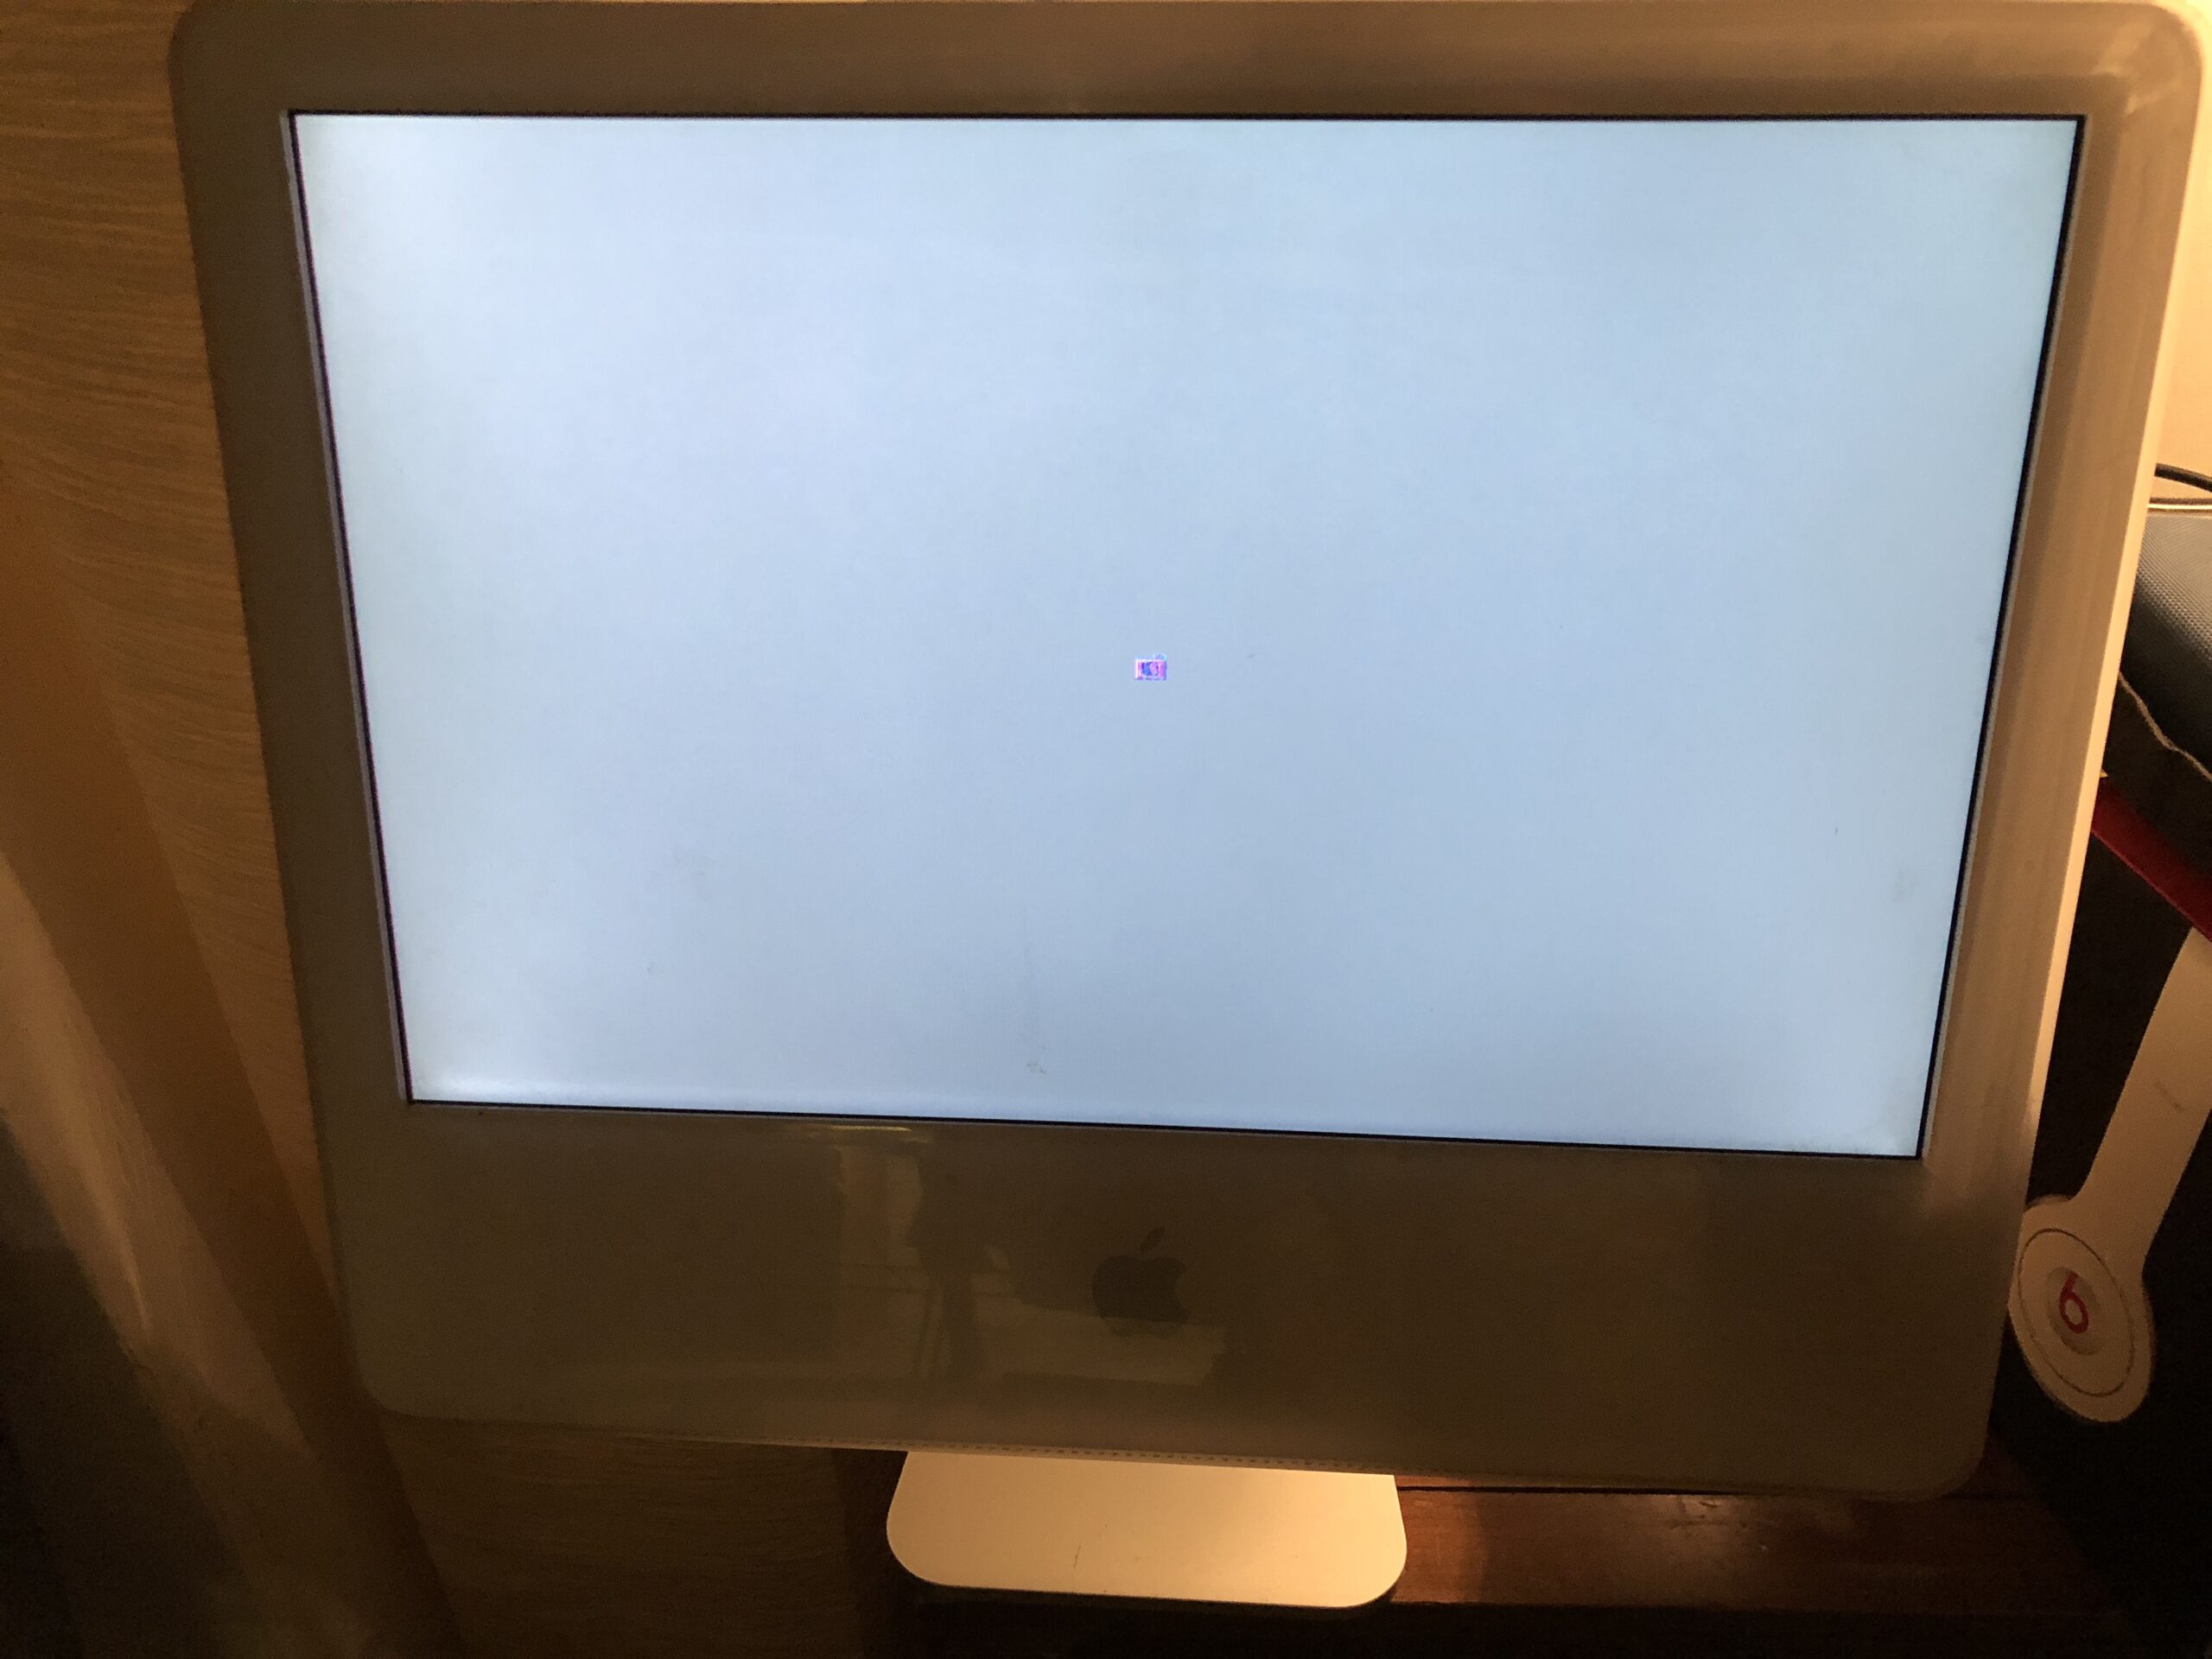 (Above: An unusual folder icon)
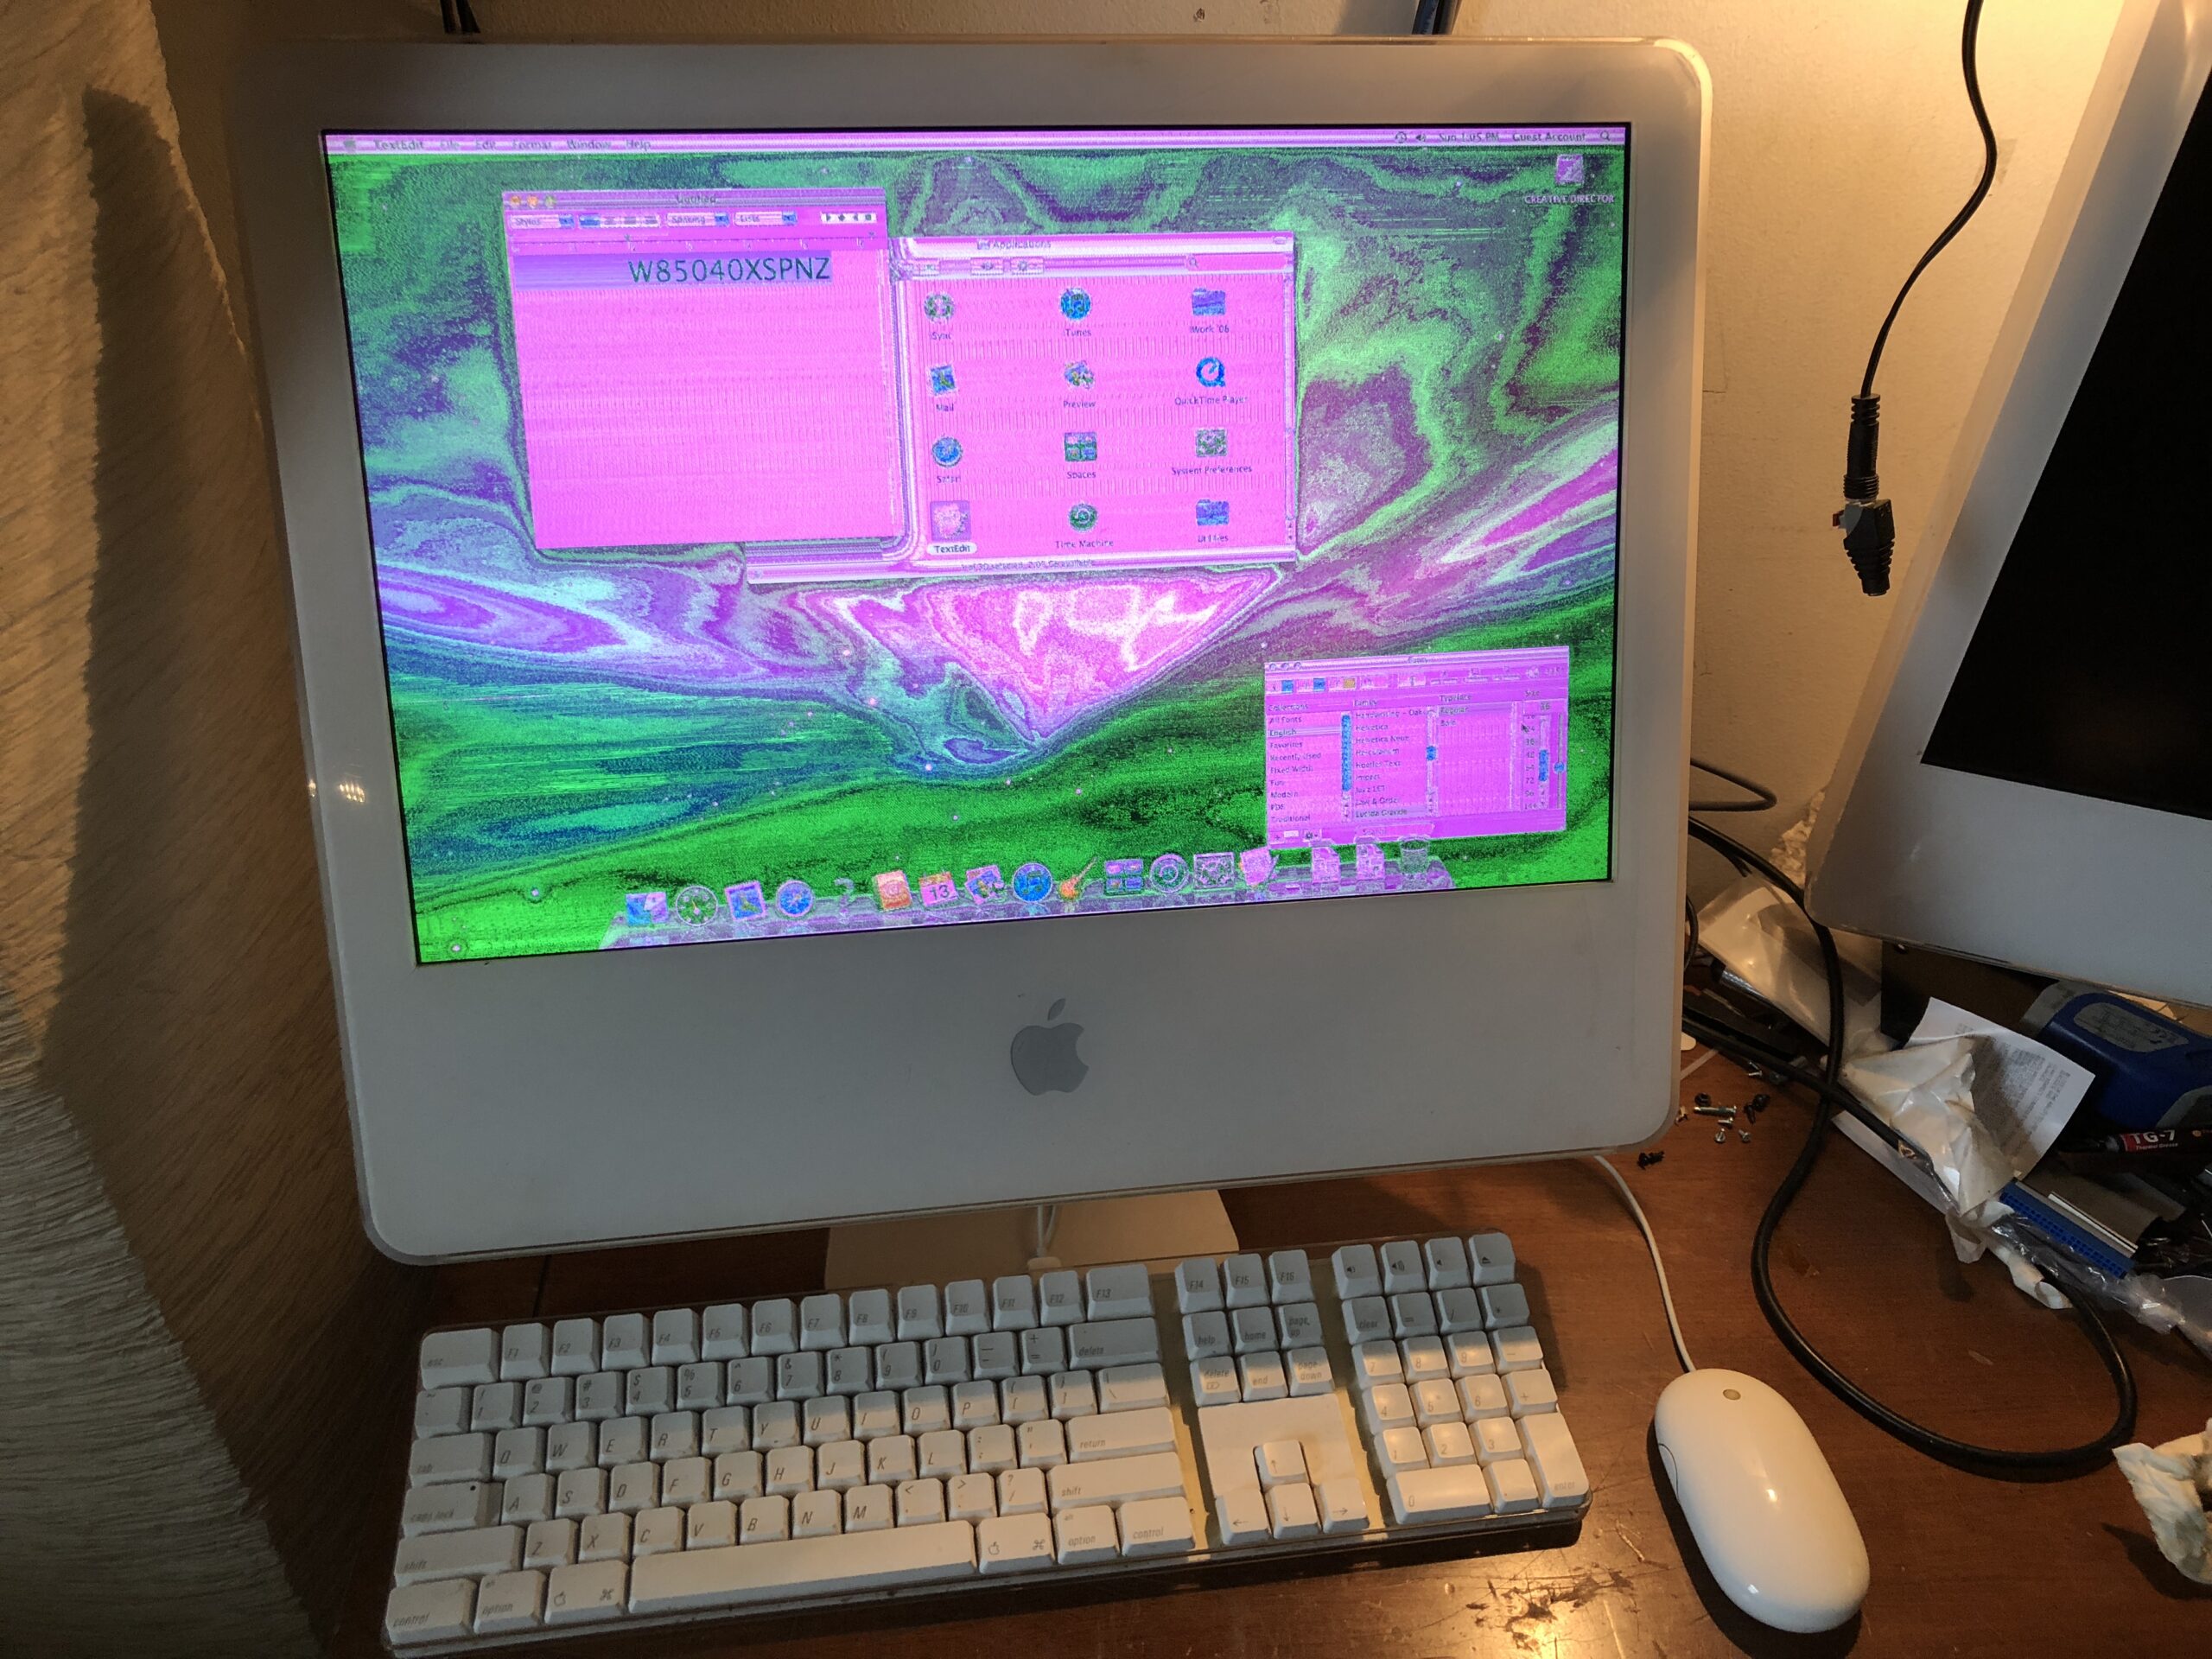
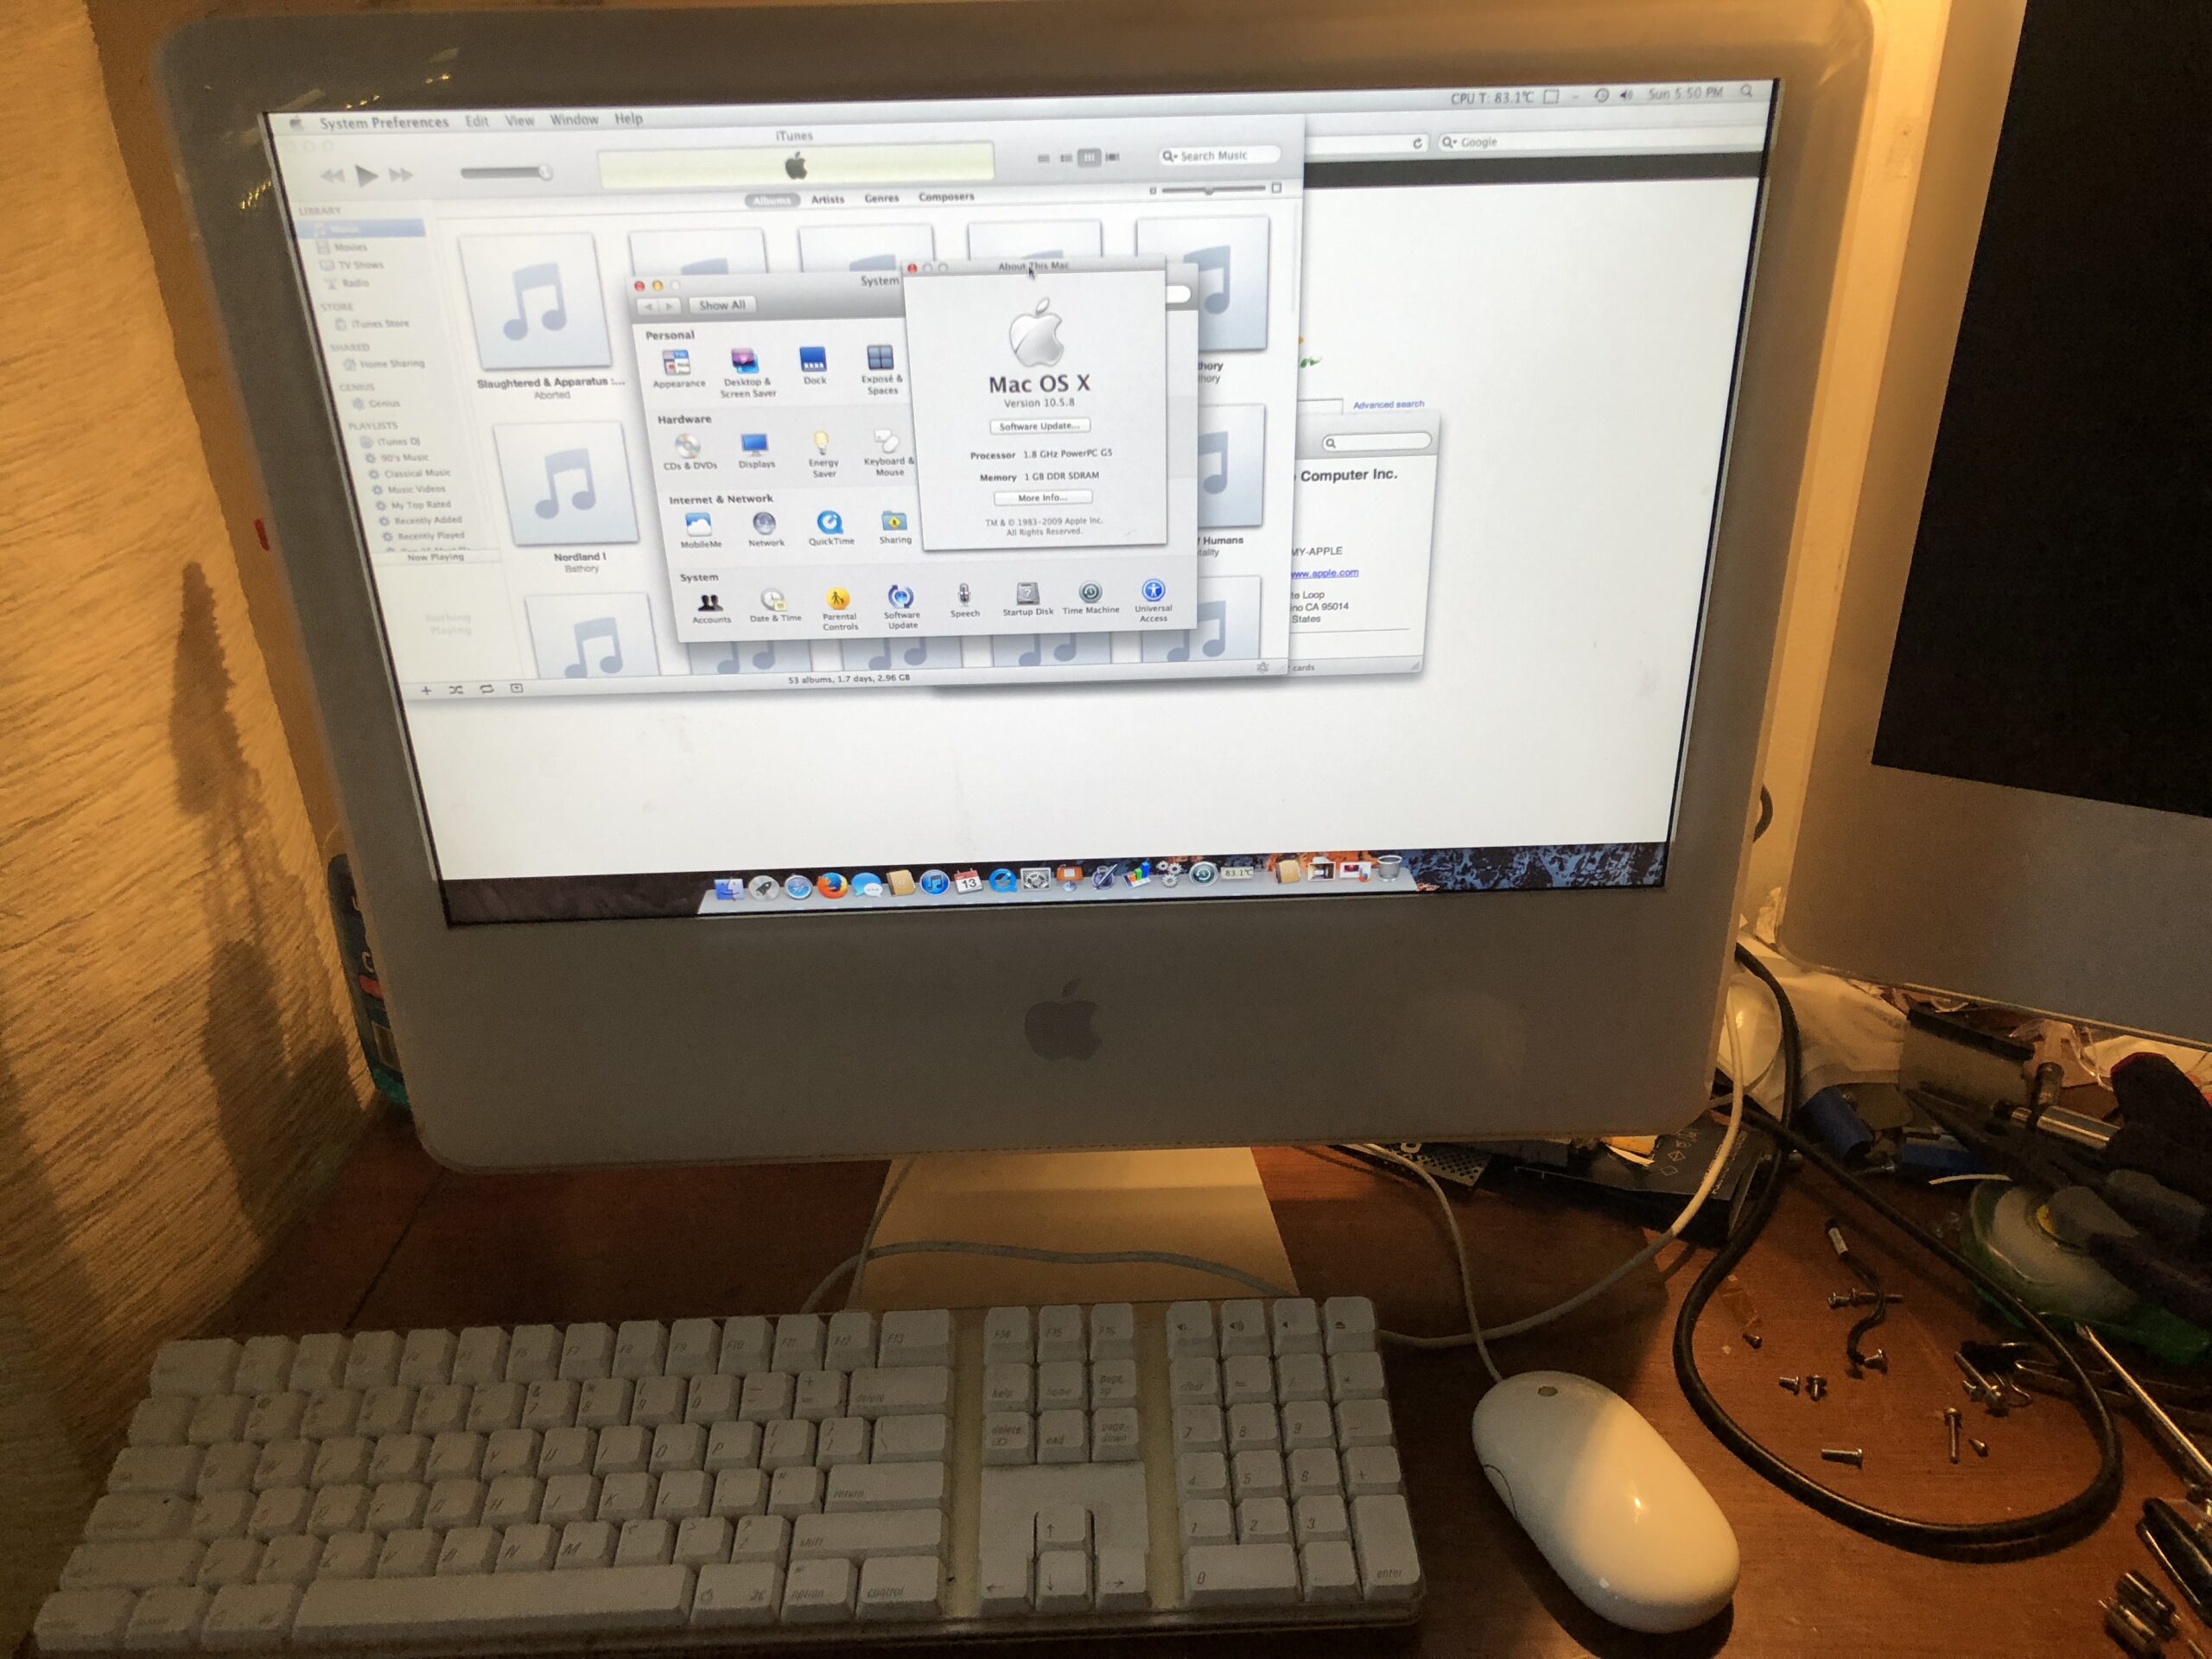
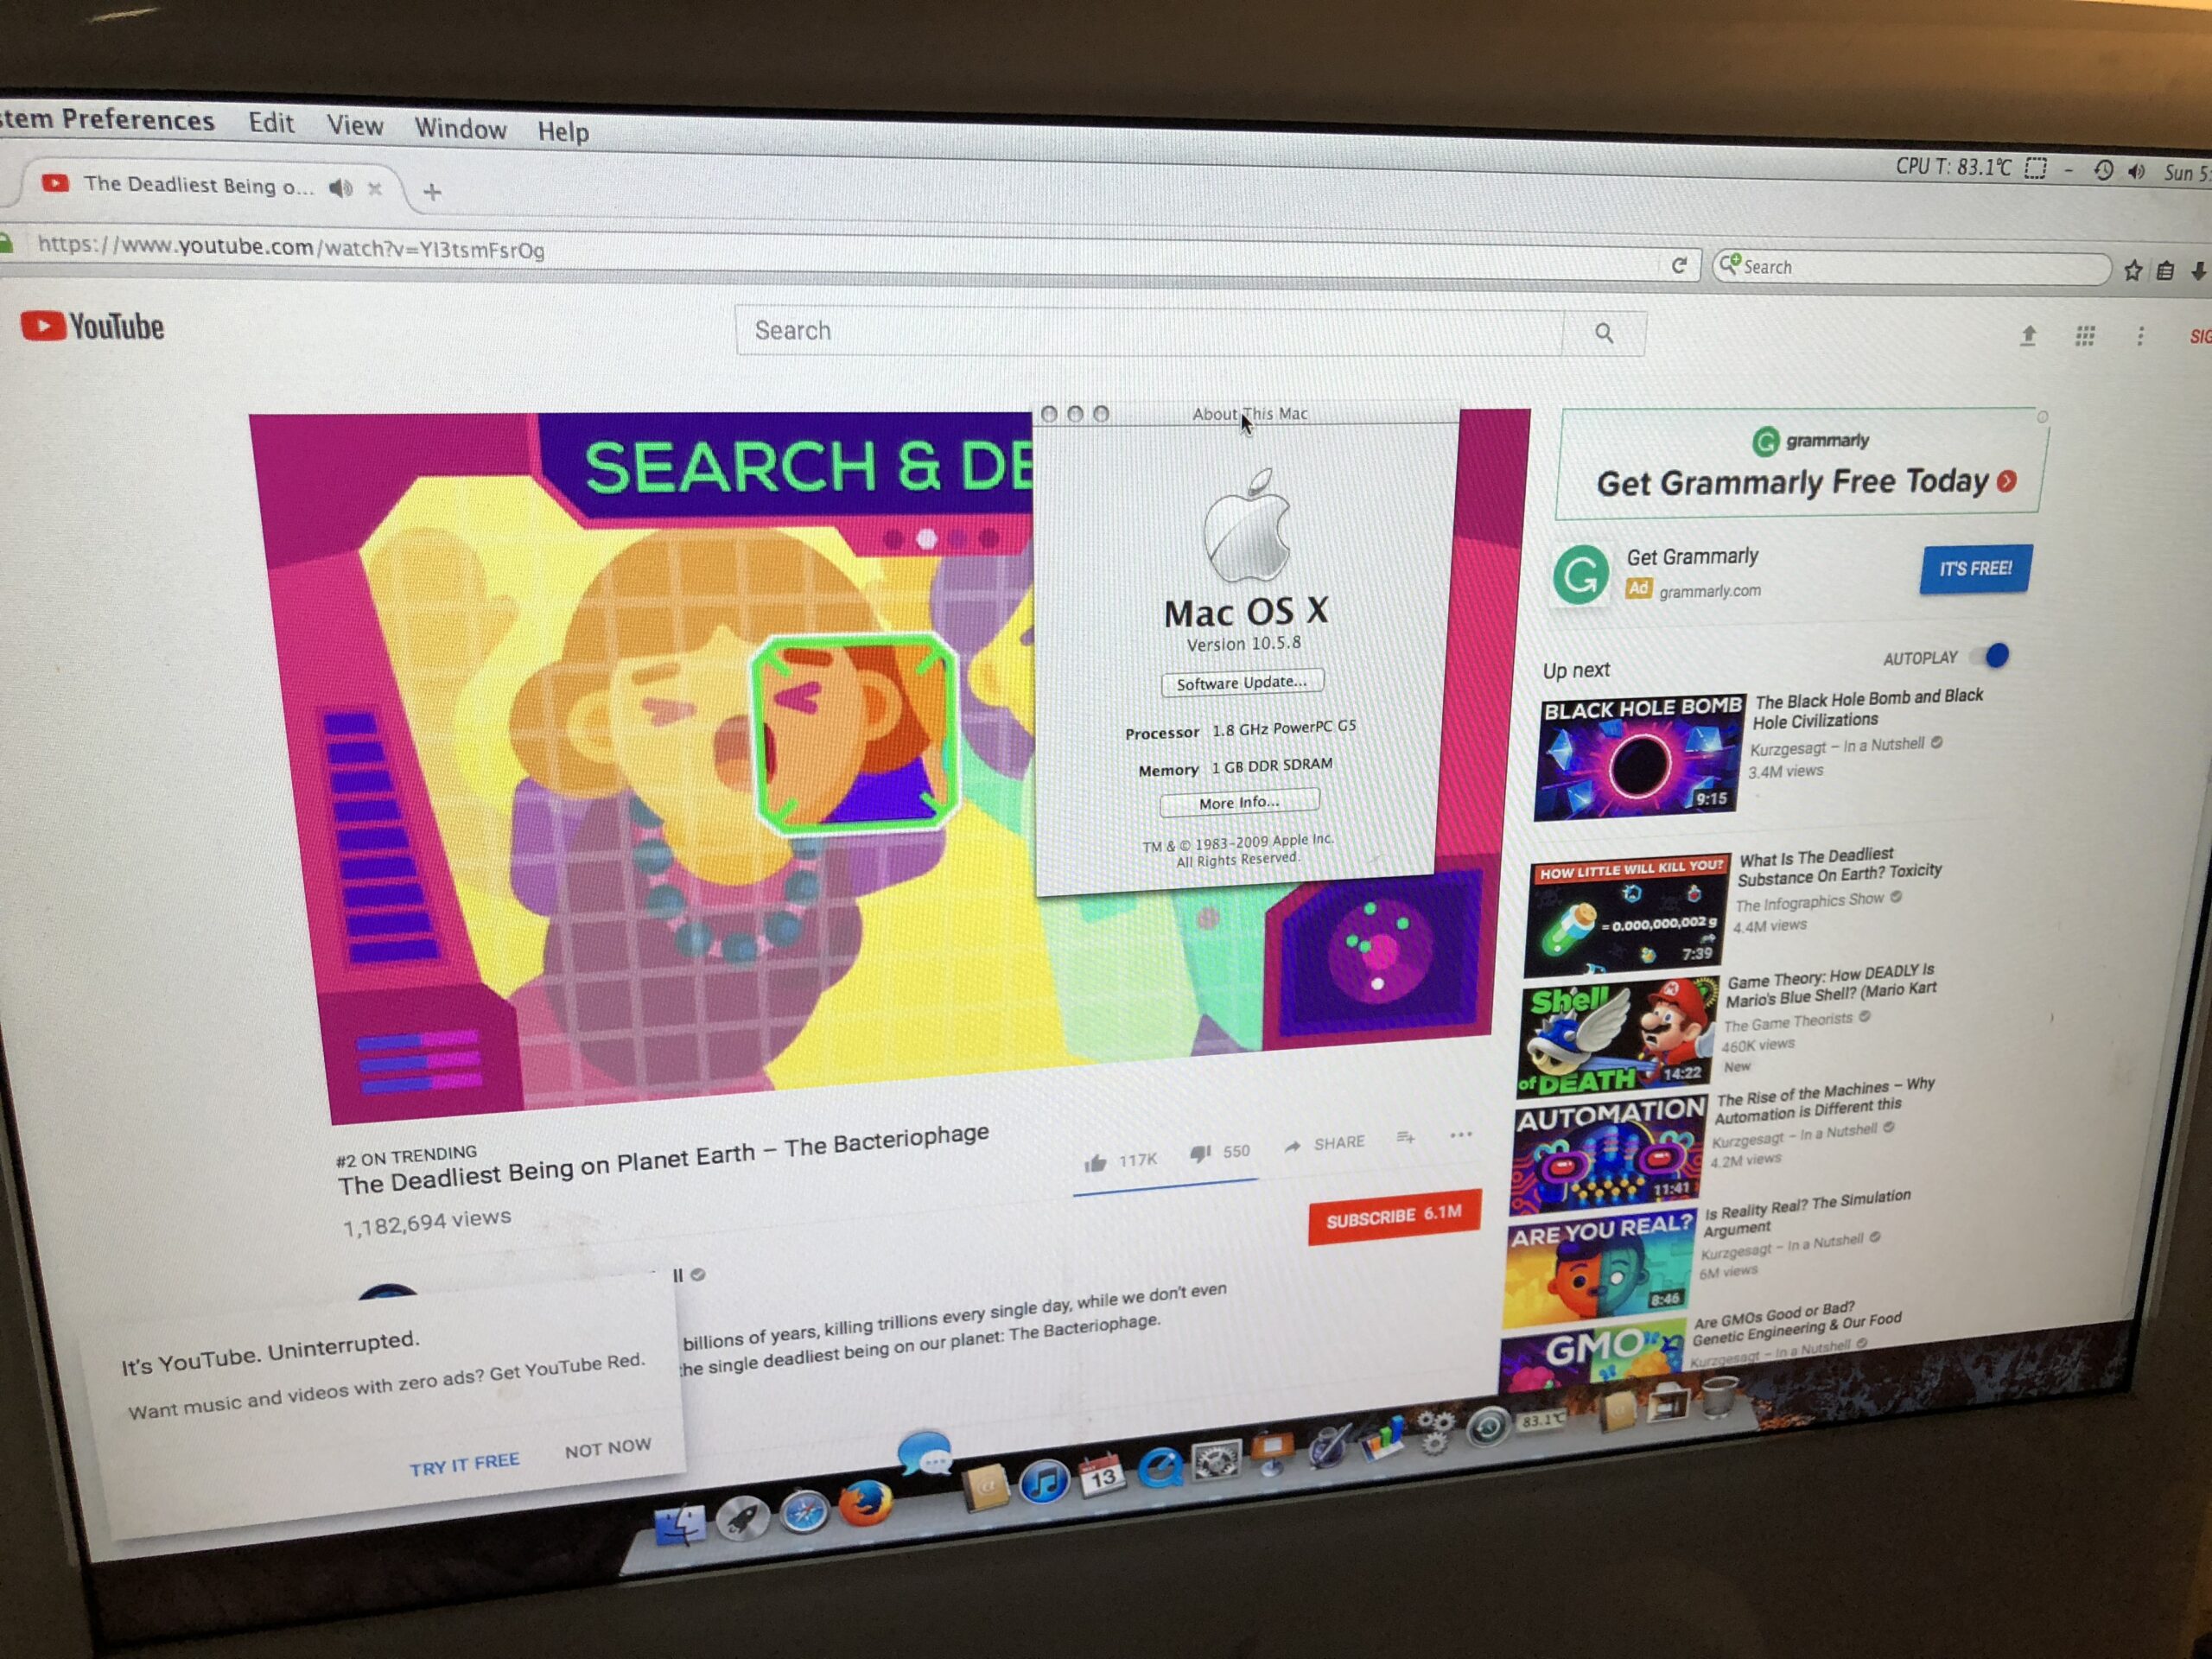
After cloning a drive and then installing it into the iMac it was able to boot to the desktop but with.. flying colors. Thankfully it seemed to work except the logic board needed to be looked at. Again – hoping the GPU isn’t going out.
- (If you’re wondering, the serial is to this specific iMac. Screenshot from Appleserialnumberinfo)
 (Above: Serial number read by Appleserialnumberinfo.com)
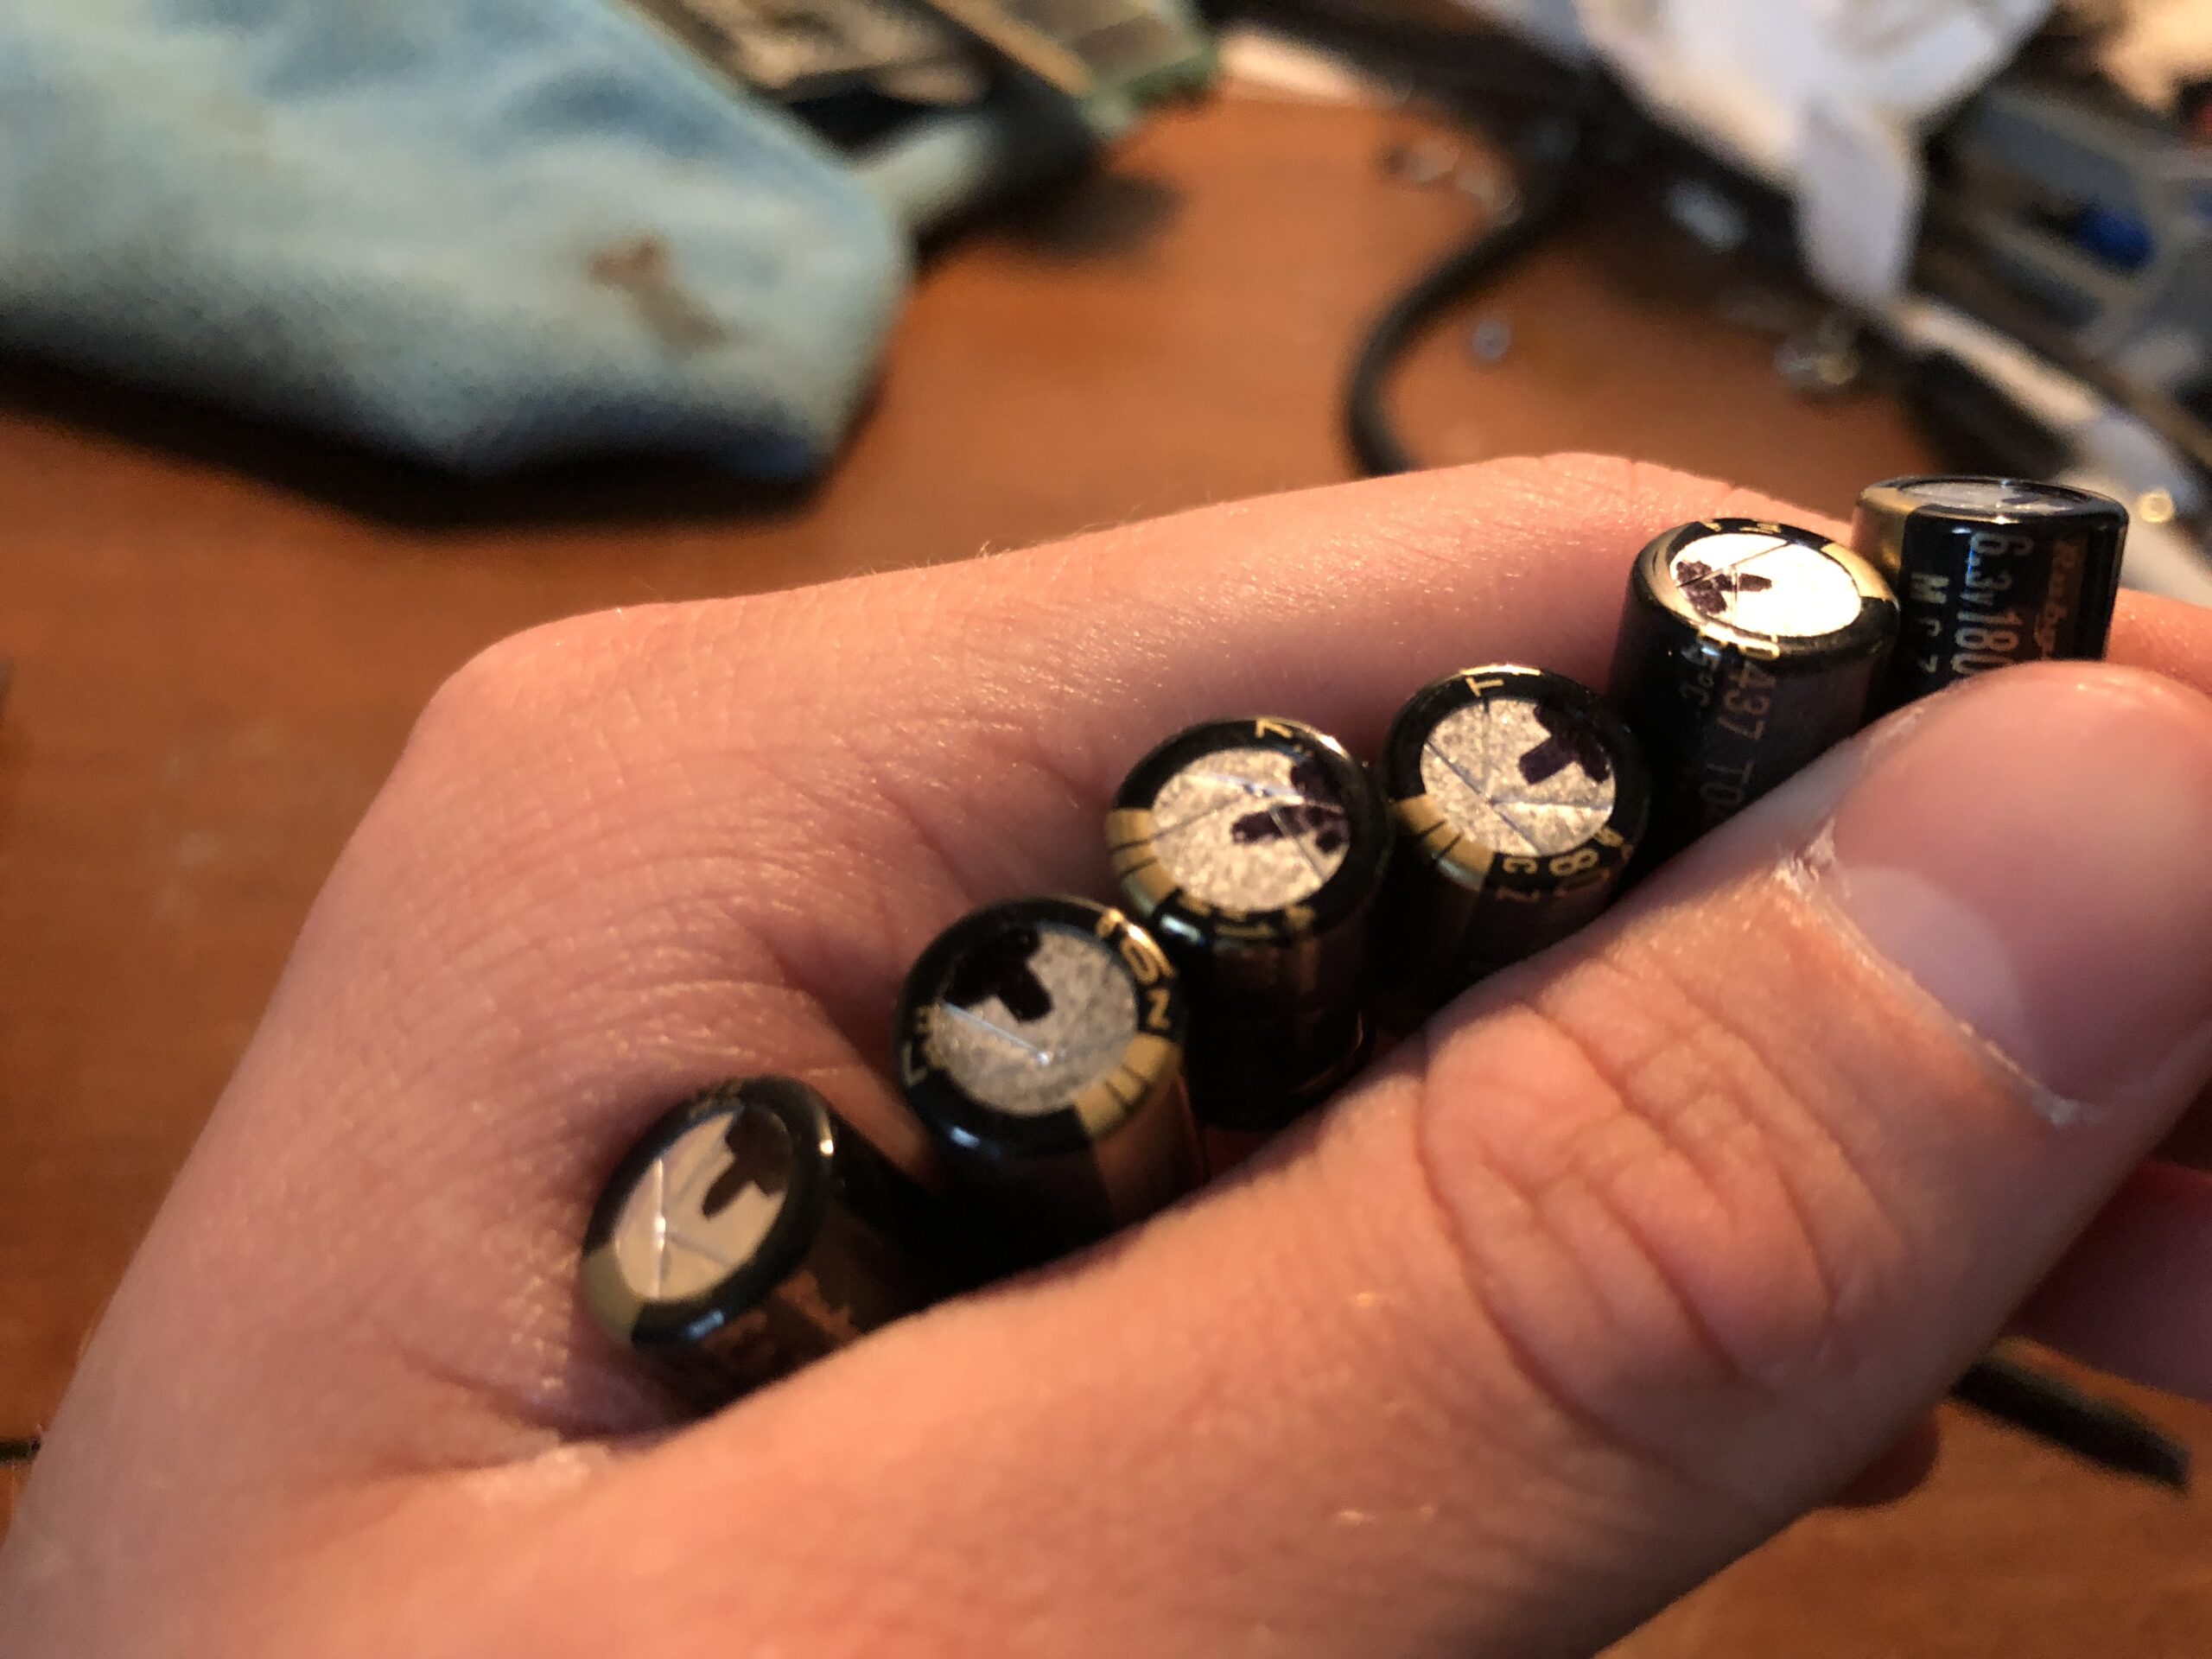
Upon taking it apart as it turns out there were some burst capacitors so I assumed every one of them had to be replaced as they were original. I bought a couple sets of capacitors and replaced most of them, but not all. It was enough to produce the necessary result, and the iMac sprung back to life!
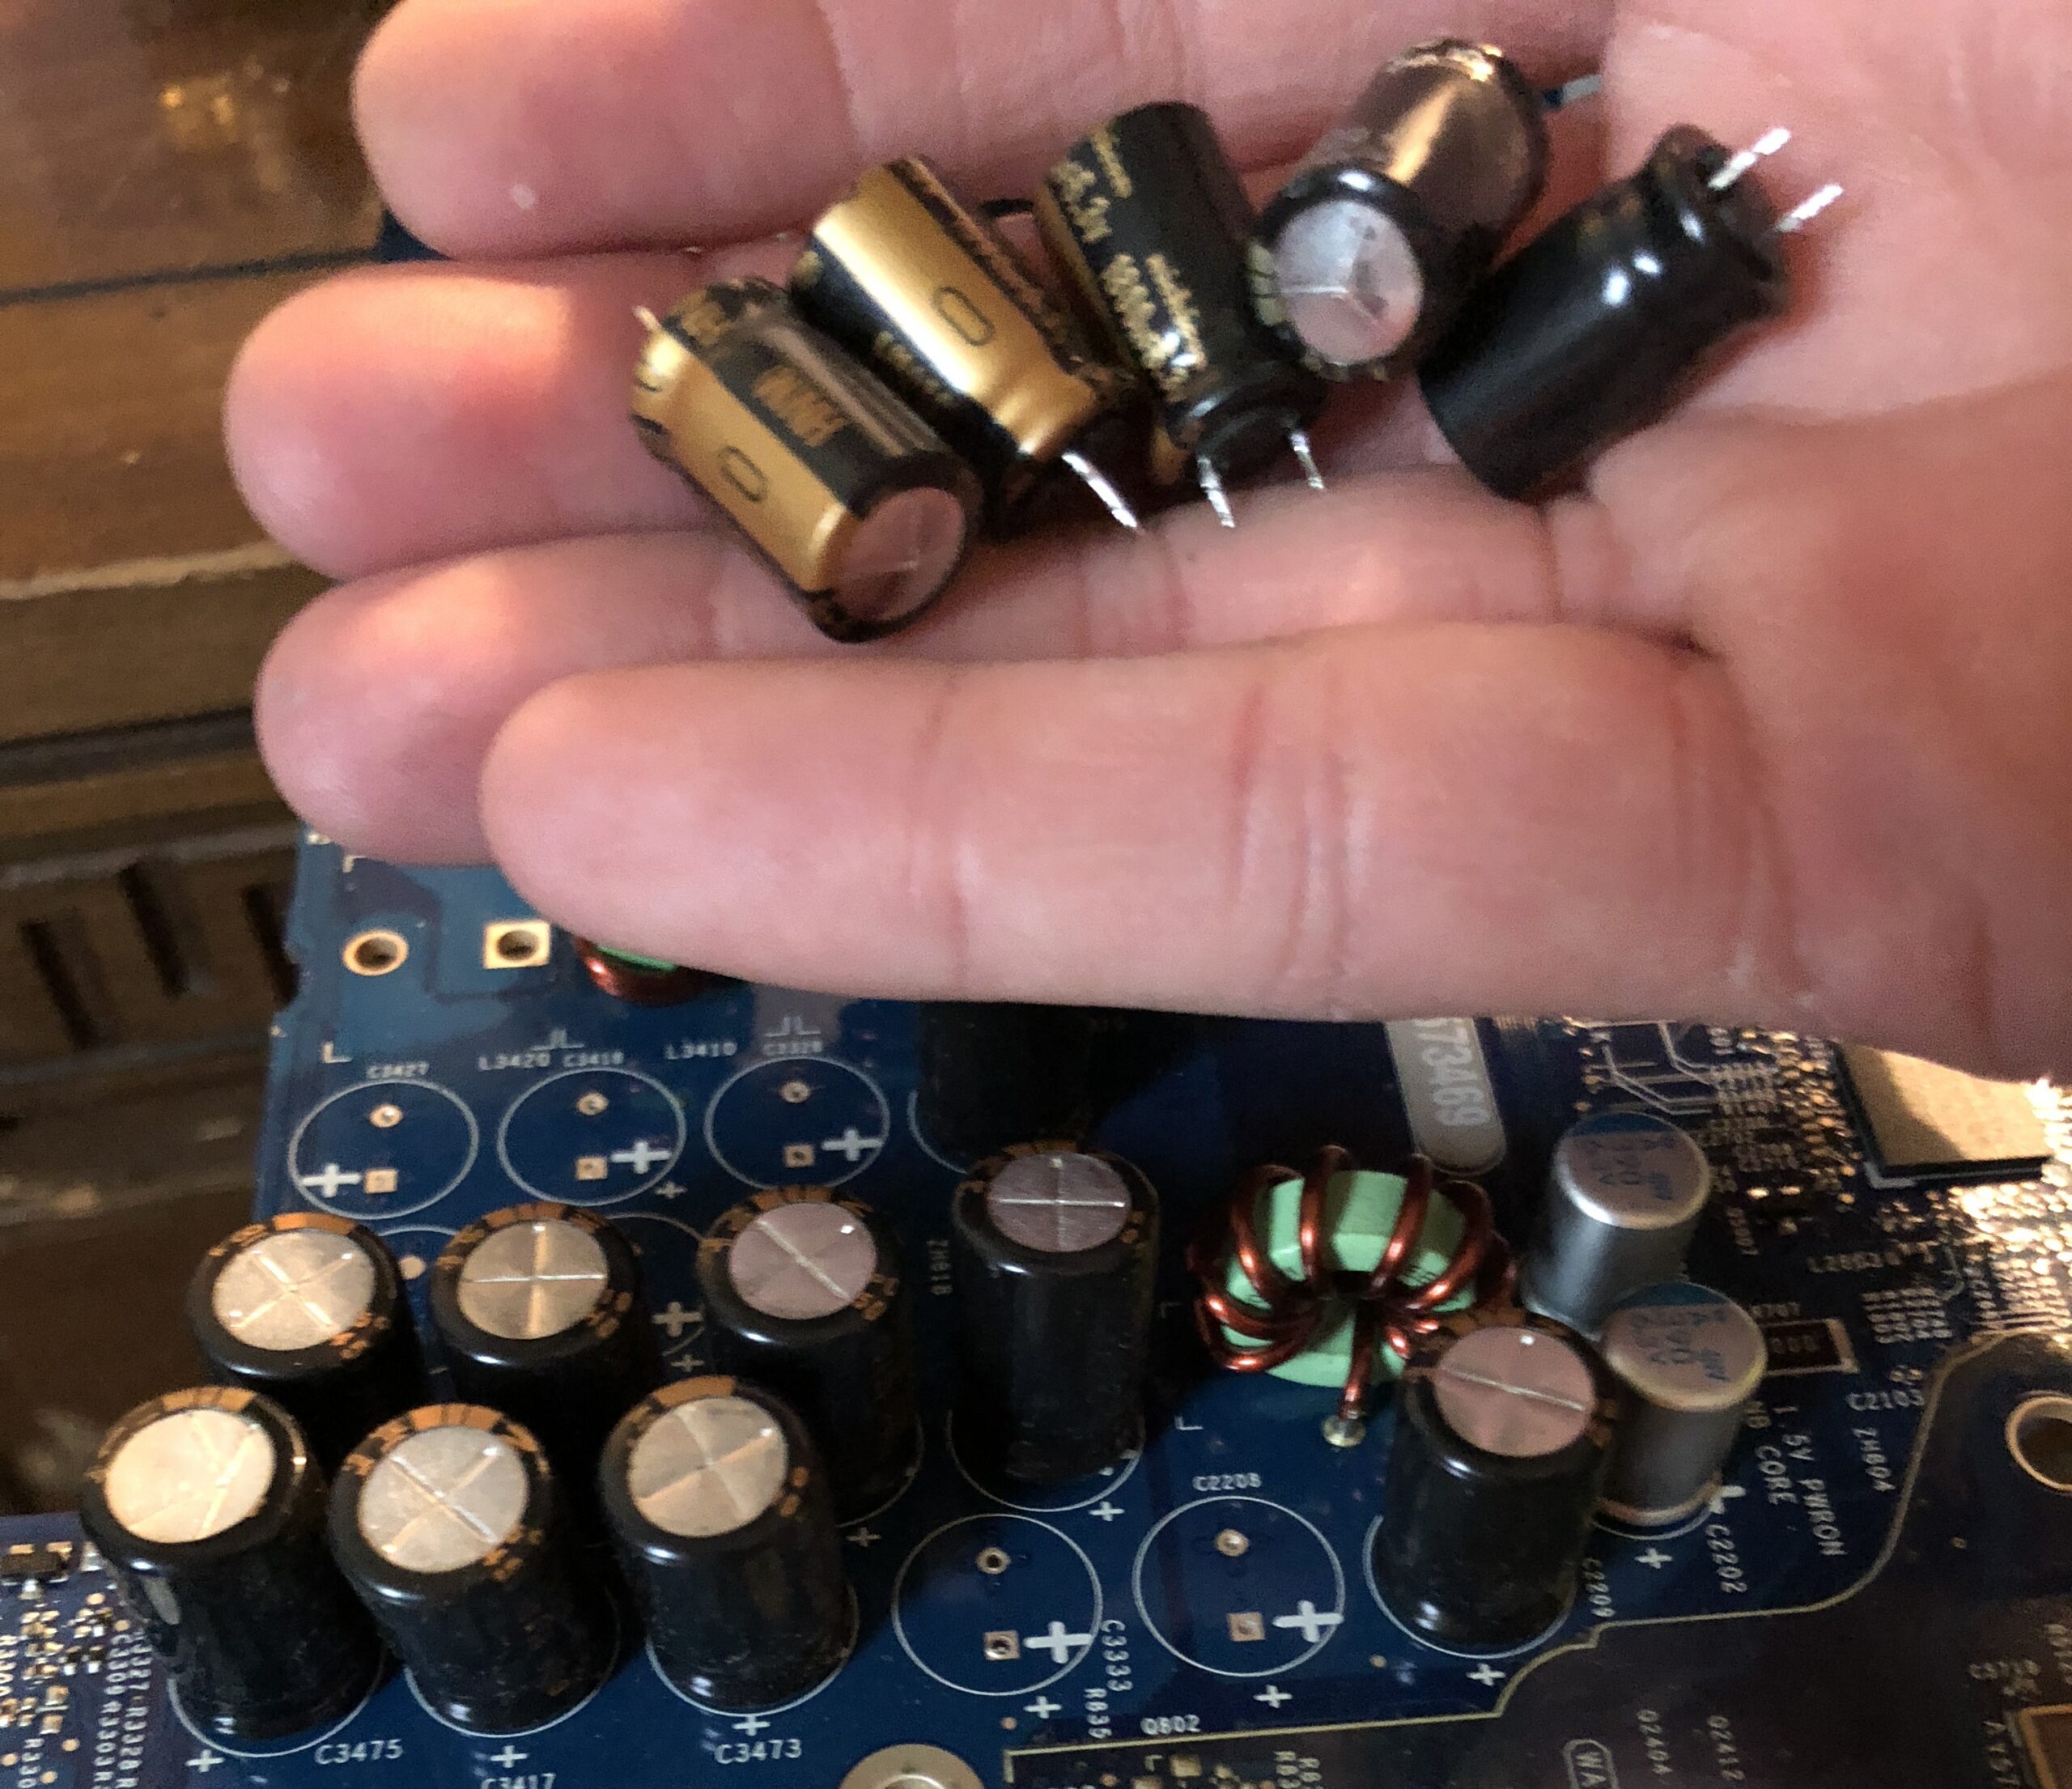 (Above: Old capacitors removed from logic board)
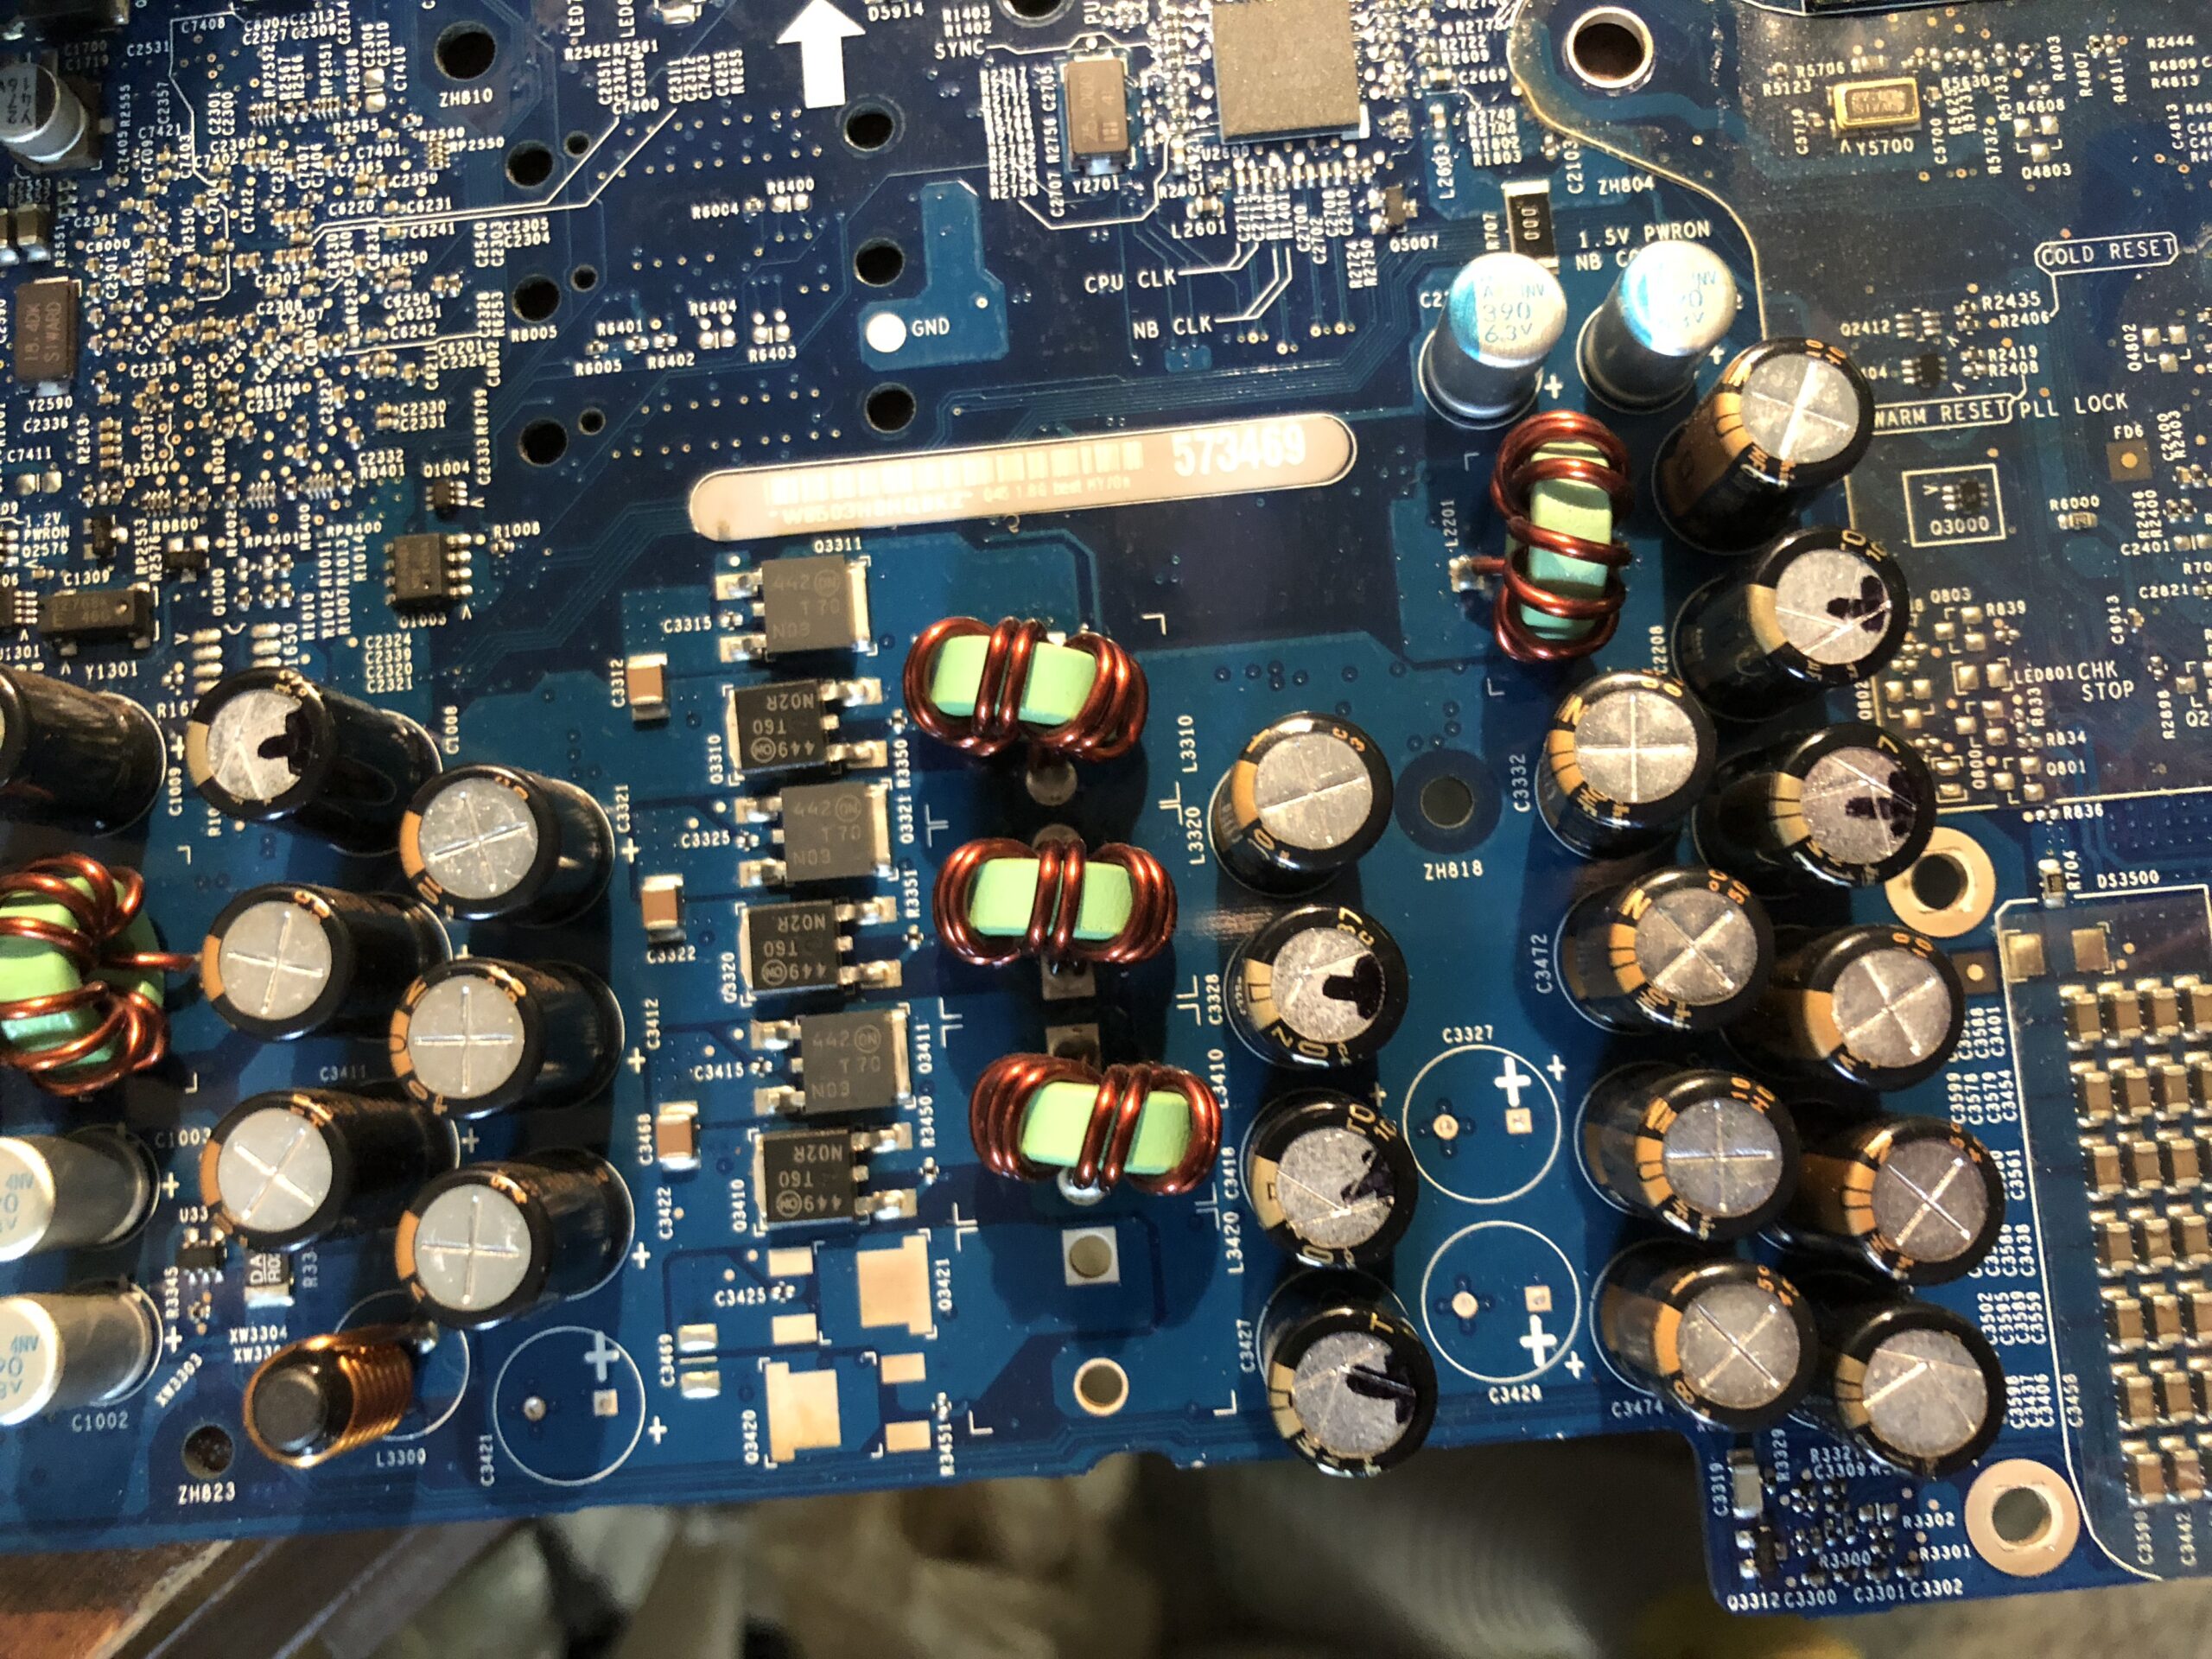 (Above: freshly installed capacitors)
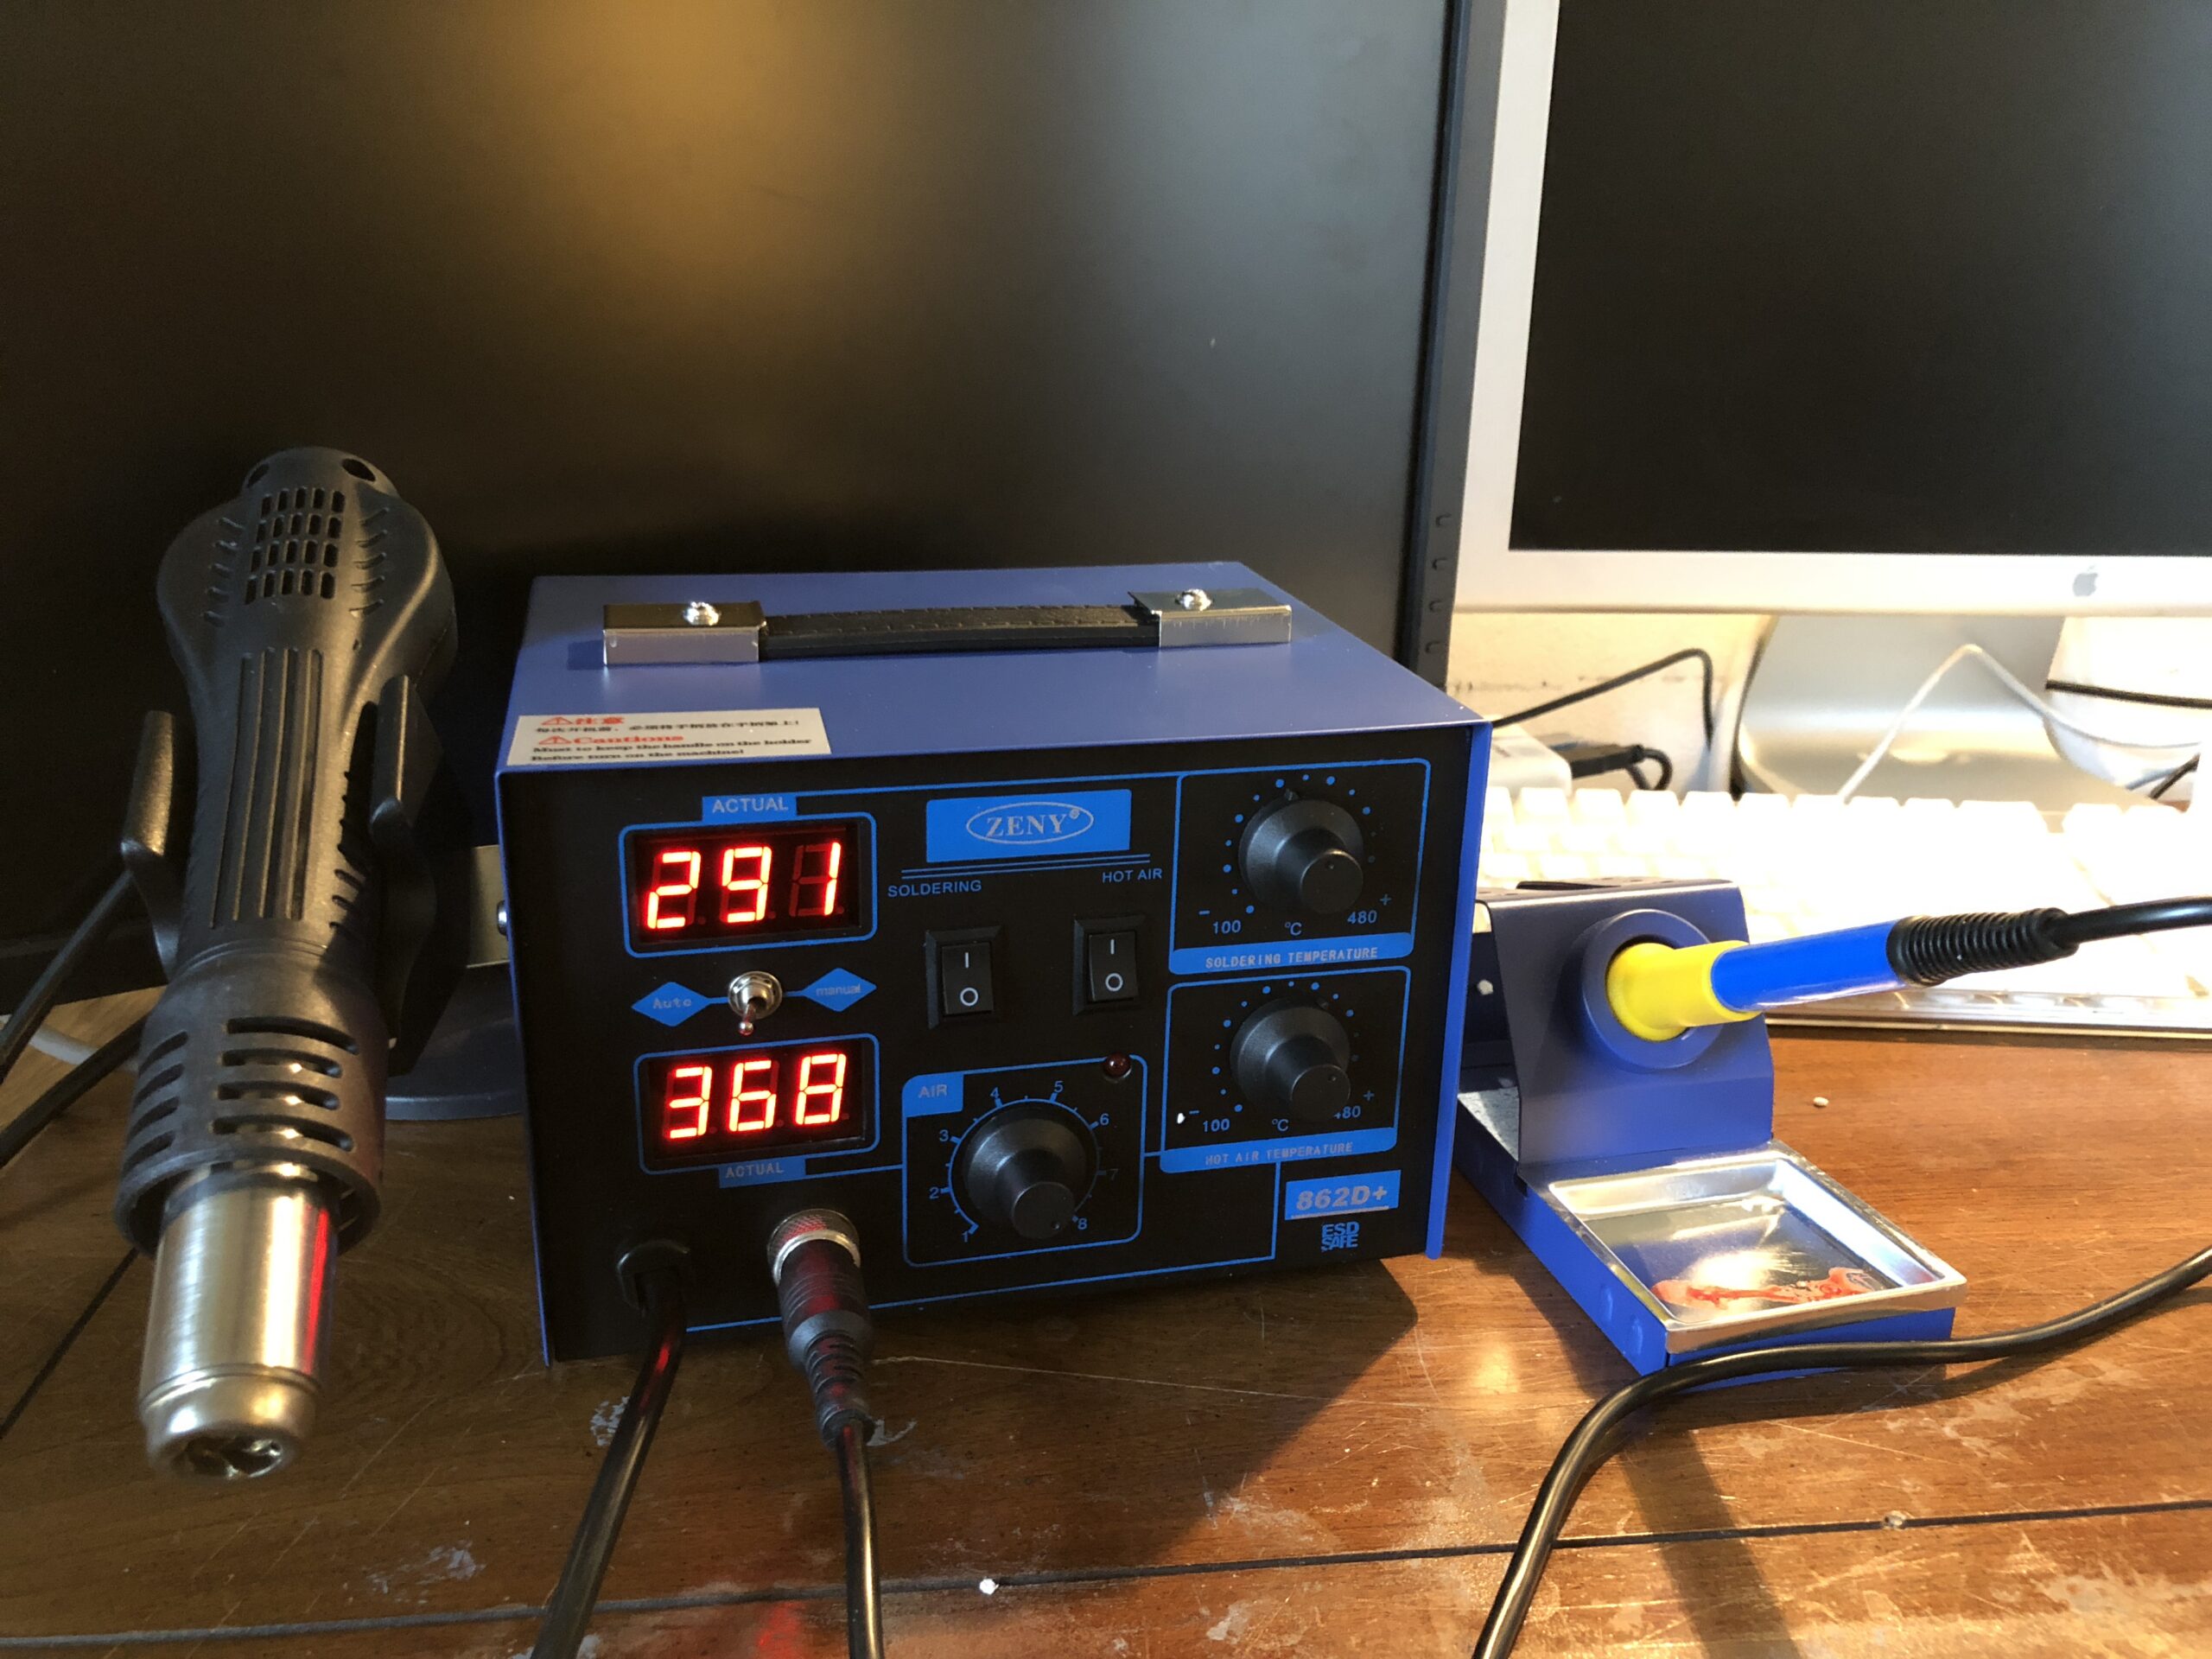 (Above: The soldering station is basic but gets the job done. Hasn’t broken yet!)
Moment of truth
Types of Capacitors Used

Thermal Management Diagram

Installing a Solid State Drive
Balancing price to performance, I went for a 120 GB sandisk SSD. It’ll be quieter, use less power and create less heat even if it doesn’t provide all the speed advantages being limited by a Sata I 1.5 Gb/s bus. Nonetheless, the iMac G5 felt a little snappy. To make it look stock even on the inside, I used a zip tie to hold the SSD in place and put all the pieces back together. Doesn’t look the best I know – but it works.
- Side note: The below 2 pictures are from a different 17″ iMac G5 project but reflect exactly the same as what was done to the 20″ iMac G5.


In Conclusion
I was rather fortunate to have found this, correctly diagnose the exact issue, repair it and upgrade it. It was a rather fun project but a machine I didn’t have room for in the long term unfortunately. An iMac G5 certainly will run the software it shipped with (and then some) quite well, and with some upgrades like maxing the RAM and an SSD, Leopard should fare better. These are getting harder and harder to come by as people toss many out, opting out of repair.
This specific iMac model was affected by the capacitor plague issues from the early 2000s however it also suffered from cooling issues as the chip ran quite hot. There are too many electrolytic capacitors too near the massive copper heatsink (which cools a CPU well renown for running toasty), and in rare circumstances the graphics card can even fail, too. They’re nice when they work but tend to have a high failure rate – more fun for future projects and tinkering, right?
I personally like to think just about any device can be rescued from eWaste within reason, having some sort of utilitarian purpose. An iMac G5 flat out can’t handle what intel does, yet it punches above the G3s and G4s which people so avidly collect. For all the aches and pains the iMac G5 brings, it’s quite an easy Mac to take apart and fix again. When Spotify worked it was a good-looking music box – but at least it can still play YouTube and play tagalong with the other few PowerPC Macs hanging around.
