
A while ago, I assembled a pile of 20-Inch 2006 iMac parts into a fully functioning Mac, albeit fixated to an L-shaped shelf contrivance. It worked for the time being, it’s been working pretty steadily for a while now, so I’ve been thinking about putting it into more of a case.
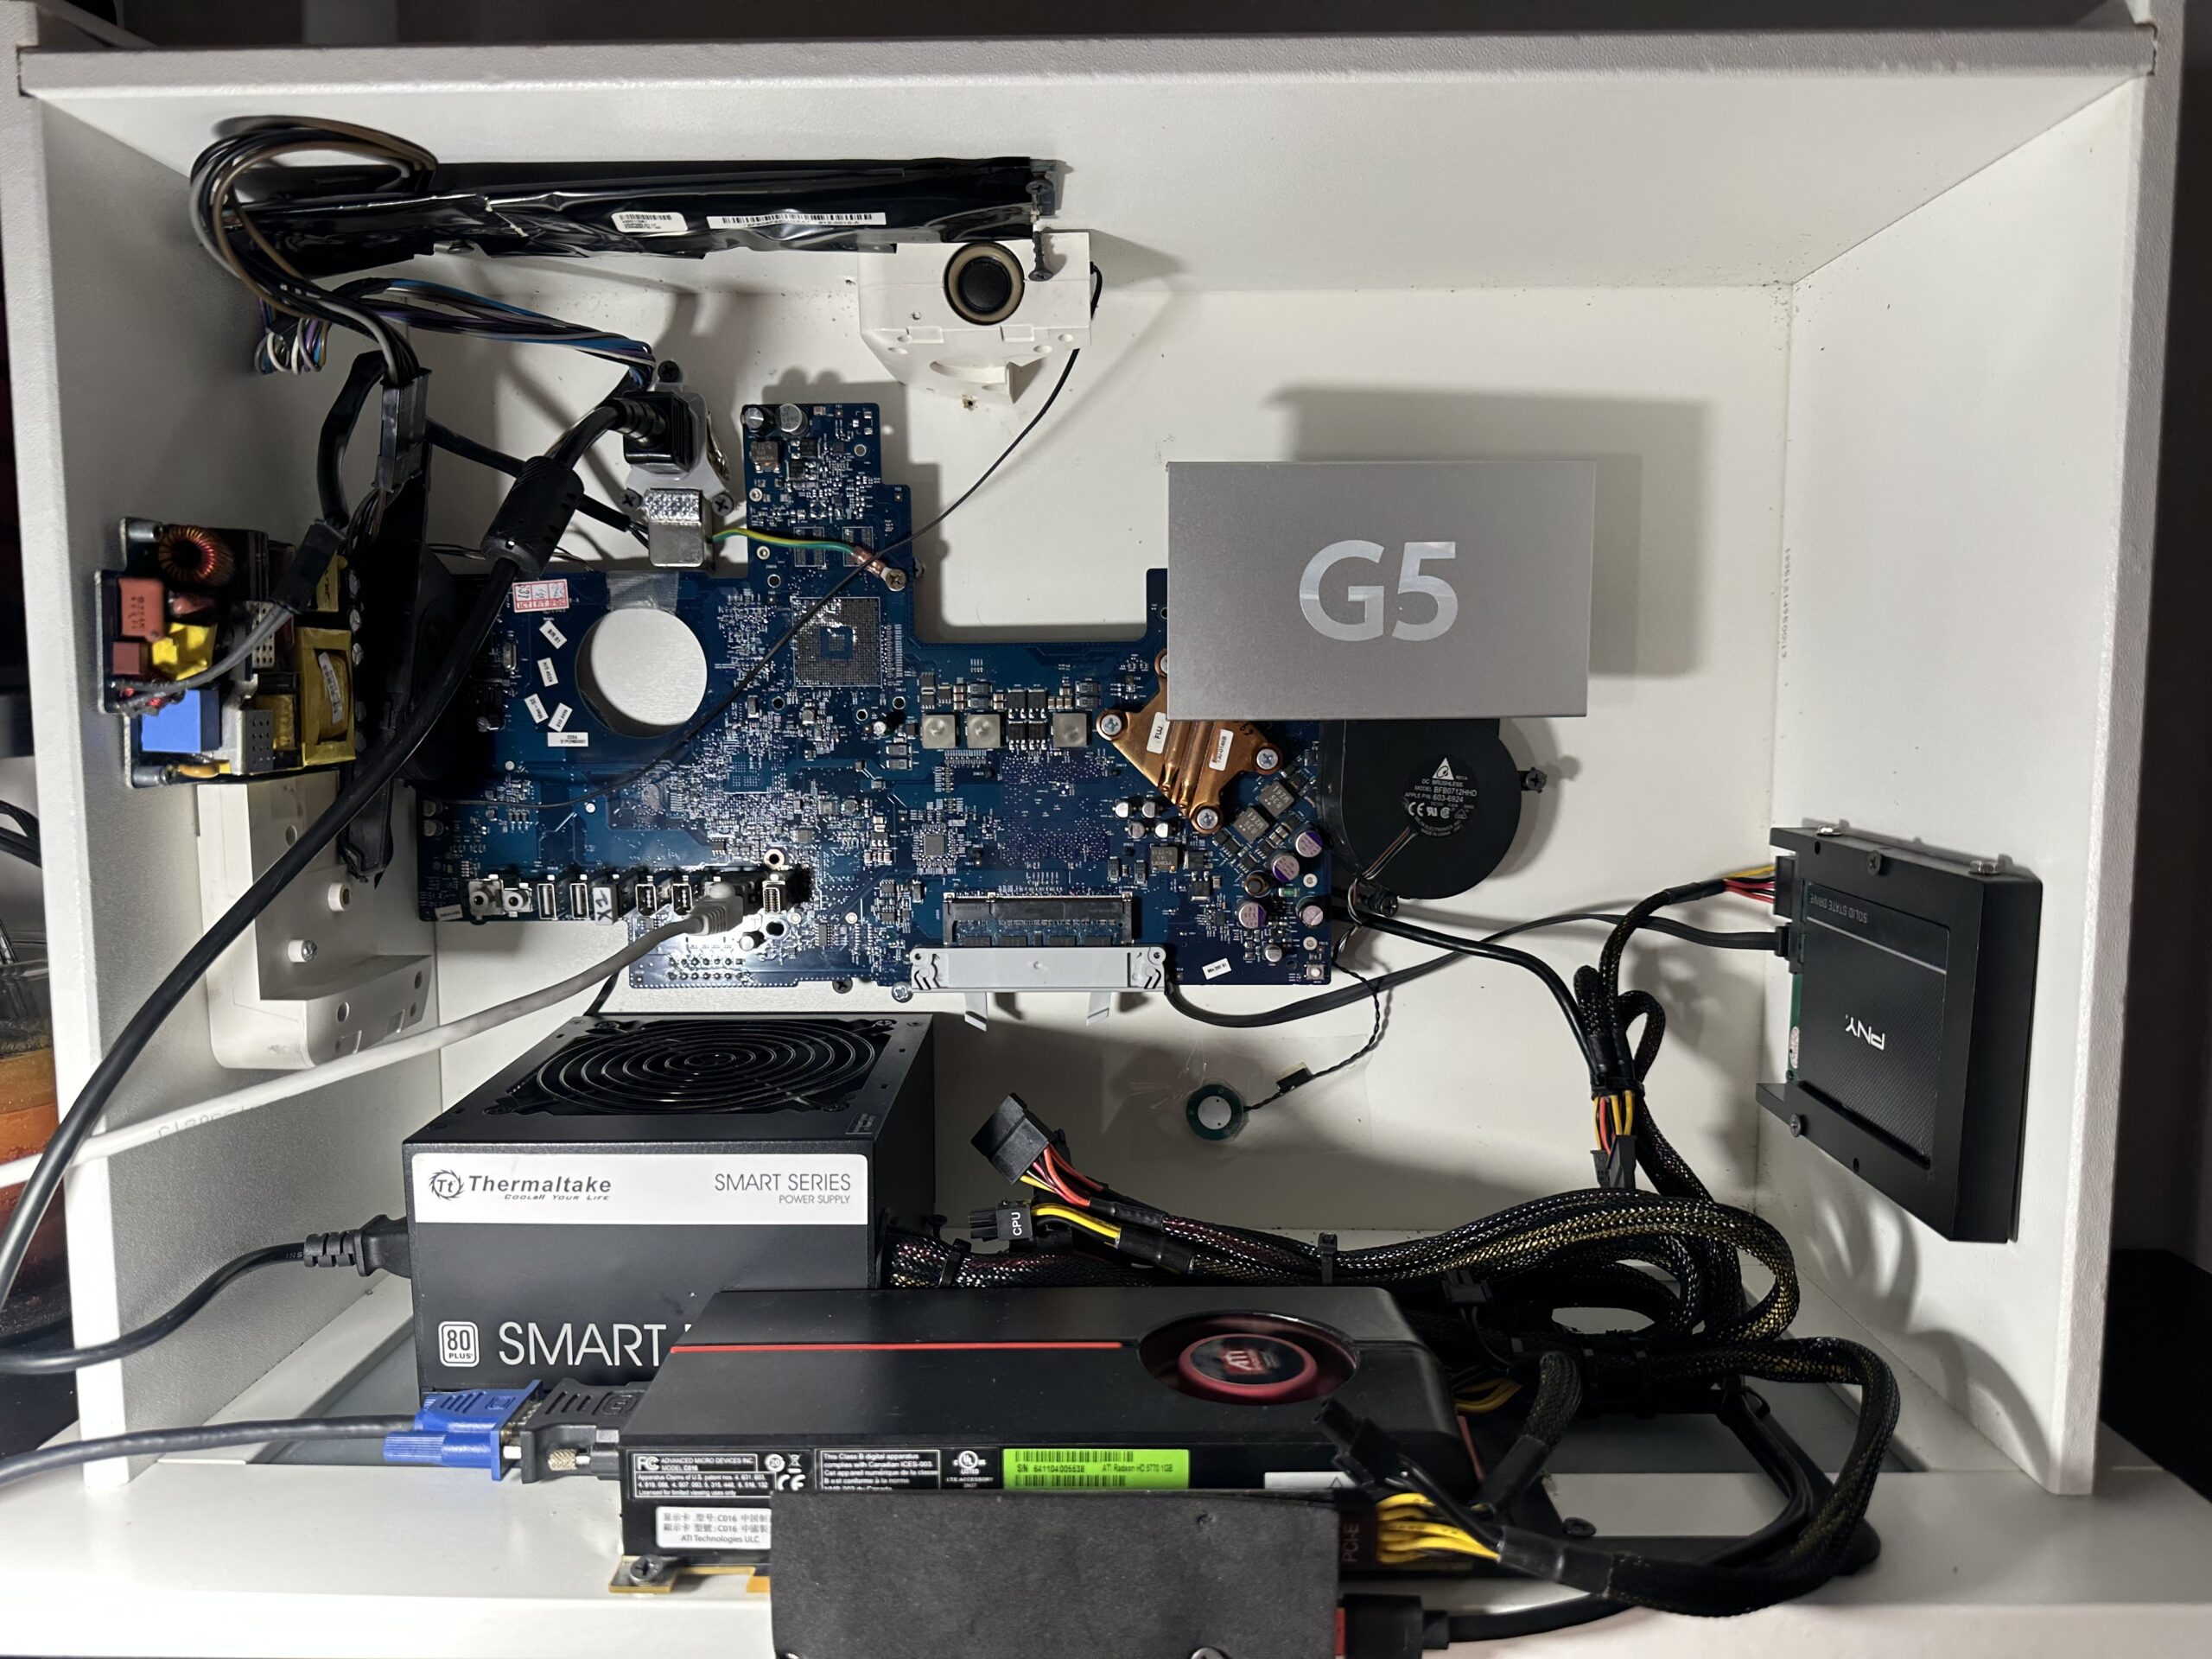
I thought for weeks and weeks what kind of case I could throw everything into, even entertaining the idea of putting it all into an empty Mac Pro or Power Mac G5 shell. Rather than wasting money and continuously brainstorming for now, I recycled a wooden drawer/box and screwed everything into the wooden frame.
.
.
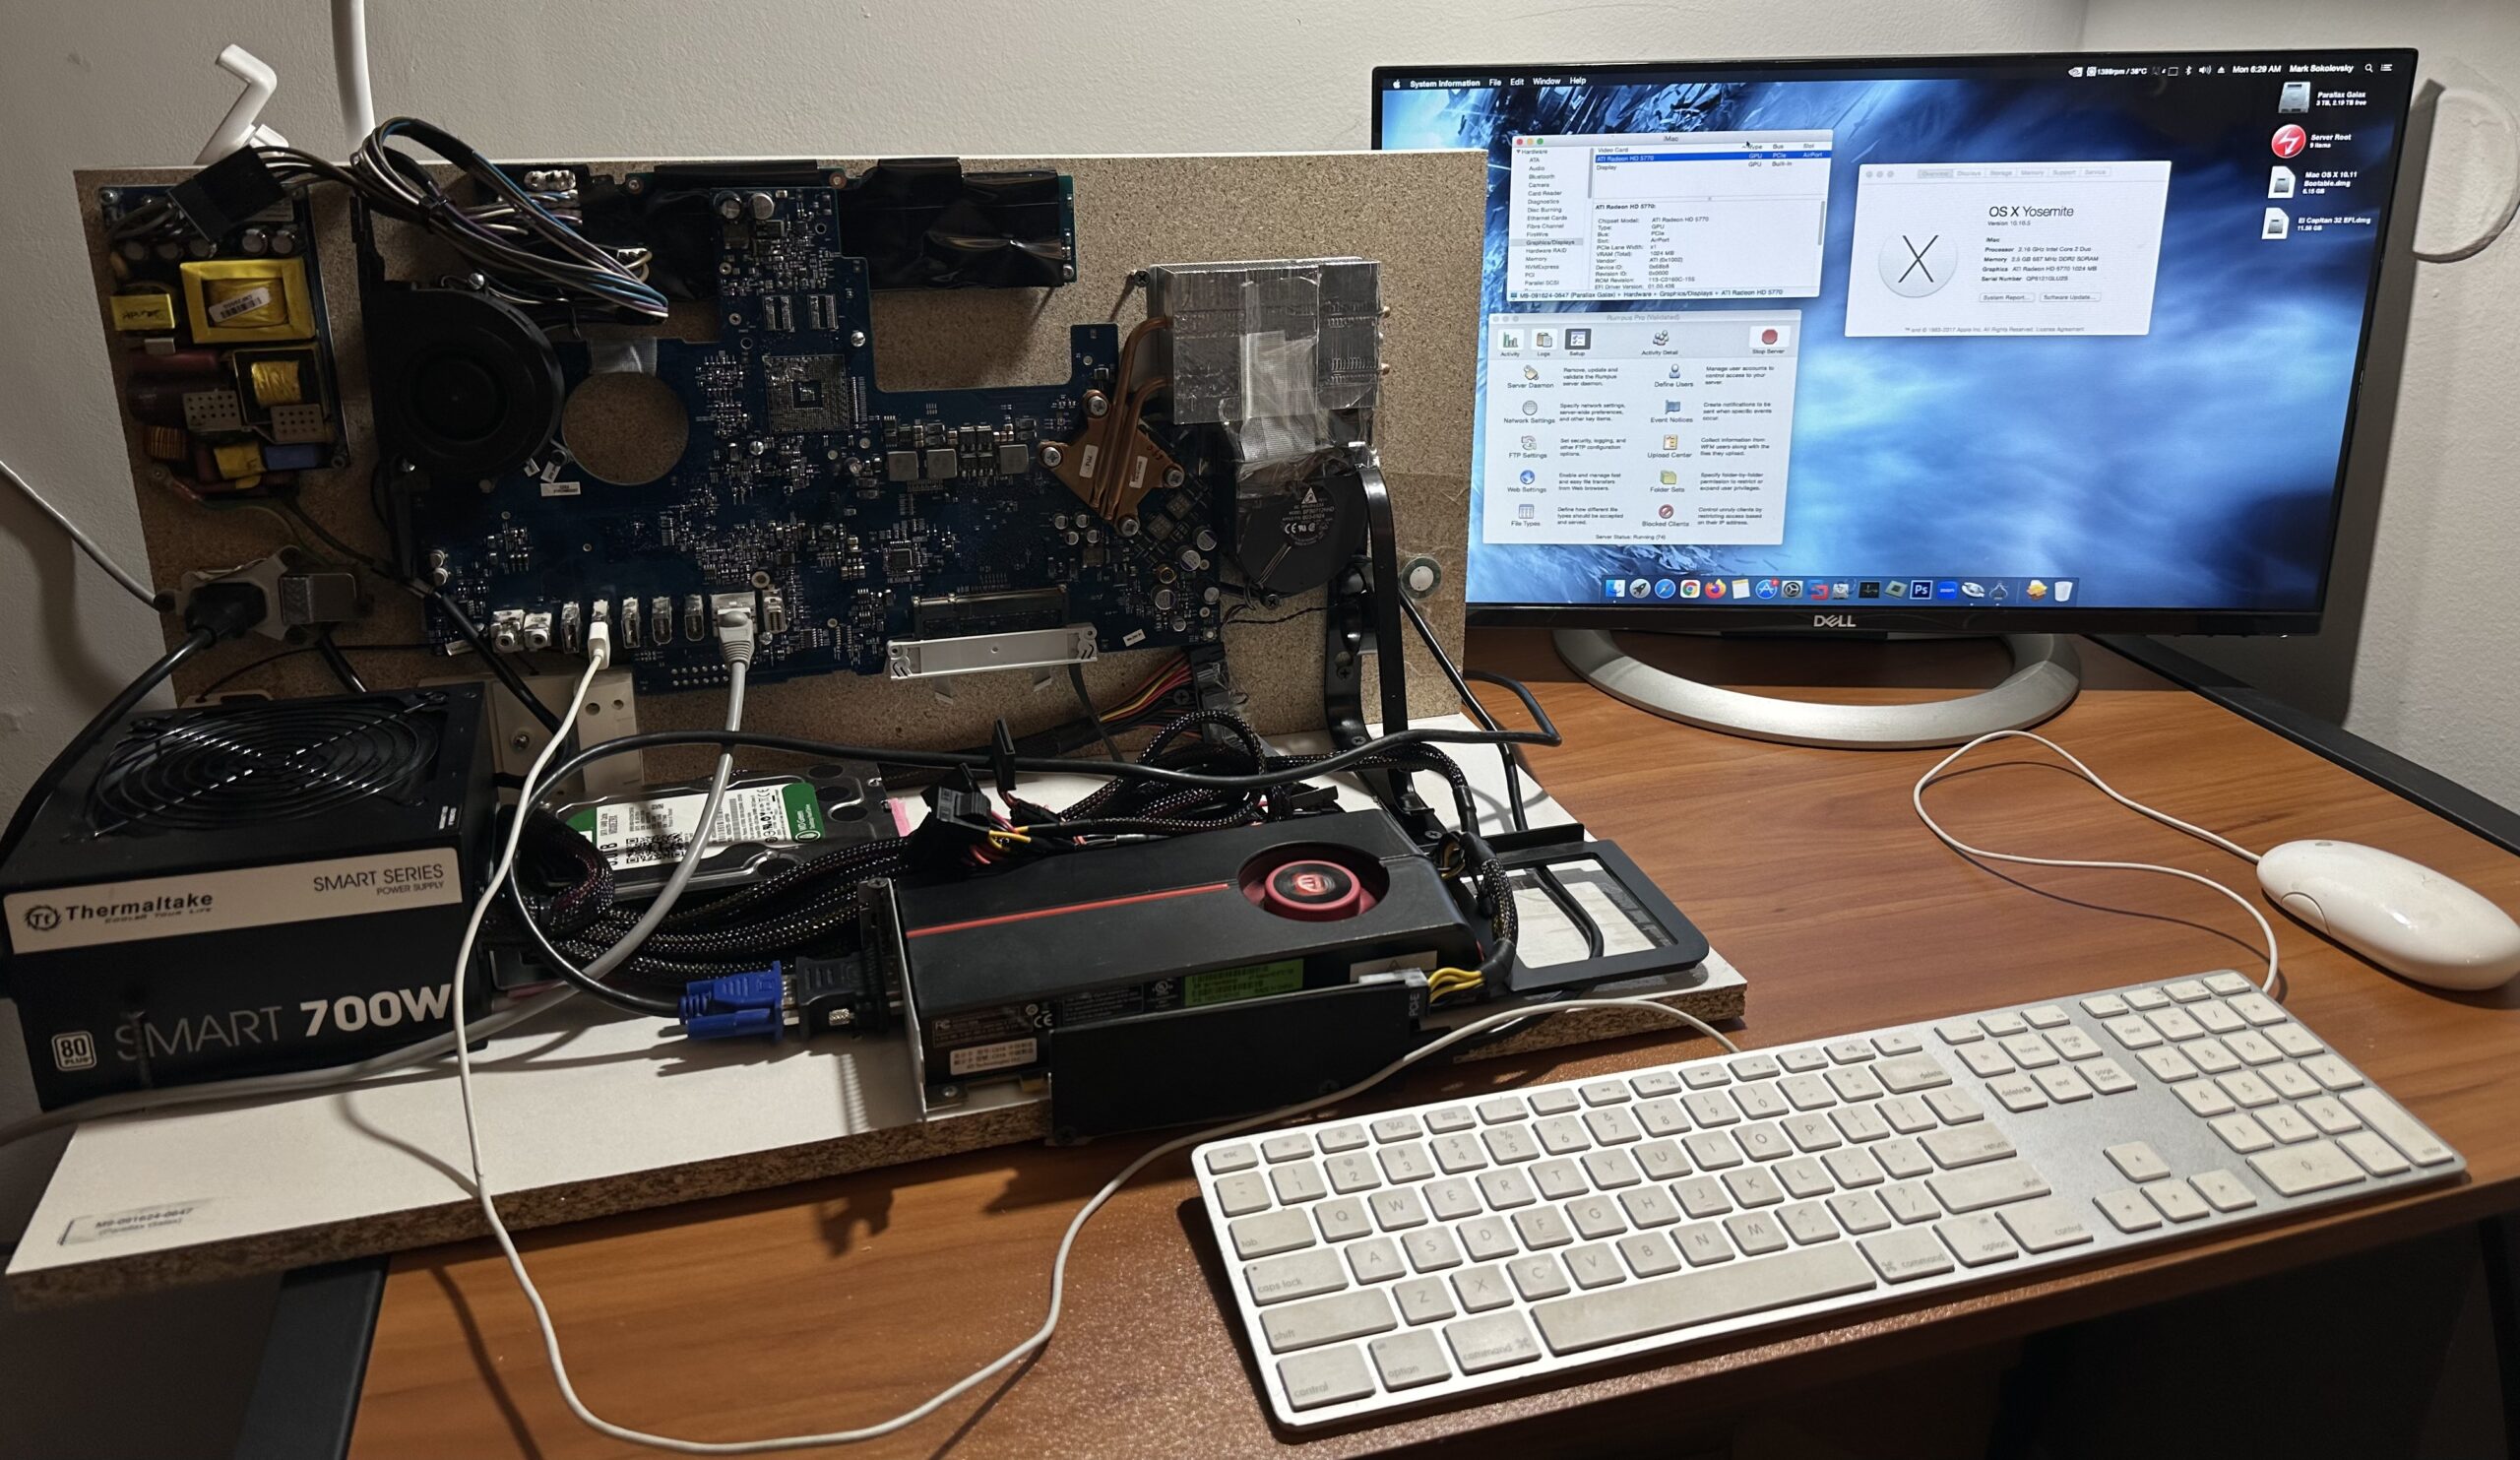
I brought up this project a while ago, and today I revisit it after it’s been repackaged into something seemingly more protective. Still, I have to get a nicer display for it again. I took the 1080p dell display it used to have, turned it 90 degrees, and use it as a vertical display for my main desk now.
.
Tech Specs
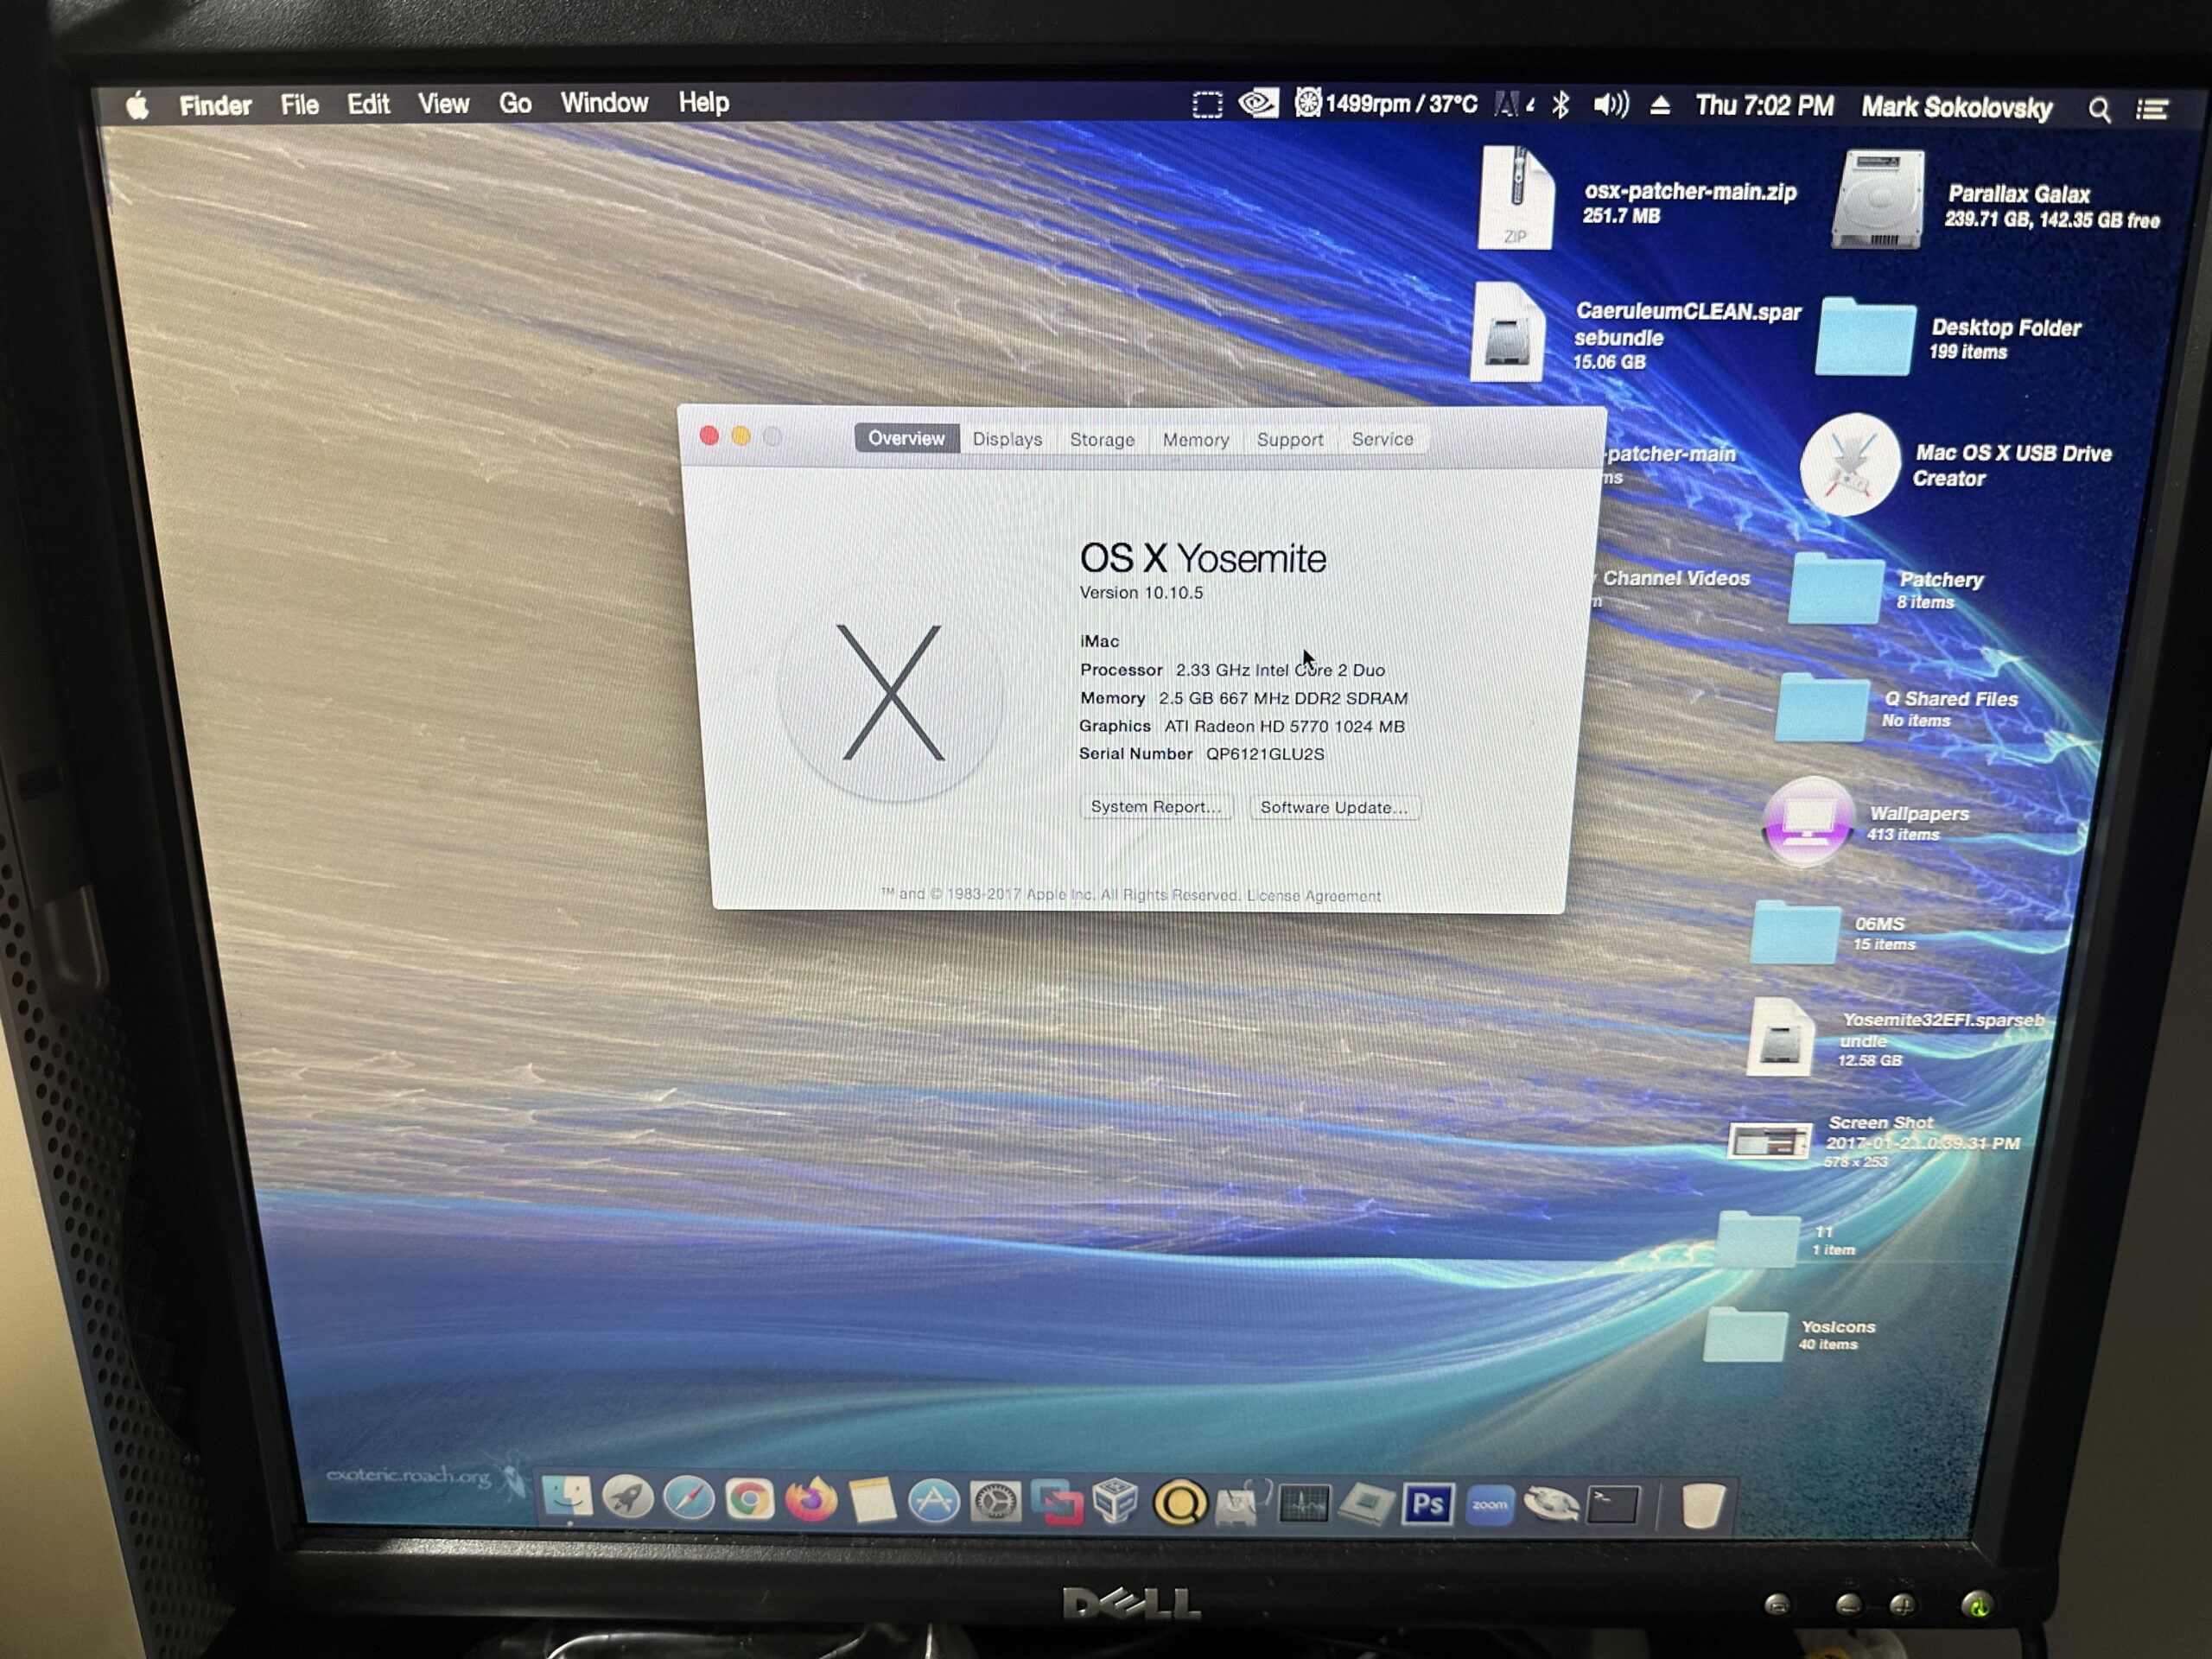
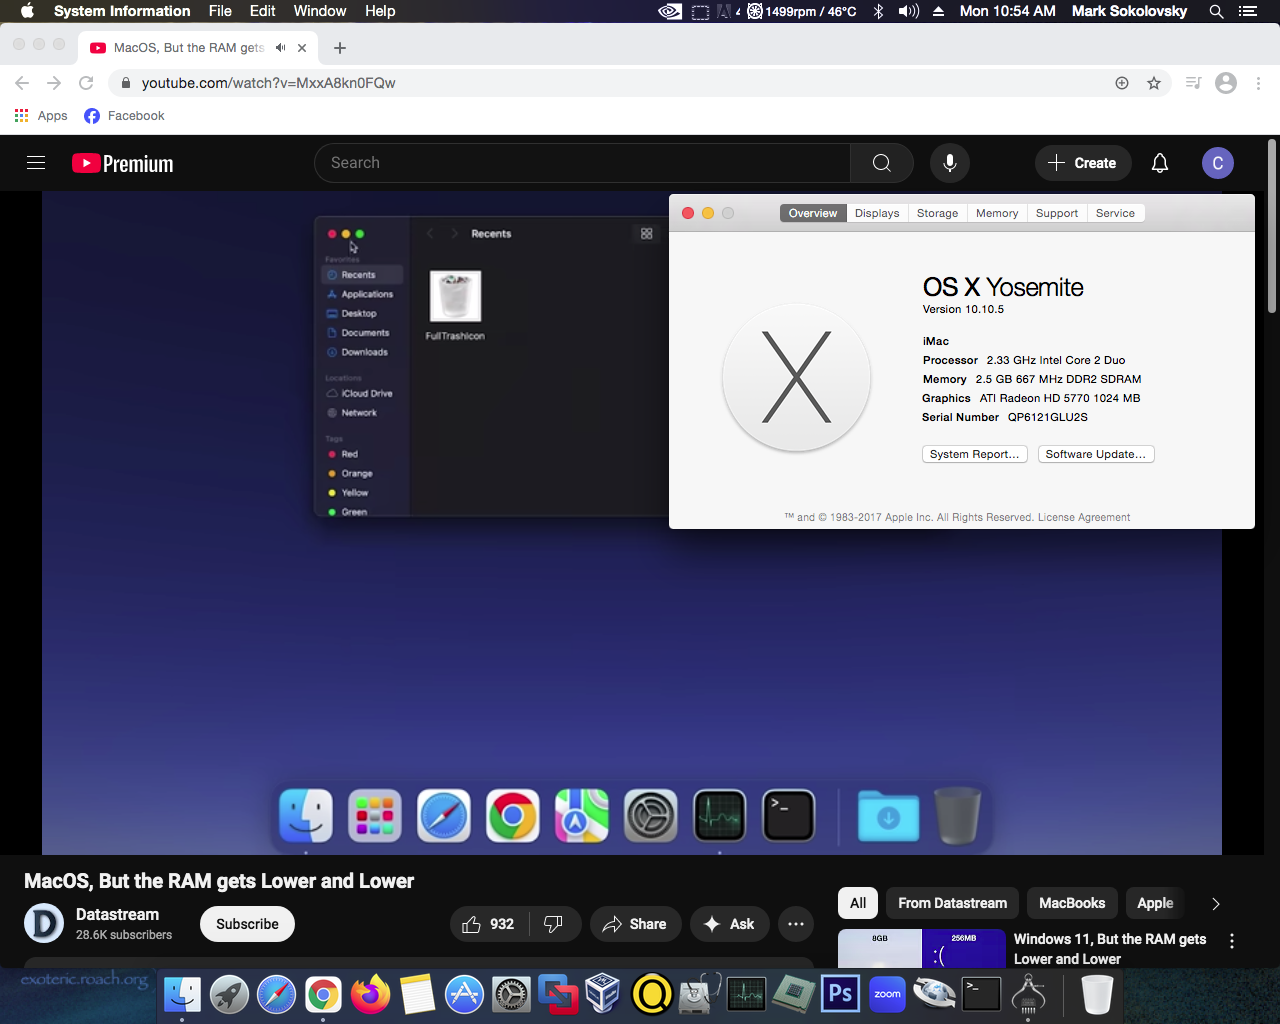
Early 2006 iMac 4,1 (Serial: QP6121GLU2S), firmware upgraded to iMac 5,1
CPU: Intel Core 2 Duo T7600 2.33 Ghz
RAM: 2.5 GB PC2-5300 DDR2 667 MHz
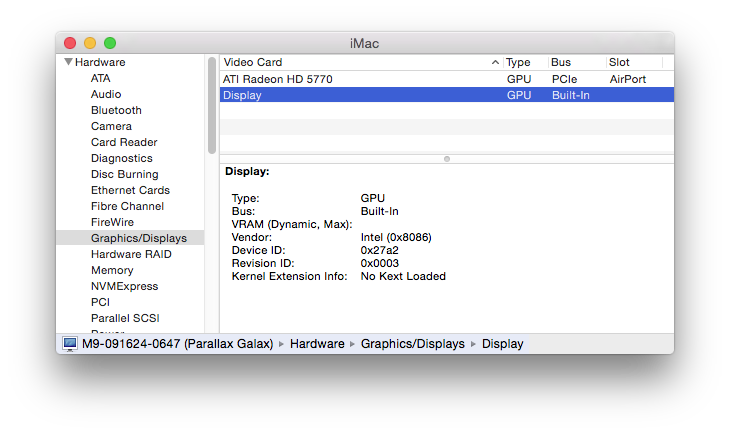
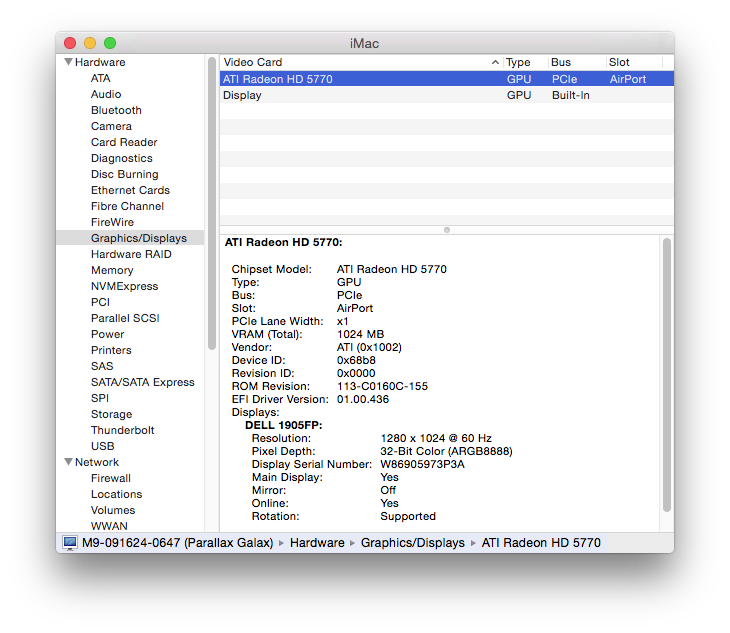
GPU: ATI Radeon HD 5770 1 GB, via Mini PCIe to PCIe adapter
Boot: PNY 240 GB SSD
Storage: 1.5 TB USB 2.0 RAID0 Array (2x 750 GB 2.5″ Hard Drives, not pictured)
OS: OS X Yosemite 10.10.5 w/Piker Alpha Boot.EFI Modification
PSUs: Original iMac PSU + Thermaltake Smart 700W external PSU for the HD 5770 + SSD
The core of this Mac is an Early 2006 Core Duo 20″ iMac, which came at the very beginning of the Intel transition – this was one of the very first to hit the market after the announcement. The original screen, shell, and inner metal frame are no longer present, (even the X1600 was ripped off the board), but there is a fully functioning real Mac with modifications. 20 years after manufacture, this may not look at all like an iMac anymore, but works!
.
Some board modifications
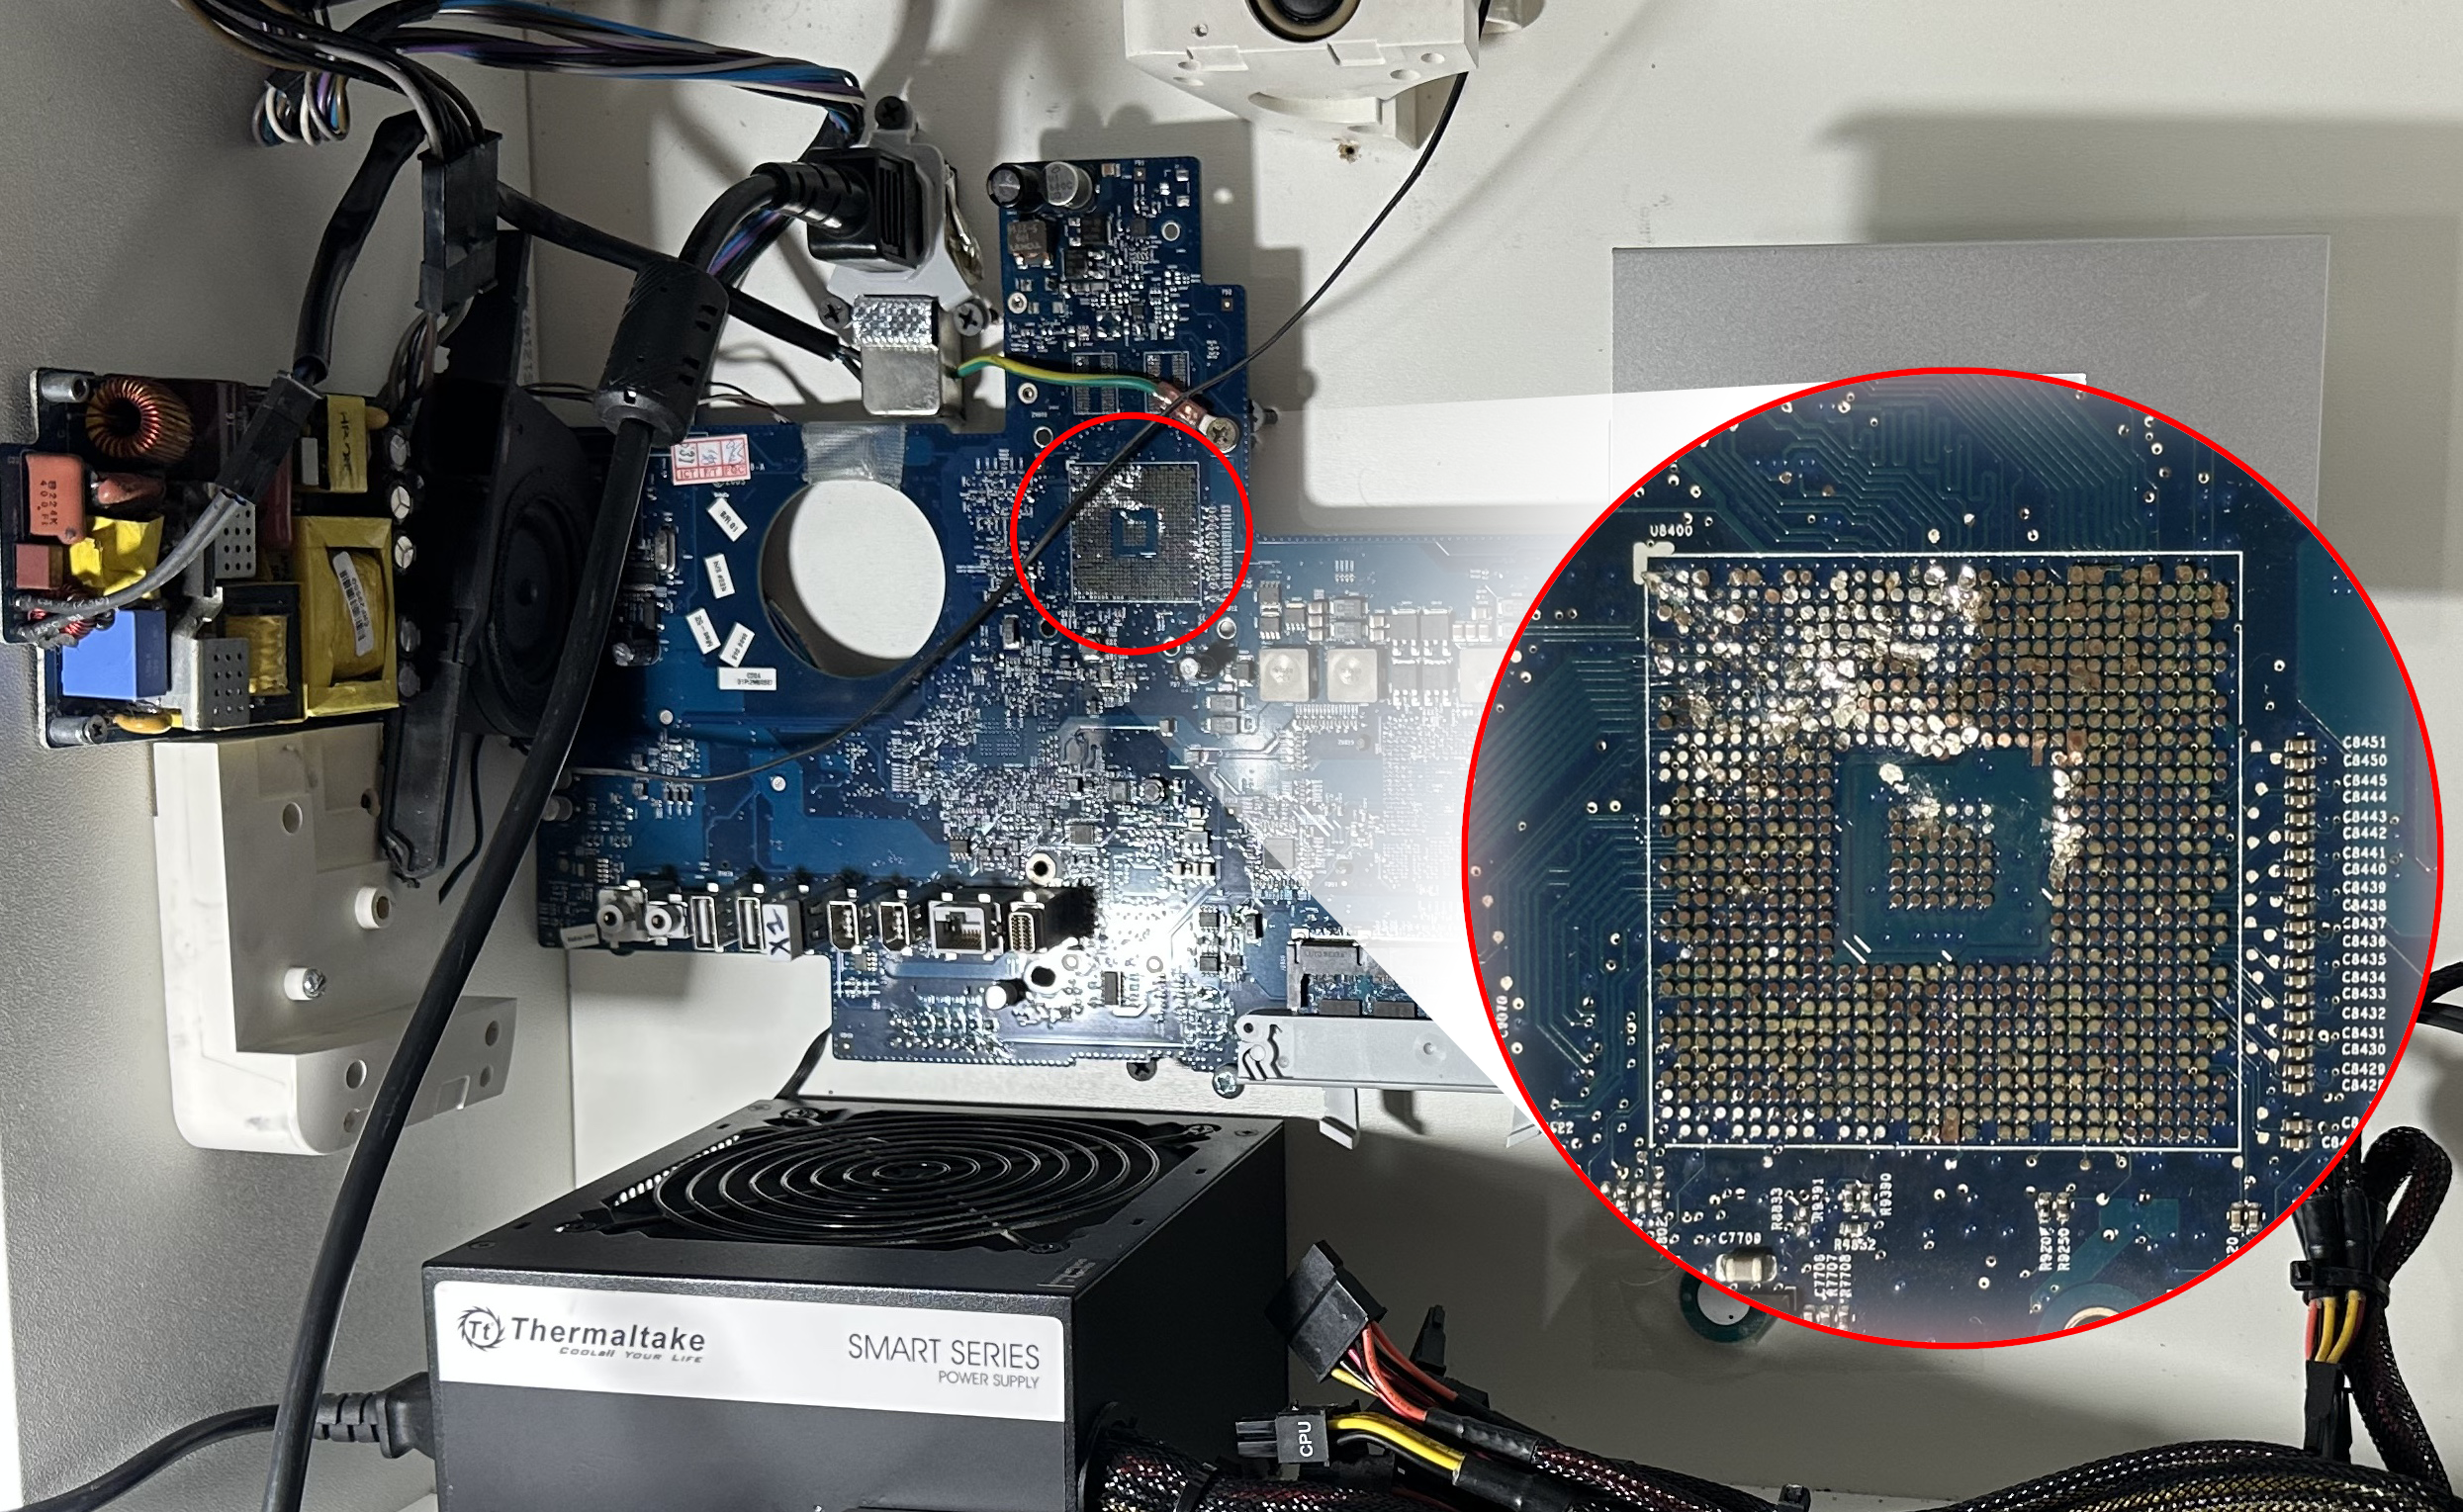
I ripped the original X1600 GPU straight off the board, so it doesn’t load any kexts alongside whatever’s plugged into PCIe – and this actually worked. No driver conflicts using just the native ATI kexts in Yosemite for the HD 5770, and it has full graphical hardware acceleration.
I also superglued the onboard SATA port with the SATA cable right on it, since it seemed so brittle as if it were about to break off. Even though there is still the ATA-100 BUS that can be taken advantage of, it’s still SO much slower than SATA 1.0. I’d rather not have to do the extra work of soldering back on a SATA data port, so this is hanging in there and seemingly not wiggling around or loose. Thankfully so.
.
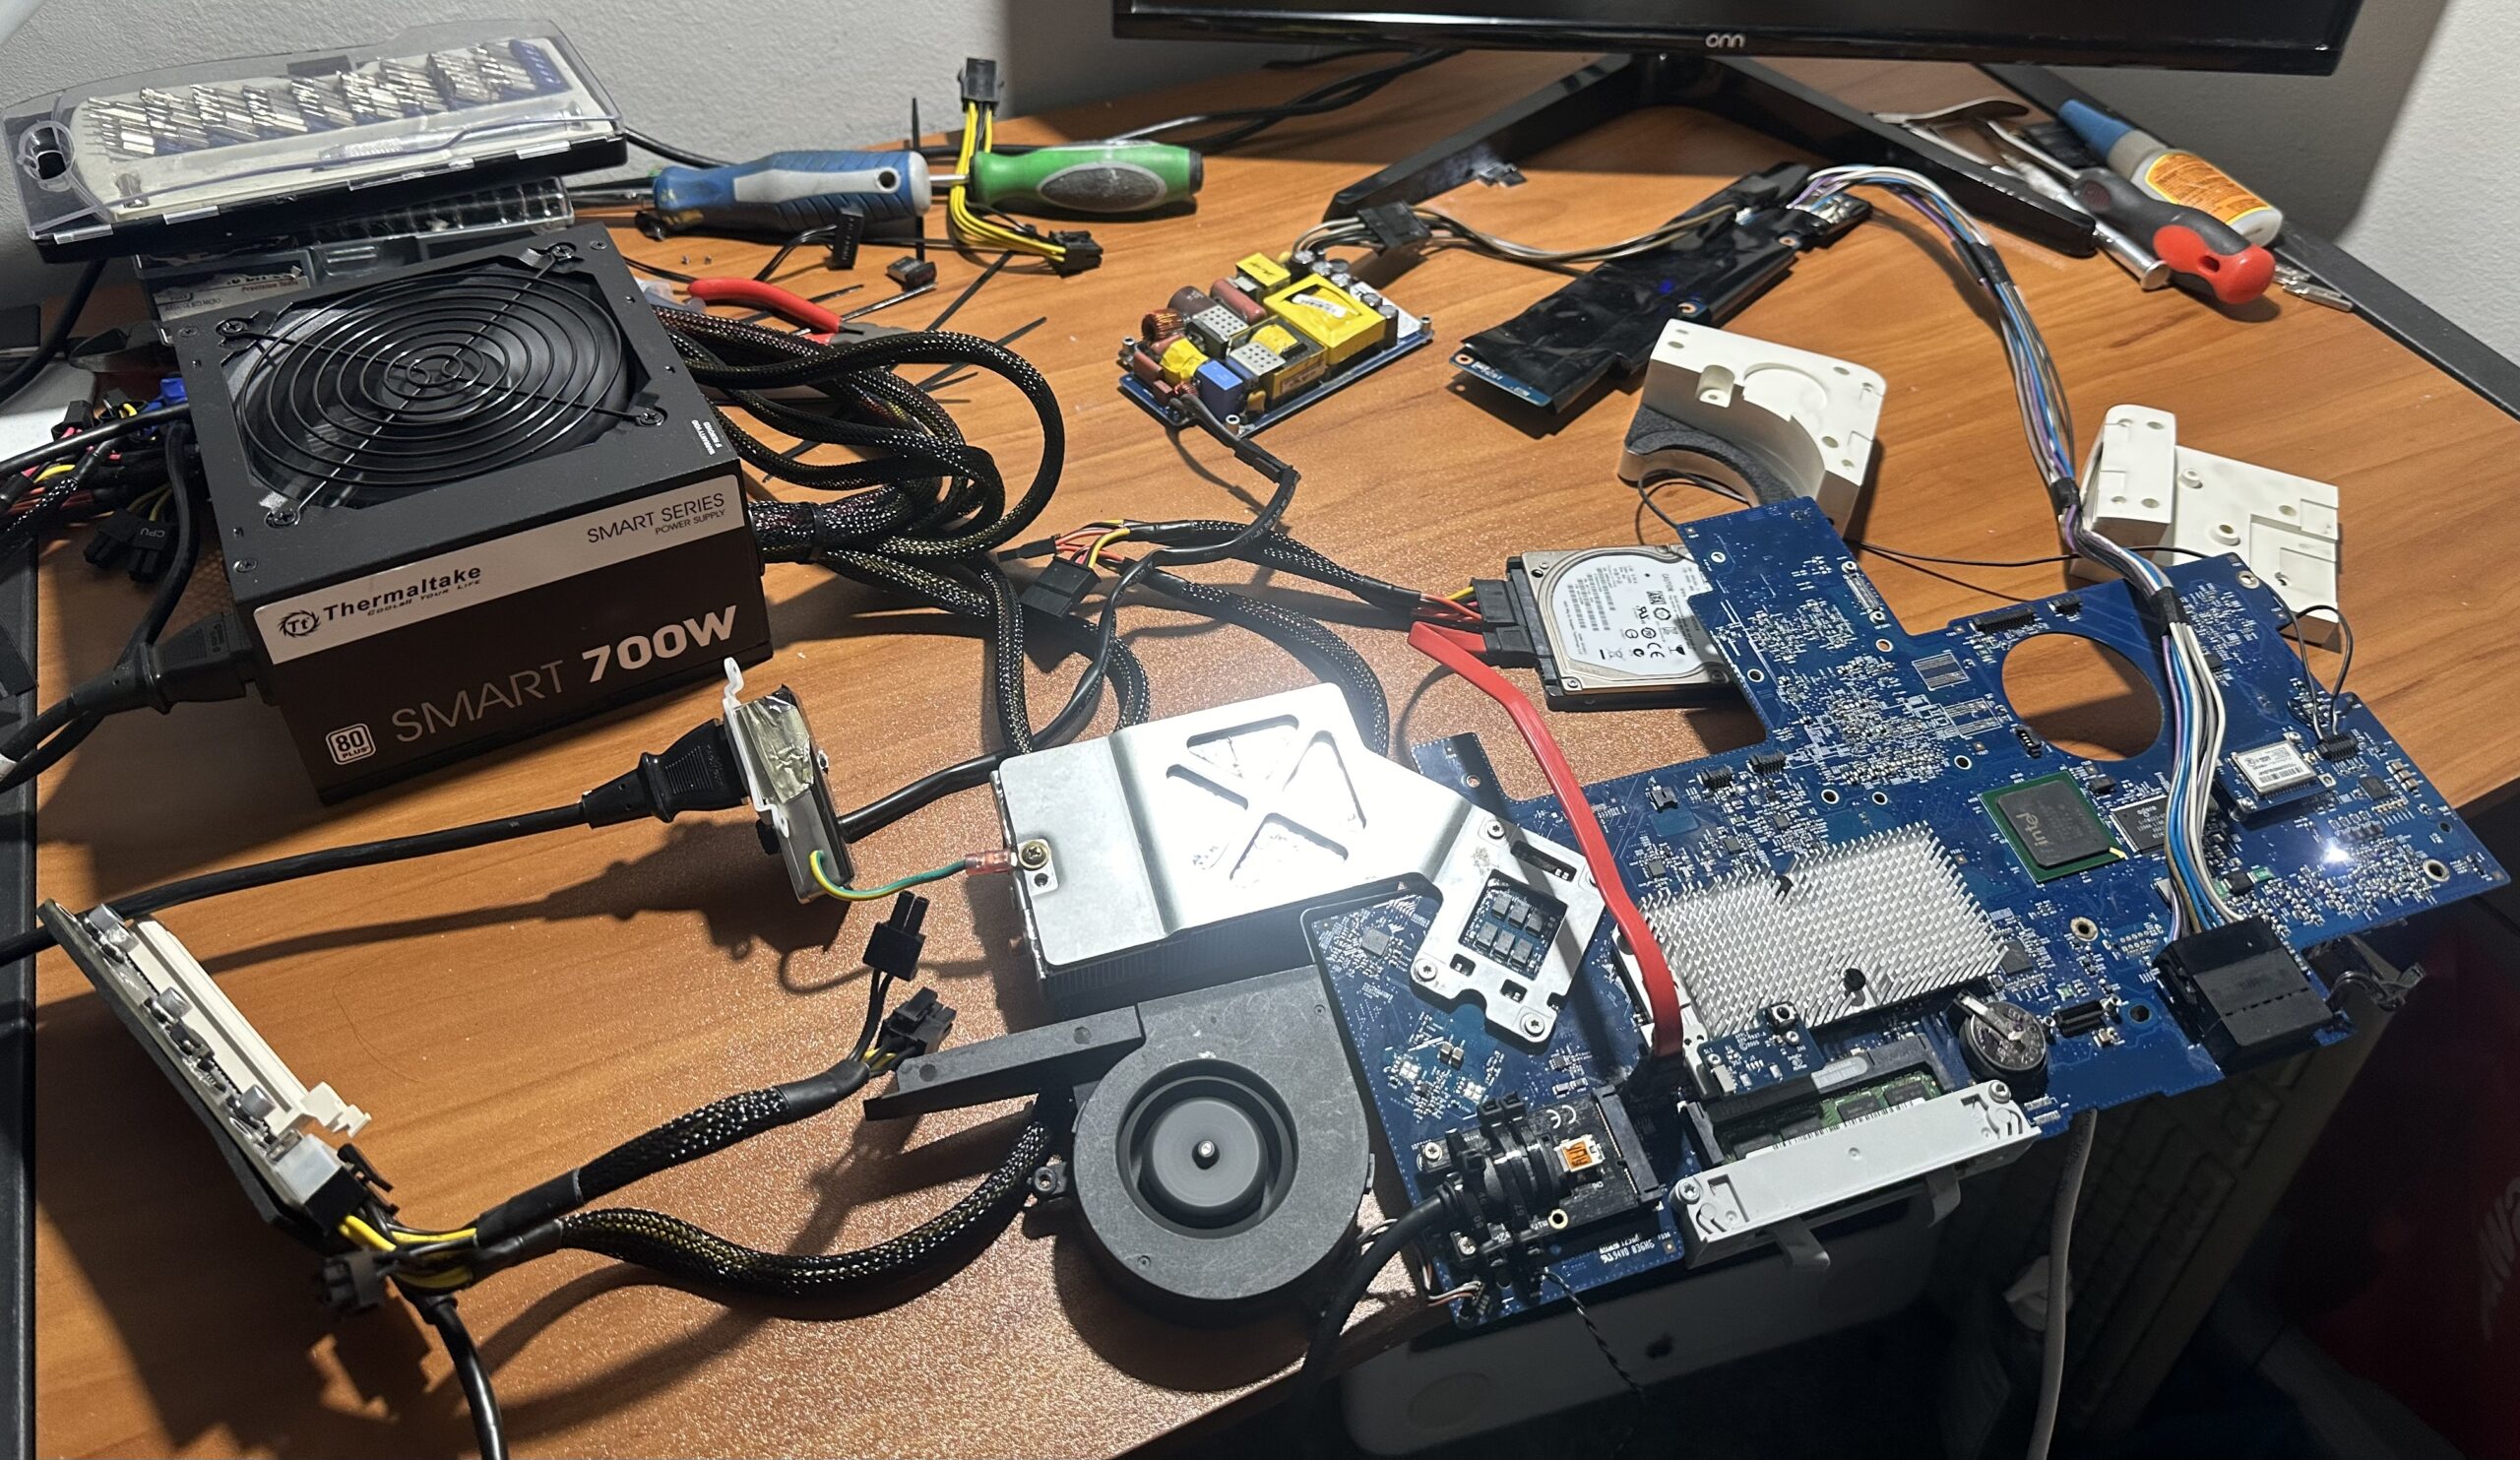
What the project originally looked like
I was testing out a bunch of GPUs including some Nvidia ones with the Web Drivers. The HD 5770 seemed to be the best choice, between everything I tested. The Nvidia Web Drivers could work sometimes, but would cause odd behavior especially when in conjunction with an old ATI GPU onboard. This is also why I ripped the old GPU off the board. The HD 5770 also gives the Mac a boot screen like it would otherwise on a Mac Pro, which is nice.
Due to the GMA 950 chipset, the 17″ and 20″ iMacs are limited to 2.5 GB RAM when using an external graphics card via PCI-Express. Also, even though this is literally just PCIe v1.1 x1, there is still a noticeable performance difference between a Radeon HD 2600 256 MB and an HD 5770 in Yosemite. With the HD 2600, there is noticeable stuttering with graphical hardware accelerated animations, especially at higher resolutions. On the HD 5770, however, the animations are rather smooth. This makes it a decent candidate for a machine which can do some Photoshopping, as well as some web browsing.
.
.
Since this isn’t a PowerPC Mac and has the Piker Alpha Boot.EFI mod, it can run all the way up to OS X El Capitan. I plan to get it going on El Cap using a slightly different method since the Piker Alpha method seems to have a memory leak issue with 10.11. Since this iMac can’t house anywhere nearly as much RAM as a Mac Pro, we can’t just ignore the any memory leak issue so for now I stick to Yosemite. On El Capitan with Piker Alpha, it Kernel Panics and reboots after a few minutes.
A 700W Power supply makes sure there’s no strain on the internal iMac PSU, enables the eGPU to fully spread it’s wings without worry about impacting the iMac, and also enables me to use 3.5″ drives with this iMac’s internal SATA if I need to. I must’ve cut the SATA power on the iMac PSU a some point, using the cable for something else. It’s alright, I guess.
The machine fires up by hitting the ePSU switch first to power the SSD and eGPU, then you power on the iMac. It chimes, and has a boot screen and all. Speaker passthrough works on bootup, but not after I log into Yosemite. Bluetooth speakers are a bandaid for now, but there is a noticeable and annoying delay. I vest my hope into a new attempt at getting El Cap on here with the proper drivers needed to have sound, also.
.
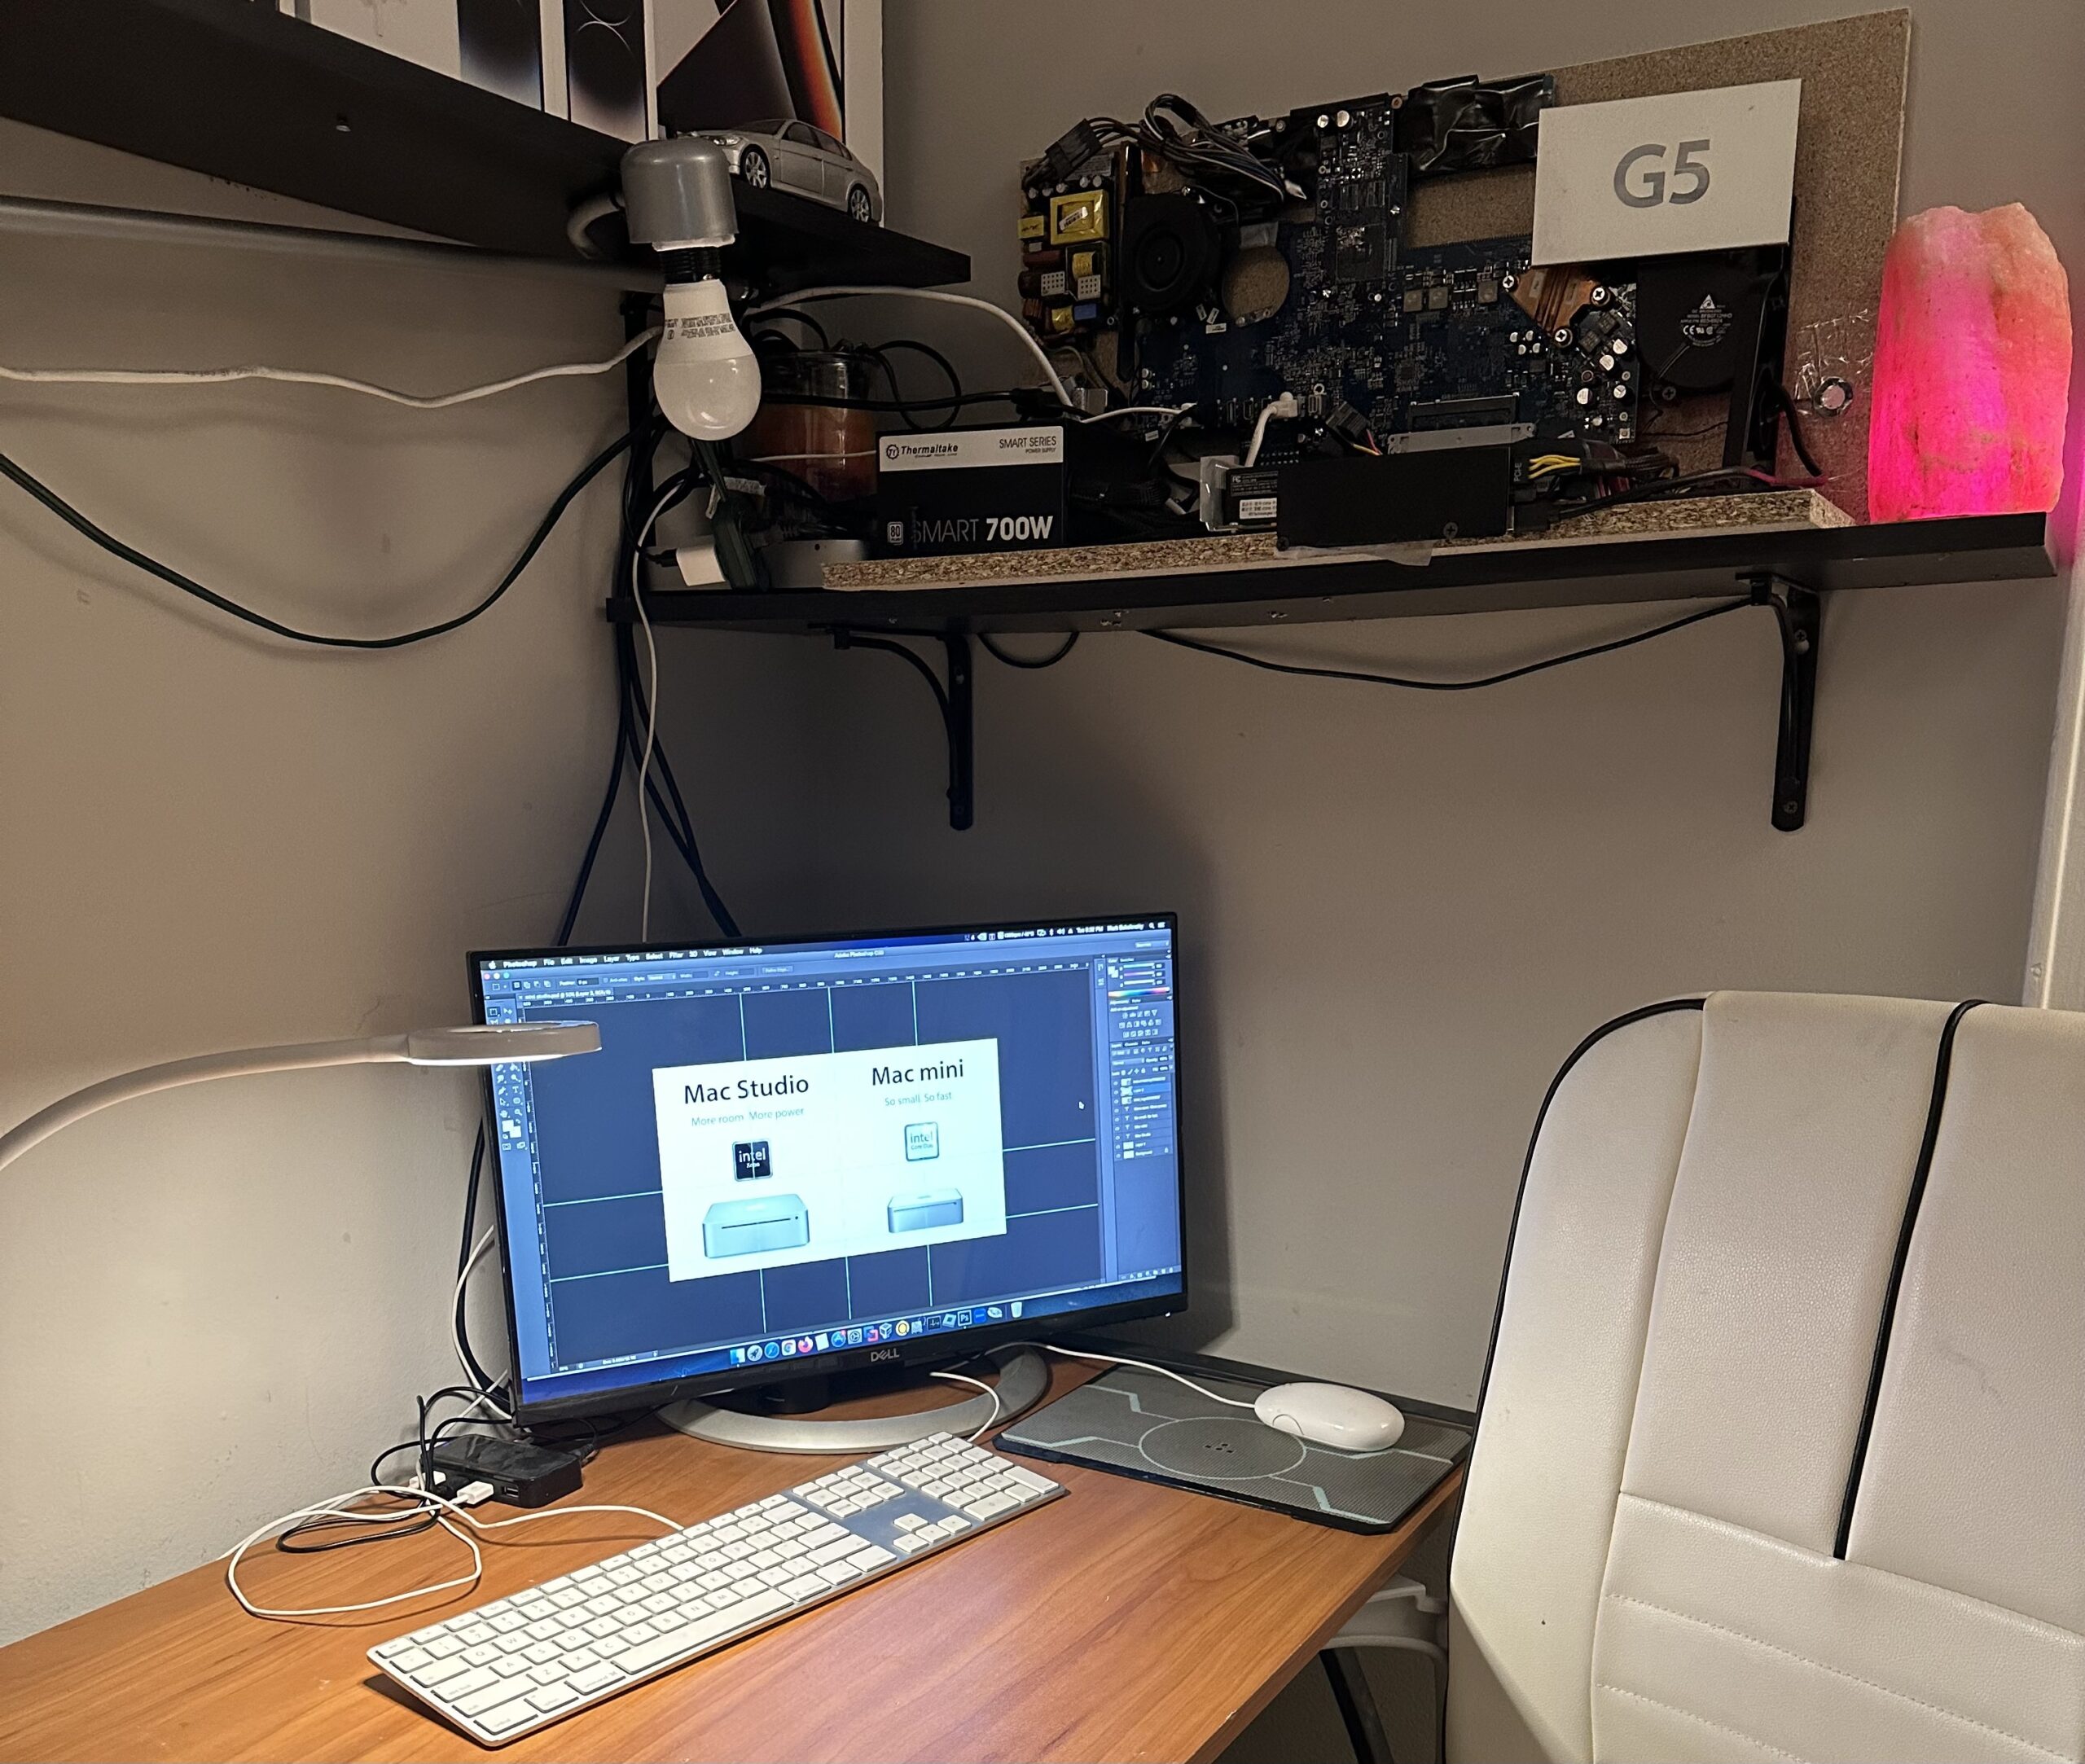
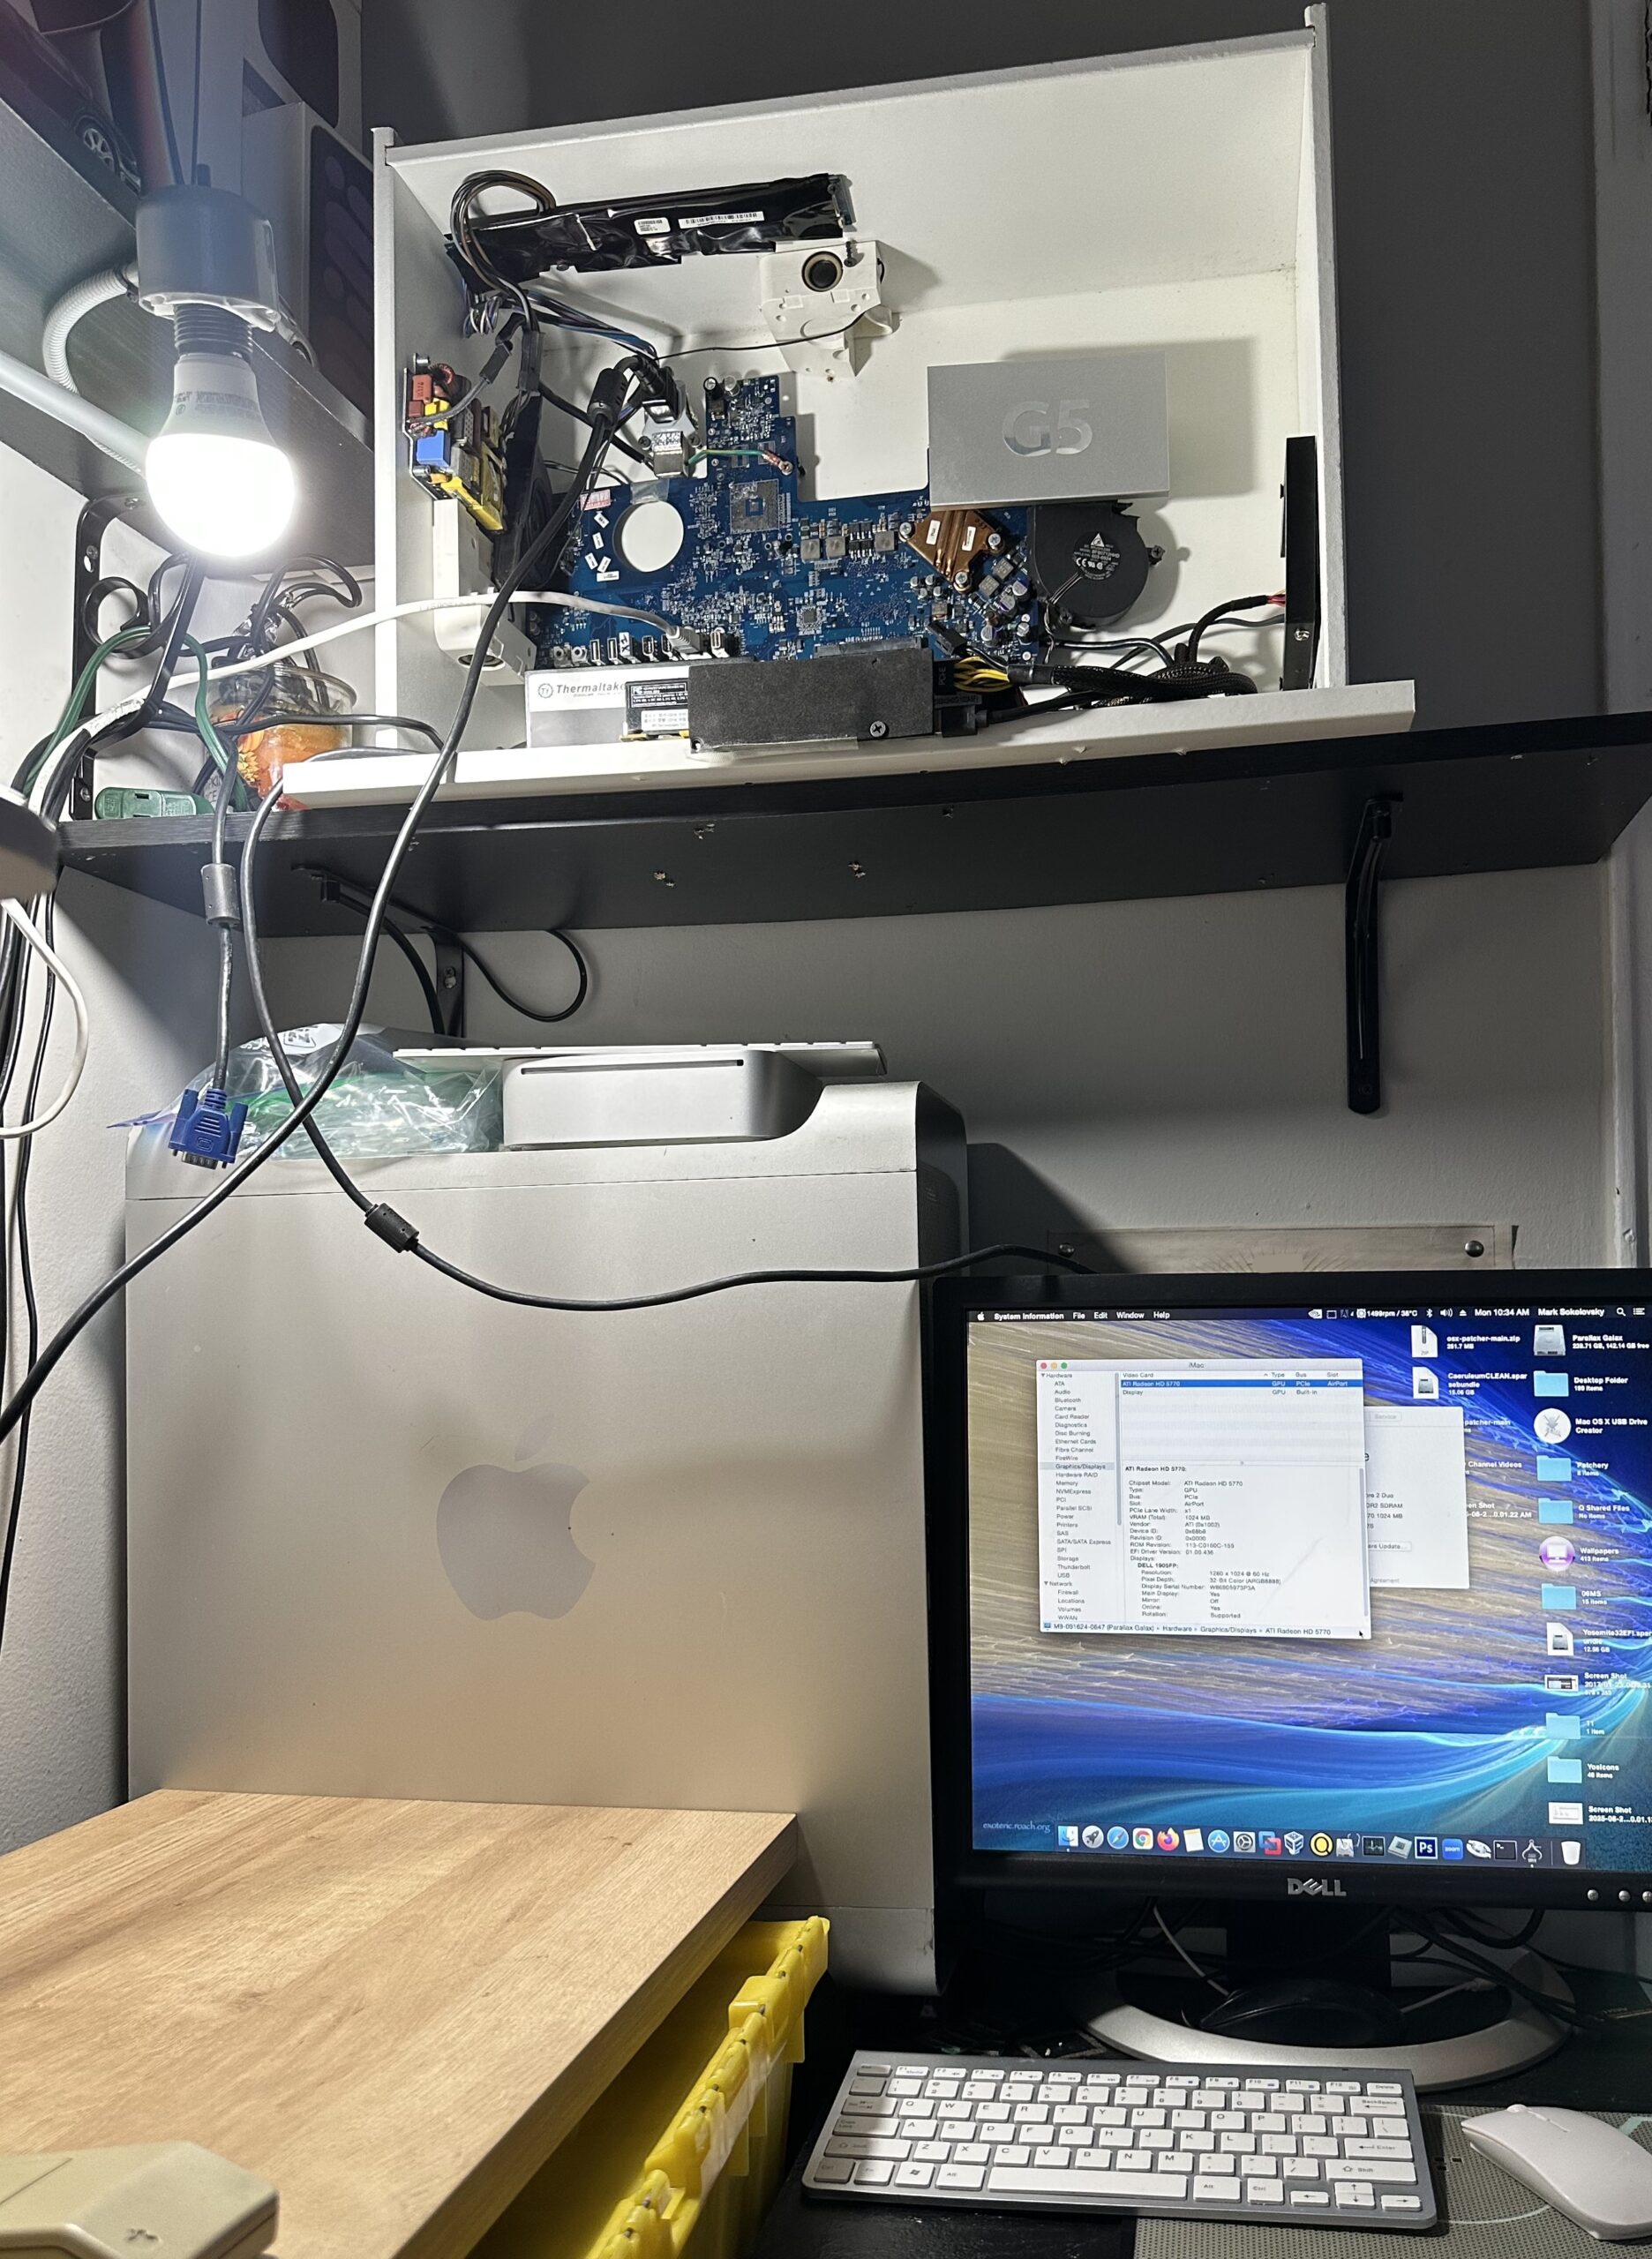
What it looks like for now
It used to look nicer before the 23-Inch 1080p dell was snatched over to the 2018 Mac mini setup, but this is an opportunity to find an even better display or something equivalent. I was thinking an OEM Apple display would be rather.. fitting somehow. Or possibly a more modern looking option like what my Power Mac G5 currently has.
If I move some things around, I could make it work so it doesn’t have to share space with another monitor/Mac. In the meantime, between this and the 24-Inch 2006 iMac, I prefer to use that over this.
 |
 |
.
In conclusion
Rather than sitting disassembled as a pile a in a box, it’s sitting as an assembled jumble-in-a-box. It works, it does things, and I’m happy to have put it together, to have something working and useful, even if it’s not something I would use often. Sometime down the road I would like to get a nicer monitor for it again, make the proper space for it as a setup, finish out the box, and get a better keyboard + mouse also. Perhaps it’s also worth exploring different graphics cards also, see what else can work. I’m thinking OEM Apple for the monitor, keyboard and mouse.

Fascinating project showing how older hardware can be repurposed — turning a 20″ 2006 iMac into a wooden-box case is really creative.
Low End Mac
I love how the author reused parts instead of discarding them, giving the machine a new life.
It’s a great reminder that tech innovation isn’t just about new machines — it’s also about re-imagining the old ones.
Thanks for sharing this mod; it’s full of practical thinking and DIY spirit.