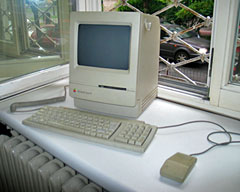
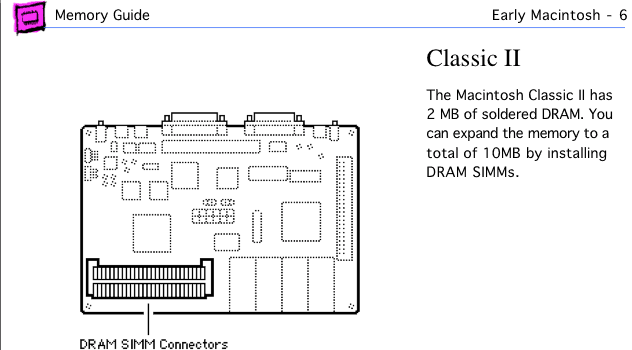
The Mac Classic II (a.k.a. Performa 200) has 2 MB soldered to the motherboard. There are two SIMM sockets, which can be used to expand this Mac to a total of 4 MB, 6 MB, or 10 MB.
 You will need a long (at least 6″/15cm) T15 Torx screwdriver (such as the Craftsman Professional series T-15 Torx screwdriver, #47431) to remove the screws from the back of the case. Two are near the bottom, two more way down inside the handle. A case cracker is recommended for separating the front and rear of the case, but you can do it without one. Just be careful.
- Under no circumstances come into contact with the pins on the back of the video tube. It can pack a punch. Be very careful.
When upgrading, be careful not to damage the SIMM sockets, especially if you are removing memory.
To upgrade the Classic II, you will need two matching 30-pin SIMMs. They must be rated at 100ns or faster and may be 1 MB, 2 MB, or 4 MB in capacity to upgrade your Classic II to 4 MB, 6 MB, and 10 MB respectively.

Mac Classic II page from Apple Memory Guide.
Since there are only two SIMM sockets, it’s easy to figure out where the memory goes. And since the Classic II automatically recognizes additional RAM, there are no jumpers to worry about. Just snap the new RAM into the SIMM sockets.
Now reseat the motherboard in its mount, reconnect all cables, and test it. (Careful of exposed wires, but nothing worse than getting the whole thing back together and discovering you have a bad SIMM or have not seated the memory correctly.) Boot your Classic II with extensions off (hold down the Shift key) and check “About This Macintosh” under the Apple menu. If it doesn’t give the expected number, you should reseat your memory.
Once you know the upgrade is a success, put the back on your Classic II, tighten the screws, and enjoy the extra memory. I suggest you increase the size of the disk cache for better performance.
Recommendation
- If you have less than 10 MB installed, upgrade to 10 MB.
Keywords: #macclassicii #classicii #performa200
Short link: http://goo.gl/Yhu5OO
searchword: classiciimemoryupgrade

