An introduction and some history
A bit over a decade ago, Apple released the 2011 MacBook Pro with the now infamous Radeon 6000 series discrete Graphics Card. Both the Early and Late 2011 models were prone to spontaneous failure which has been well documented online starting with initial complaints in the Apple Support community. Eventually a repair program was released in February 2015 to address a “small percentage of MacBook Pro models which may exhibit distorted video, no video, or unexpected system restarts”. A few different fixes have been made over the years to help address the flaw in the Radeon 6000 series chip – either replacing, or outright disabling the chip itself. Even so, unfortunately, there never was a revised Radeon 6000 chip for these ‘Books, which ultimately leads to a ticking time-bomb. DosLab’s DeMux and CMIZapper are among the ways to permanently disable the chip, while the DosDude1 Graphics disabling terminal command + app is a more temporary solution. Both ways allow for the Intel HD 3000 to take over and preserve the life of the MacBook Pro.
Some have instead resorted to reflowing their Radeon chip or even sticking their logic boards in an oven. At best, this process ends up with mixed results that only temporarily provide a functional solution before the chip inevitably fails once more from a reflow/reheat process.
The Early 2011 15″/17″ models introduced Quad-Core CPUs to the MacBook Pro for the very first time, providing a substantial performance boost over any ‘Book that came before it. Taking away the dedicated graphics, however, hampered graphical performance. With much love for the 17″ display and the screen real estate it provides, some people toyed with the idea of trying something completely different. DosDude1 succeeded at swapping the CPU and PCH with Ivy Bridge components on the logic board of a 2011 17″ MacBook Pro through soldiering.
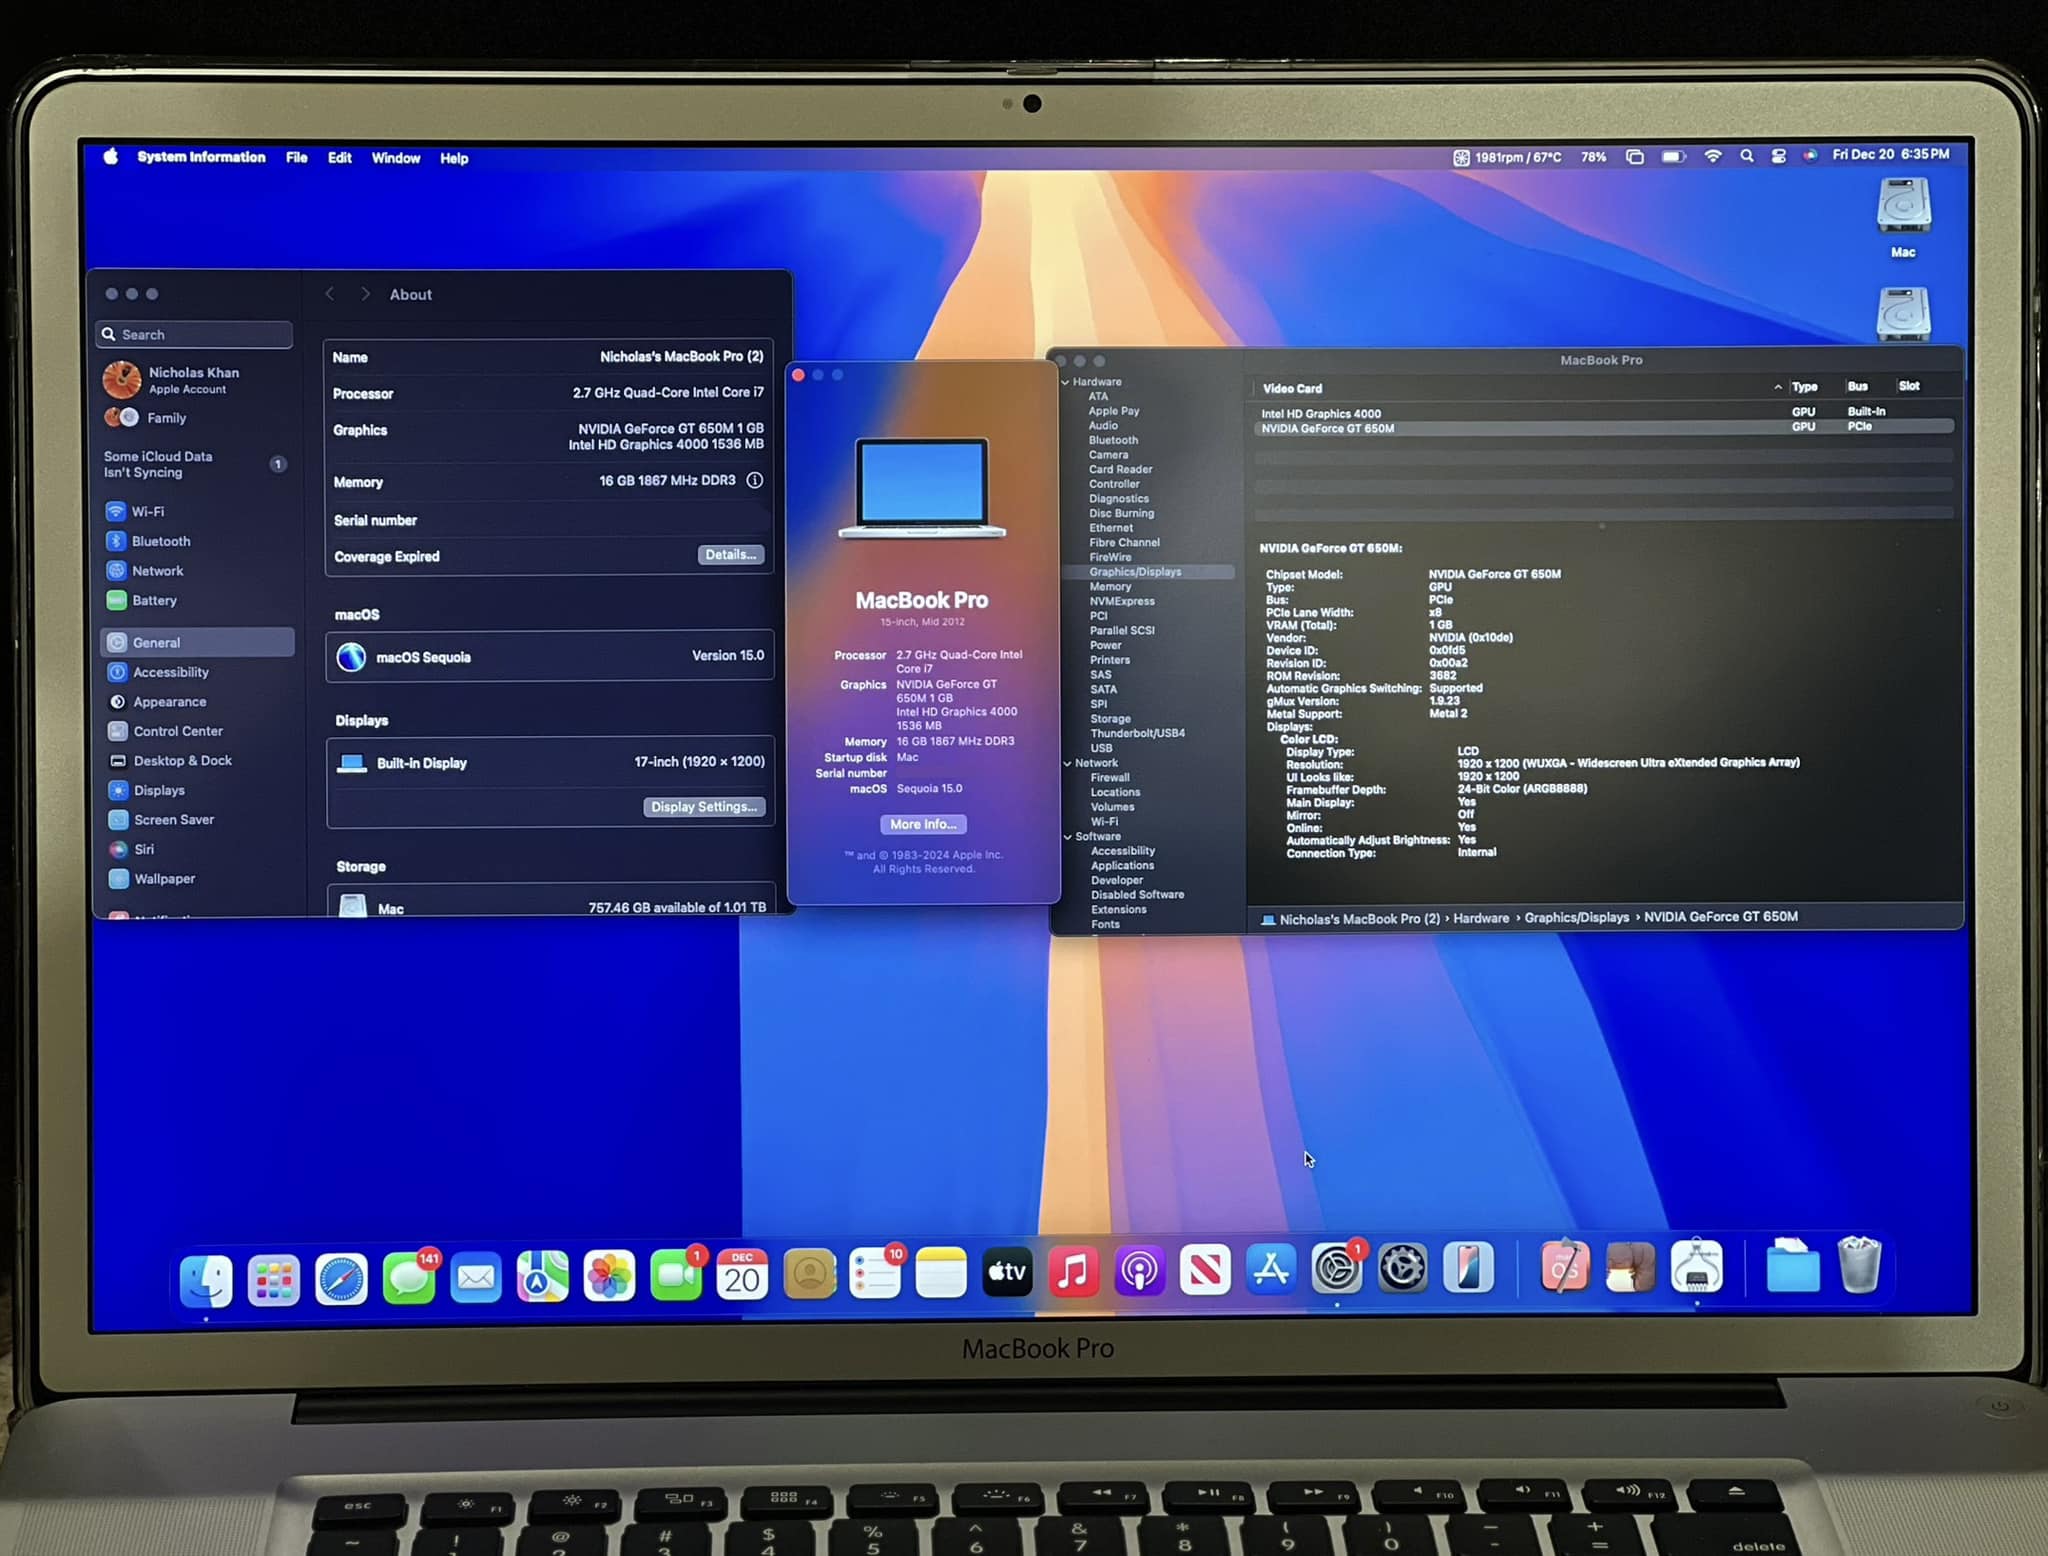
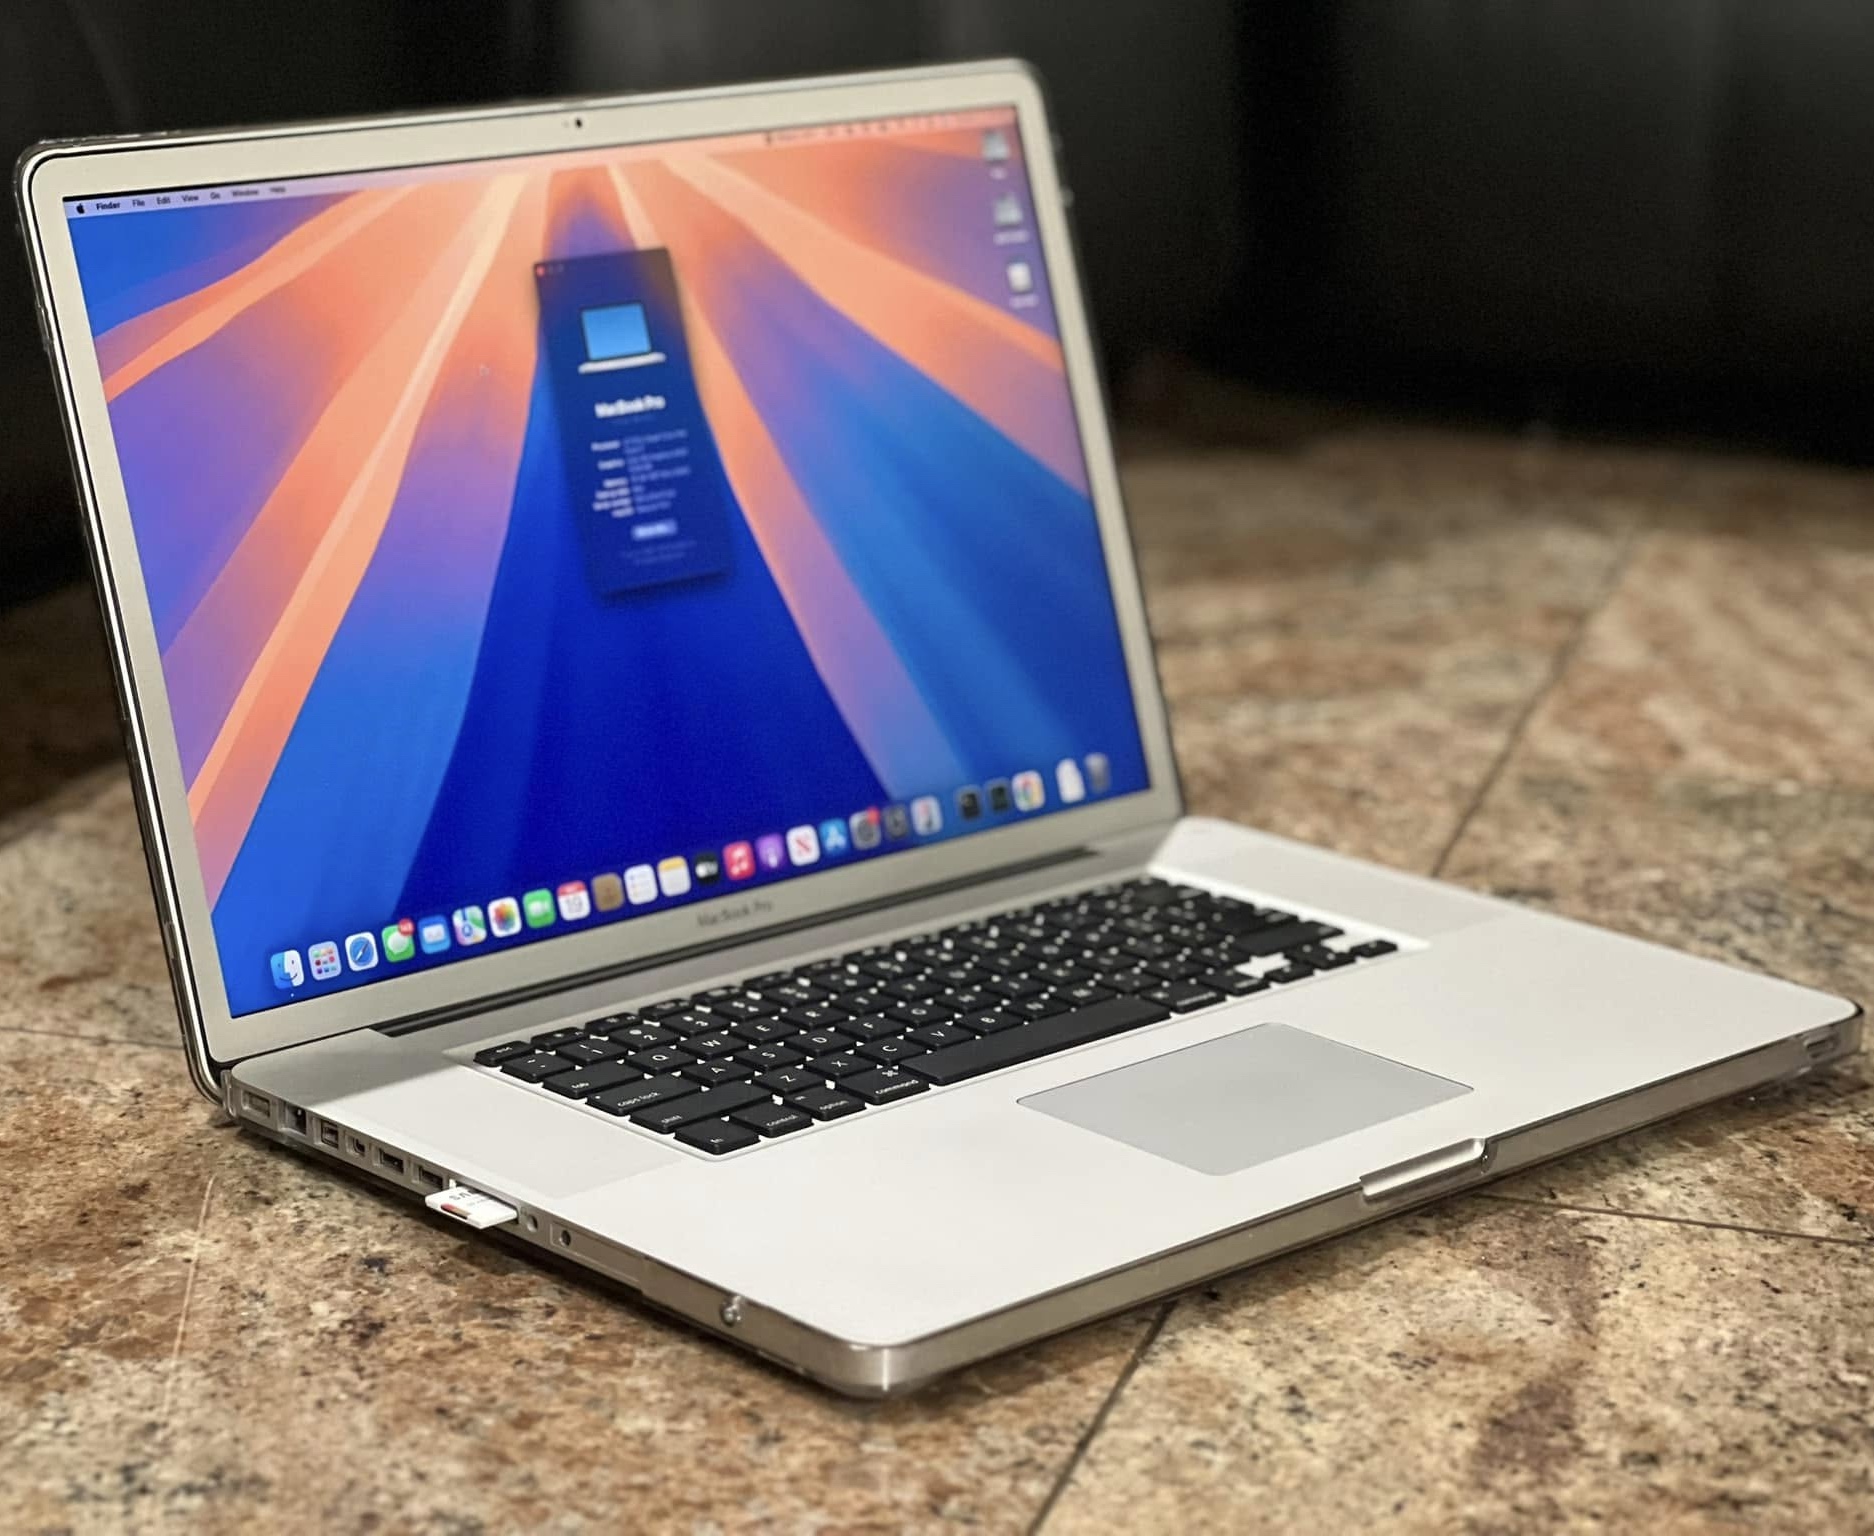
Another way is by installing a 2012 15″ MacBook Pro non-retina logic board into the body of a 2011 17″ MacBook Pro. Fortunately, a Low End Mac community member Nicholas Khan and someone else had found out that indeed it works. While having been a work in progress for a little while and requiring more than a few modifications, this is indeed something which can be done, albeit with time and patience.
DosDude1’s video: Building a “Mid-2012” 17-inch MacBook Pro
Nicholas’s Youtube Video on his board-swap: Modded 17″ 2012 MacBook Pro
Another YouTuber GoJot was working on a board swap: I built a custom 2012 MacBook Pro 17-inch
Soldiering an Ivy Bridge CPU and PCH onto a 2011 17″ board
A tricky yet successful way of having a hybrid 2011/2012 MacBook Pro is to soldier an Ivy Bridge CPU/PCH onto the logic board of a 2011 17″ MacBook Pro. This method preserves the original ports, USB 2.0, and much else without hodgepodging parts together.
Some things to keep in mind (Credit goes to DosDude1 for this information):
- The Ivy Bridge CPU is thinner than the Sandy Bridge CPU.
- An i7-3720QM was used, although you can theoretically install up to an i7-3840QM.
- A very specific set of RAM works with CoreBoot, and will not work any other way.
- 1x PC3-8500 RAM stick in the bottom slot
- 1x PC3-12800(s)? 1600 MHz on the top slot
- Although 8 GB RAM was tested, it may be possible to use more.
- The old AMD GPU must be removed off the logic board since it’s thicker than the Ivy Bridge CPU, otherwise the heatsink will sit at a slight angle and not effectively cool off the CPU.
- An Nvidia GPU cannot be put in place of the AMD GPU, as the pads/electrical connections don’t align.
- PCH is replaced – the old one is an HM65 (Not compatible with Ivy bridge QM series)
- A 7-series PCH must be used.
- Collin Mistr used custom firmware to get this all going.
- The Intel HD 4000 integrated graphics is actually faster and far more reliable overall than the Radeon HD 6770m – The AMD GPUs were actually that bad.
- The EDID is stored on the screen, and therefore it simply outputs the correct resolution.
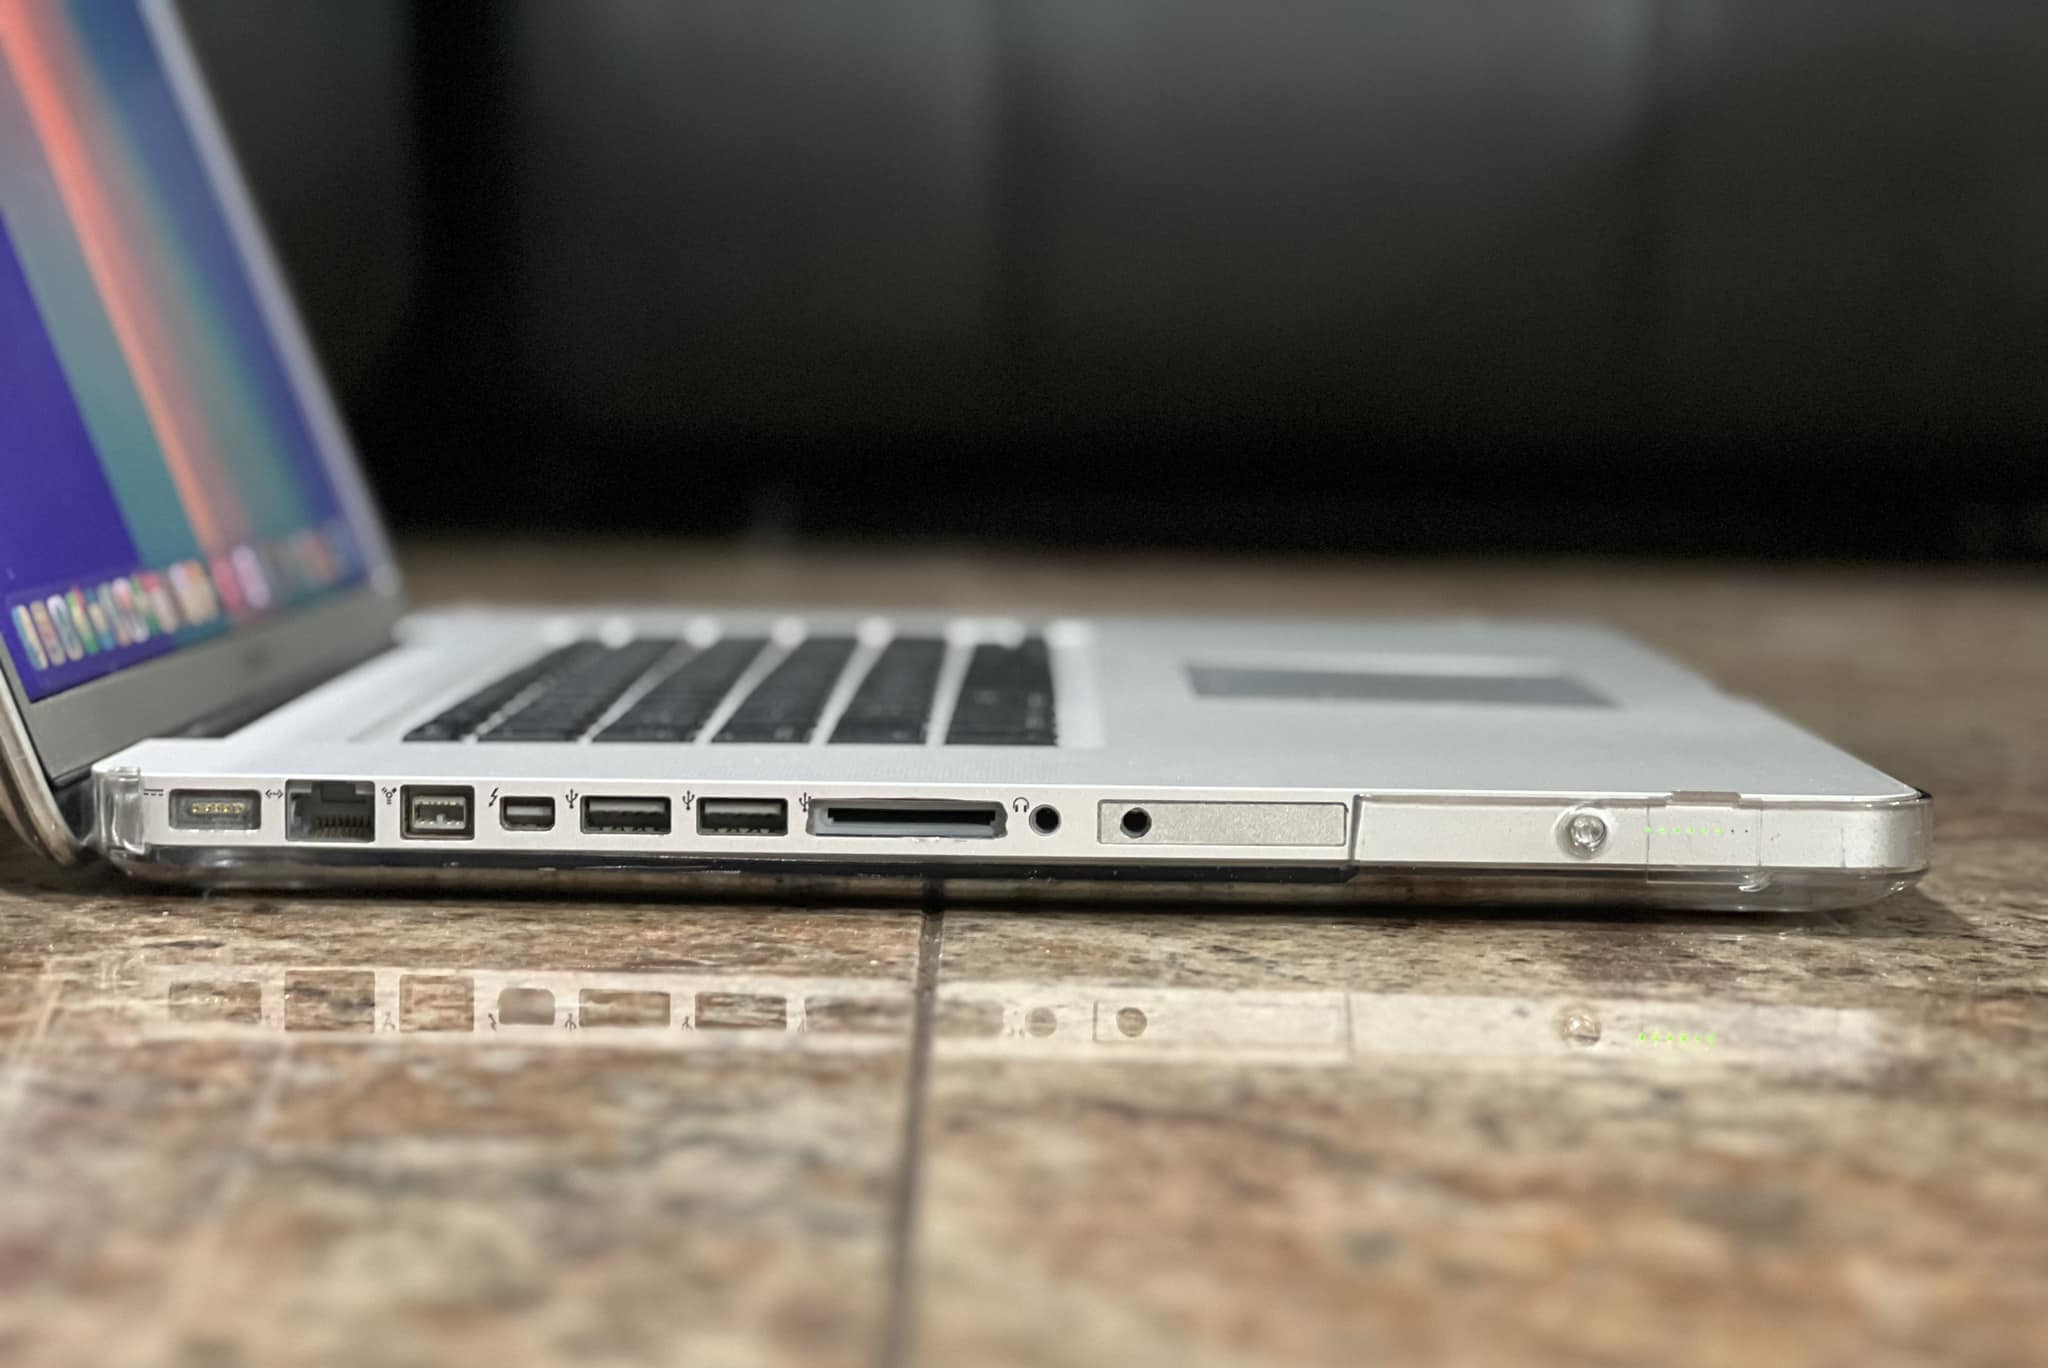
- The ports are now on a USB 3.0 bus, however, they are through an onboard USB 2.0 hub.
- The Express34 slot works when setting it to work in CoreBoot – functions as a PCIe slot.
 (Above – Source: Luke Miani’s “Apple Would NEVER Make this…So he did” video featuring DosDude1)
 (Above – Source: Luke Miani’s “Apple Would NEVER Make this…So he did” video featuring DosDude1)
Fitting a 2012 15″ board into a 2011 17″
If this is something you’re interested in doing, be sure to set aside a good amount of time for this project as it isn’t a 1:1 swap – you might be at this for days or even weeks. The inside needs to be cut up and filed down a bit. It’s best to have a full set of 2012 15″ parts and 2011 17″ parts to ensure you have what you need. Note: This isn’t an exact guide, but a series of observations made from GoJot’s channel, and currently available information. This article may be updated in the future or feature a followup.
- Display Cable: Can be wiggled into place carefully, but others have resorted to slightly filing down the plastic tang edge next to the connector pins on both sides, saying it requires a very minor adjustment. For all intents and purposes, a 2011 17″ display cable fits to a 2012 15″ board.
- Express34 Bracket: Must be removed. Hole must be drilled in place for second audio port, or the Express34 slot cover can be removed.
- Keyboard: Connector layout is different, can use the 2012 keyboard. It will bend slightly when shifting the logic board to the right, and some work may need to be done to fit a different cable, or to somehow wire a 17″ 2011 keyboard.
- Trackpad: May be different, can use the 2012 trackpad.
- Battery: 1:1 connector, 2011 17″ battery fits right into the 2012 15″ logic board.
- Right side fan (closer to ports): A metal screw hole needs to be removed/cut out for the fan to sit in place.
- Hard drive connector: Is toward the left side toward the optical bay, rather than the right side like in the 2011 17″.
- Battery light indicator/button: Should be able to line up just fine.
- Magsafe: Should line up where it’s supposed to be.
- Wifi board connector: Cable from the 2011 17″ connects to the 15″ 2012 board, but is a little short.
- Optical Drive: You may or may not have to forgo having one altogether.

- Below: This is what it looks like to put a 15″ 2012 MacBook Pro logic board into a 17″ 2011 Body, without any sort of modification. Credit: GoJolt “I built a custom 2012 MacBook Pro 17-inch”
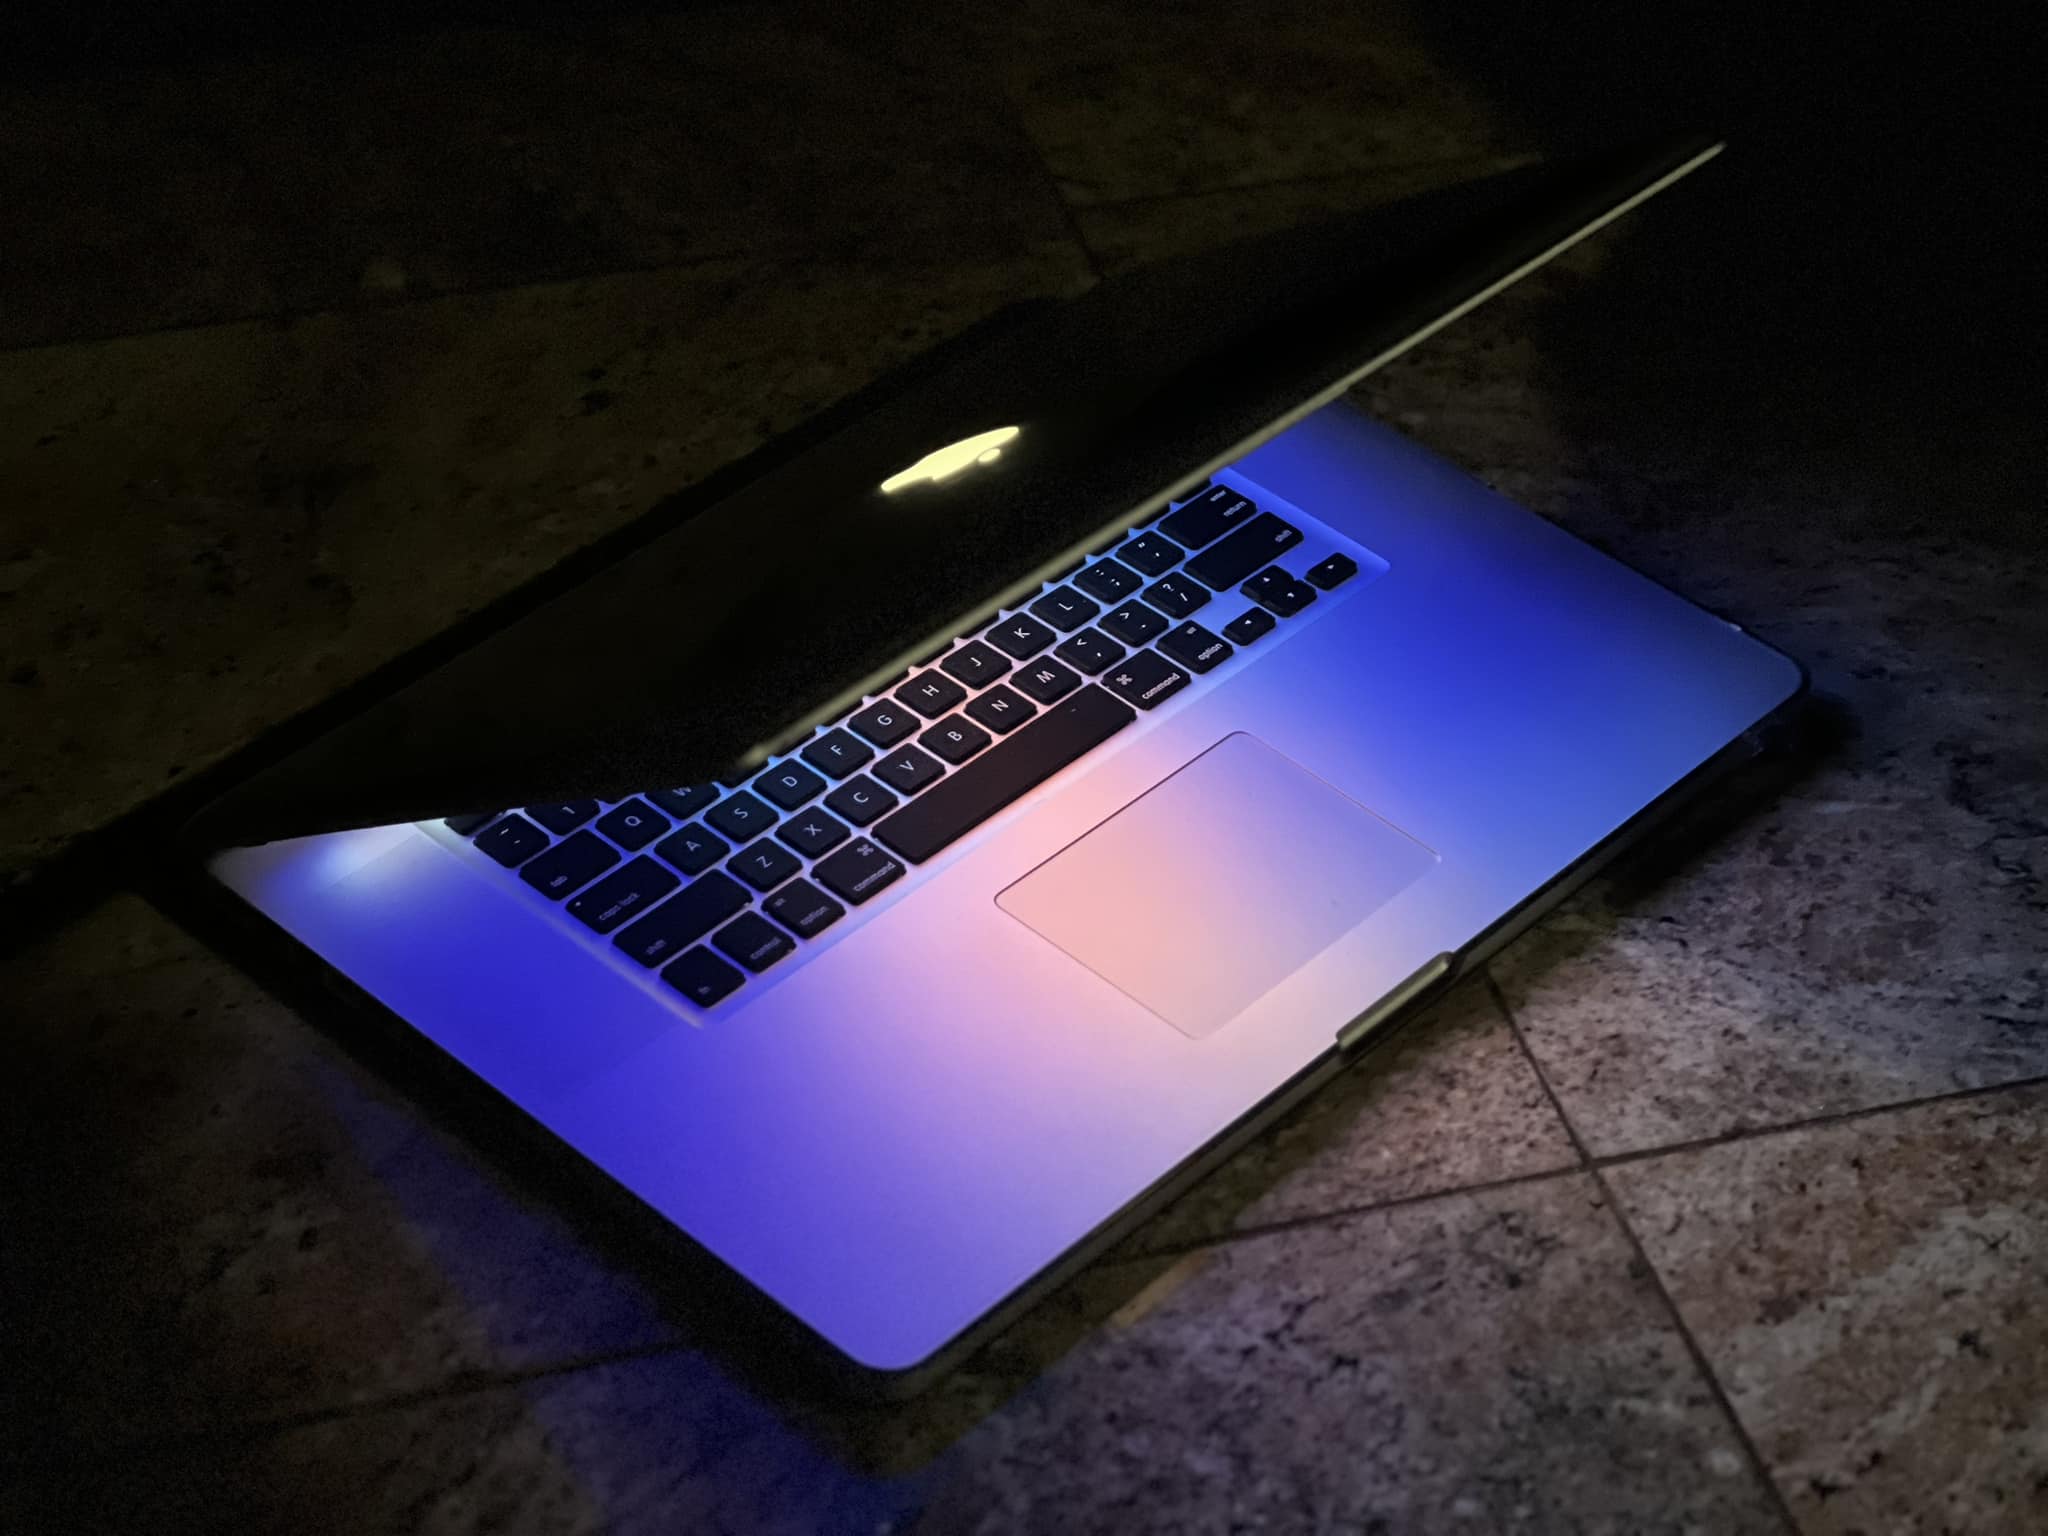
The result of Nicholas’s modifications, trials and errors
 (Click to enlarge above picture)
 (Click to enlarge above picture)
 (Click to enlarge above picture)
 (Click to enlarge above picture)
In conclusion
Over a decade ago, Apple discontinued the 17″ MacBook Pro on a bad note and left it off with a failing GPU that was even weaker than the integrated graphics of the model from the following year. It didn’t even have a fighting chance despite being creme of the crop – Quad Core Sandy Bridge, Express34, and a screen real estate not rivaled until the 16″ Retina MacBook Pro of 2019. Although soldiering Ivy Bridge components seemed an unlikely solution before, it brings back to life a once unreliable machine. Shoehorning a 2012 A1286 15″ logic board into an A1297 17″ 2011 body may prove a daunting task in its own right, but is another way of bringing back to life a once mighty titan.
In 2024 the parts and machines needed to make this possible are cheaper than they were in years prior. As the twilight of Intel support is upon us, we are yet to see whether or not Sequoia or 16.0 will be the last breath for the previous processor architecture used in Macs. But now, we have our options, and ways to keep these ‘Books going.


