
2001 – The Finder is the application that gives your Mac its desktop appearance. It displays the menu bar, your desktop background, menus, and icons that you need to get everything done.
While double-clicking on an item to launch it and pulling down a menu is easy enough to do, there are many things that you can learn in order to do more. The Finder will respond to a bunch of subtle tricks that do not appear as obvious as a “pull me down” menu.
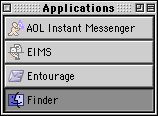 Since Mac OS 8.5, clicking and holding on the Applications menu – the one where you see the forefront application’s name and icon – and then pulling on it while still holding the mouse button, then dropping it on the desktop will give you this.
This little application switcher can be handy. It lets you switch applications with a single click. You can also drag and drop files onto the application icon to open them in that program. Say that Microsoft Word is open and you drop a Word file on it. Word will open it. If you want to customize its appearance, aim for the first button to the right and use these combinations:
- shift-option-click: Makes the switcher horizontal instead of vertical. Another shift-click puts it back to vertical.
- command-click: Alternates between icons only or icons with text.
- option-click: Alternates between small icons with small text and large icons with large text.
- shift-click: Cuts the size of the buttons to take less space. It can, however, shorten a button enough to add … at the end of a long application name.
As you may have guessed, you can perform one customization after another. If you wish to have an horizontal toolbar with small icons and no text, you would do a shift-option-click followed by a command-click.
![]()
Window Navigation
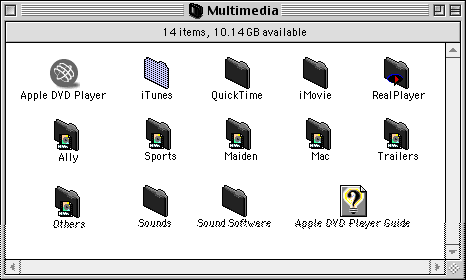
Then there are little shortcuts – or simply a key combined with a click – that can accomplish convenient tasks for you. Let’s dive into my second volume and open the Multimedia folder to give you examples.
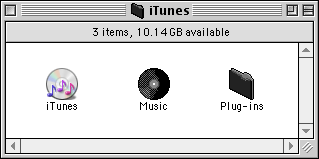
What if I want to minimize the space taken by that iTunes folder? I can minimize it to its title bar with a click on the last icon at the right end of the window. In the Finder or another application, you can do an option-click on the same button to reduce all the open windows to their title bar.
Size does matter…
You can also navigate through your drives without cluttering the desktop with a dozen windows. Double-click on the hard disk icon and hold the mouse button. A small magnifying glass will appear to replace your pointer. When it appears, keep holding the mouse button and guide the glass to the folder you want to open – and keep doing this in your folder hierarchy until you open the folder you want. Then release the mouse button. As you navigate through your drive, the feature Apple calls the spring-loaded folders will open folders for you, and it will close all the folders but one, the one you want to keep open, when you release the mouse button.
If you think that the spring-loaded folders react too quickly or too slowly to your commands, you can adjust the speed by picking the Edit menu in the Finder and selecting Preferences. Once there, click on the General tab and look at the section where the spring-loaded folders settings are available. Once there, adjust it to your liking.


Here are a couple of handy shortcuts that you can also add to your arsenal:
- command-option-drag: Hold the command and option keys, then drag an item’s icon somewhere. An alias will be created where you will drop it.
- option-empty trash: Hold down the option key when you empty the Trash. Almost any item that refused to disappear will go away.
- option-click-resize: Hold the option key down and click on the window resizing button (the one with a little square in it) to force a window to be resized to full screen.
Contextual Menus
This is something I will never stop talking about in iBasics: Contextual menus are there to save you time and effort, use them! Learn to control-click anywhere in the Finder to see what is available. For example, control-click on the Trash icon, and you will get an empty Trash menu item to empty the Trash. It is faster than reaching for the Special menu just to select the same thing. Control-click on a CD to select Eject, control-click on a drive to make an alias.
Explore your options.
Remember that learning new behaviors takes time. You have to force yourself to do it for a while, and everything I told you about today will become normal. The habits will become natural. You won’t even have to think about the shortcuts and tricks; you’ll use them automatically.
Keywords: #finder #macfinder #classicmacos
Short link: http://goo.gl/NbKBgb
