
I specialize in the lowest of the low-end spectrum, and I’ll be covering Apple’s older Macintosh operating systems starting from 1.0 and working up to 6.0.8 – and the Macs that run them.
I’m 17 years old. My first experience with Macs was in second grade when we were finally old enough to “graduate” from Apple IIs. My school district is very poor, so even though it was 1997, we were using five-year-old LC IIs.
We had a 75 MHz Pentium PC at home running Windows for Workgroups 3.11. Even though our PC was by far the more powerful computer, I preferred using the Macs at school due their good looks and ease of use.
I’ve always been interested in why the Macintosh OS has looked so good and was so easy to use from its first release. Windows couldn’t match the flexibility and ease of use of the Mac OS until several versions later.
Emulating Ancient Macs with Mini vMac
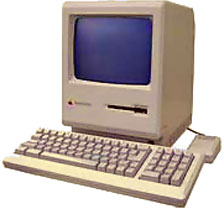
I own a Mac Plus, but since it’s so old and slow, I prefer to emulate it using Mini vMac (based on vMac) on my blueberry iMac DV. This’ll also make it easier for me to import screen shots into my articles.
Mini vMac is a Mac Plus emulator based on vMac. Development of vMac has stagnated for a long time, so Paul Pratt decided to continue improving it and created Mini vMac.
To get Mini vMac installed on your computer, first download Mini vMac (link below). The file that you have to download depends on your operating system. I use the stable version of Mini vMac (2.6.1) under OS X.
Just uncompress the archives and put the application anywhere you want to. I would recommend putting it in a folder called Mini vMac. You’ll see why in a minute.
In order to emulate a Mac Plus, you’ll need to obtain a Mac Plus ROM image. Use the CopyRoms utility to copy the ROM image from your Mac Plus to a file. Next, transfer this file to the computer you will be running Mini vMac on. Name the file “vMac.rom” and put it in the same folder as the application.
It’s important that you own a Mac Plus. The Mac’s ROM image is copyrighted by Apple, so if you don’t own the computer, you are breaking the law by using it.
To be able to use your system and program disks with Mini vMac, you’ll need to use a utility such as Apple’s Disk Copy 4.2 to create 400K or 800K disk images. Disk copy 6.2.2 does not handle 400K or 800K disks correctly, so you can’t use this version.
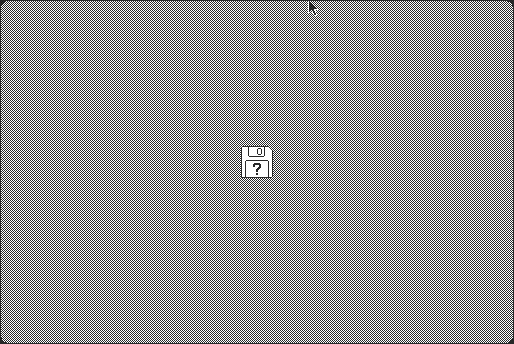
Once you have your disk images made, start up Mini vMac. You should see the blinking question mark icon (above). Now just drag the disk image into the window
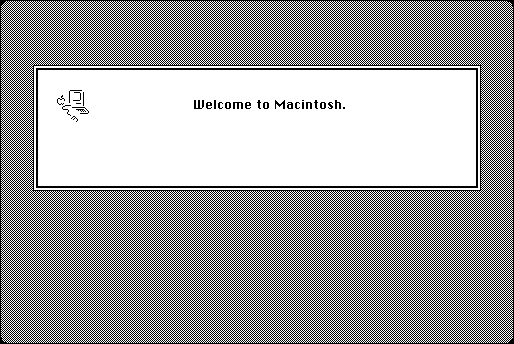
If you’ve done everything correctly, you should see the familiar Welcome to Macintosh greeting.
If you’ve made it this far, pat yourself on the back. All the hard work is done.
Once Mini vMac is up and running, you use it just like a Mac Plus. To view the emulator in full screen just type Control-F. If you want the emulator to run at actual Mac Plus speed (8 MHz), press Control-L.
This is just a sample of what you can accomplish with Mini vMac. I’ll cover it more in detail in future columns.
Next Time
I’ll start by covering System 1.0 in my next column. We’ll see how each of the components of the OS has developed into OS 9.
Later on I’ll cover programs that you can use with system versions below 6.0 and where you can find them.
We’ll also explore why the Mac OS is so easy to use and why it was ahead of any consumer operating system at the time.
Keywords: #minivmac #macemulator #macplusemulator
Short link: http://goo.gl/pNGSLj
searchwords: minivmac, macemulator, macplusemulator
