
If you wanted an external drive for booting a PowerPC Mac, you officially needed a FireWire one. But it seems some PowerPC Macs can boot from USB.

I just picked up a Clamshell iBook with a broken optical drive. It only had a CD-ROM drive, which meant I couldn’t use it for burning disks or reading a DVD. Installing Mac OS X 10.4 Tiger would be tricky, as it came on DVD unless you contacted Apple, and then they would swap it for a CD version – but these are hard to come by now.
In the past I used a FireWire iPod to install Tiger and OS X 10.5 Leopard on G3 and G4 Macs. More recently I have used a USB flash drive to install 10.7 Lion, 10.8 Mountain Lion, 10.9 Mavericks, and 10.10 Yosemite on my MacBook.
Following a similar method, I created a USB flash drive containing the Tiger installer.
Create The Installer
Insert your Tiger DVD into another Mac running OS X and plug in your USB stick. I used Mac OS X 10.10 Yosemite to do this, but any version of Mac OS X from Tiger upwards should work.
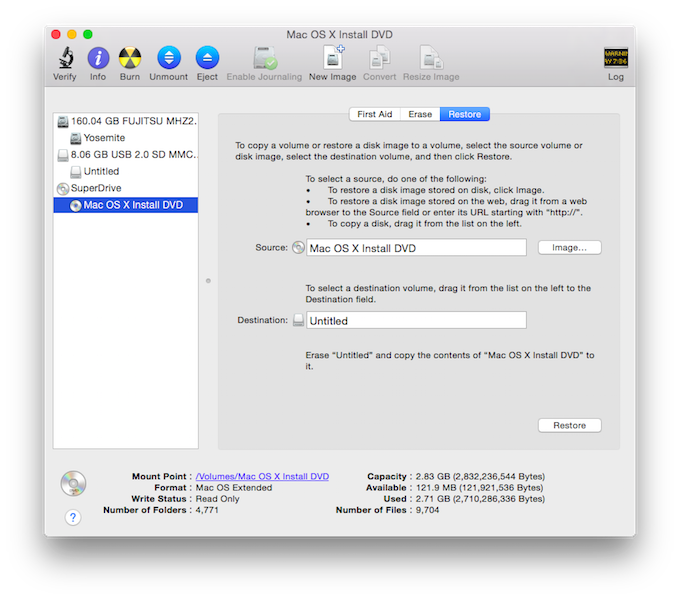 Open Disk Utility and click on the DVD labelled Mac OS X Install DVD on the left side. Then select the Restore tab. The Source field will be filled in already. Then drag your USB stick from the left pane to the Destination field.
Note: Make sure you select the partition and not the drive itself for the destination. In my case using 8.06GB USB 2.0 SD MMC resulted in an error, I had to select Untitled.
Then click Restore. It will ask for your user password and then sit back and wait. Mine took about 20 minutes to complete. Once done, both the DVD drive and the USB stick will open up and both will show the OSX installer files.
Modify the Disk
To install Tiger on early Clamshells, you will need to modify the installation DVD. The Tiger installer cut out support for any G3 that doesn’t have FireWire, but this can easily be sorted by removing the badmachines line from OSinstall.dist file on the installer DVD.
You can find instructions on Hacking the Tiger Installer for Unsupported G3 Macs.
Boot It
Once done, simply eject the USB stick and insert it in the USB port on your Clamshell. For this to work for me, I had to ensure there was no disc in the CD drive of the Clamshell.
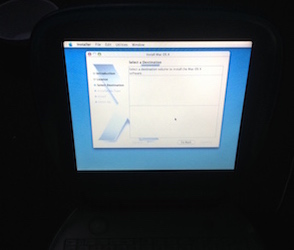
Hold down C and power on the Clamshell. Keep the C key pressed until you see the big grey Apple logo on the screen.
Keep in mind the USB port on the Clamshell is only USB 1.1, so speeds won’t be amazing – but to be honest, it was faster than I expected. It only took a minute to get to the installer screen.
From then on, you install as normal.
USB DVD
I have also used an external USB DVD drive to attempt to install OS 9, and it booted fine holding down the C key.
Later Clamshells
This is most beneficial to the first generation Clamshells that shipped with a CD-ROM drive and a single USB 1.1 port. Later models came with DVD-ROM drives and a FireWire port.
Other Macs
While this won’t work for all PowerPC Macs, there are other models it will work on. It would be interesting to know if it would work for tray-loading G3 iMacs (which were the desktop equivalent of the Clamshells), as these also have CD-ROM drives and no FireWire.
Conclusion
This is a very handy hint to know and proof that some pre-Intel Macs can be booted from USB.
Follow Simon Royal on Twitter or send him an Email.
Like what you have read? Send Simon a donation via Tip Jar.
keywords: #clamshellibook #usbboot #techspectrum #simonroyal
short link: http://goo.gl/uaTkm2
searchword: clamshellusbbooting
