
It seems like I may have stumbled into a solution for getting Photoshop on the M2 Air sooner rather than later. Initially the idea was to get Photoshop CS4 working in a Leopard VM on UTM, downsizing it somehow, and fitting it onto my Mac’s tiny 256 GB SSD.
After trying out the “reclaim space” feature and also compressing in UTM, I managed to get the Leopard VM down to 22 GB, so I figured it was time for the next step. After copying the VM to the ‘Air and firing up Photoshop CS4 on 10.5 for the first time, I ran into a usability-breaking problem.. no text boxes could be placed or selected exactly where I clicked, and overall it was quite buggy. This is to be expected in a VM lacking proper video hardware acceleration, especially Leopard, but I haven’t tried opening site graphic files or making serious edits before.
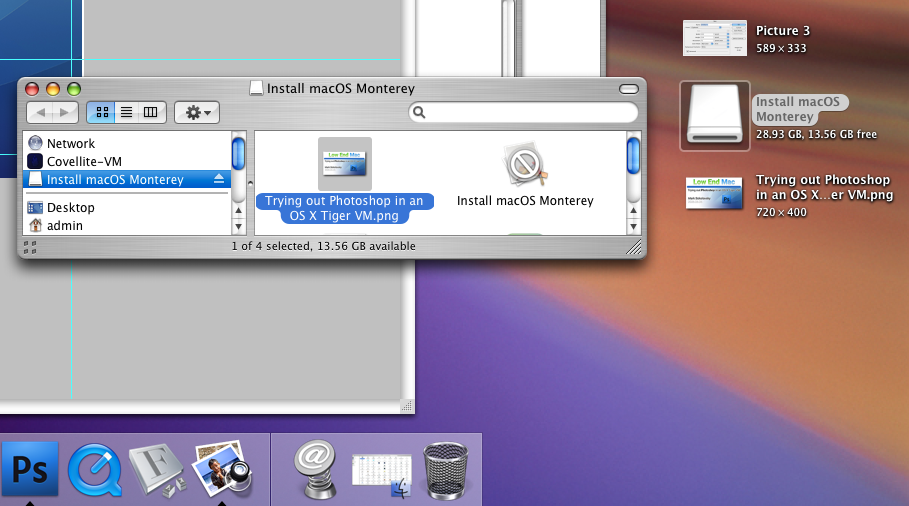
That’s when I thought about trying Mac OS X Tiger, to see if CS4 in a VM would behave any better – and it absolutely does! After installing some fonts, copying the Low End Mac Photoshopping folder on there, it gave me some hope. Finally, I could make graphics for the website away from the desk without lugging around a second machine. Still, nothing will compare to or replace the Power Mac G5 as a graphics workstation, to me.
Opening prior working files
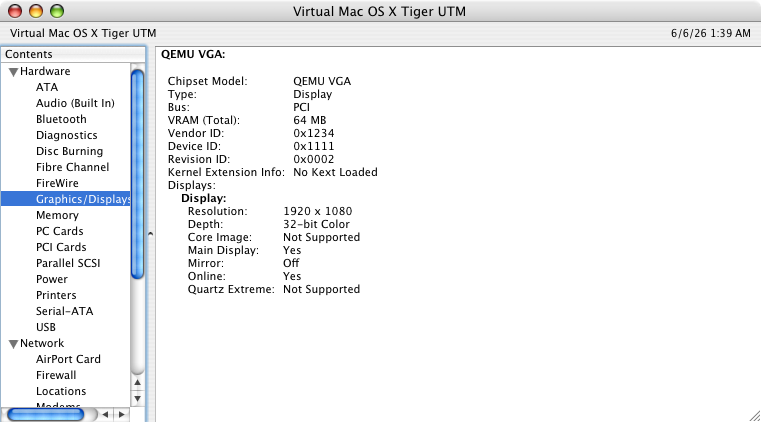
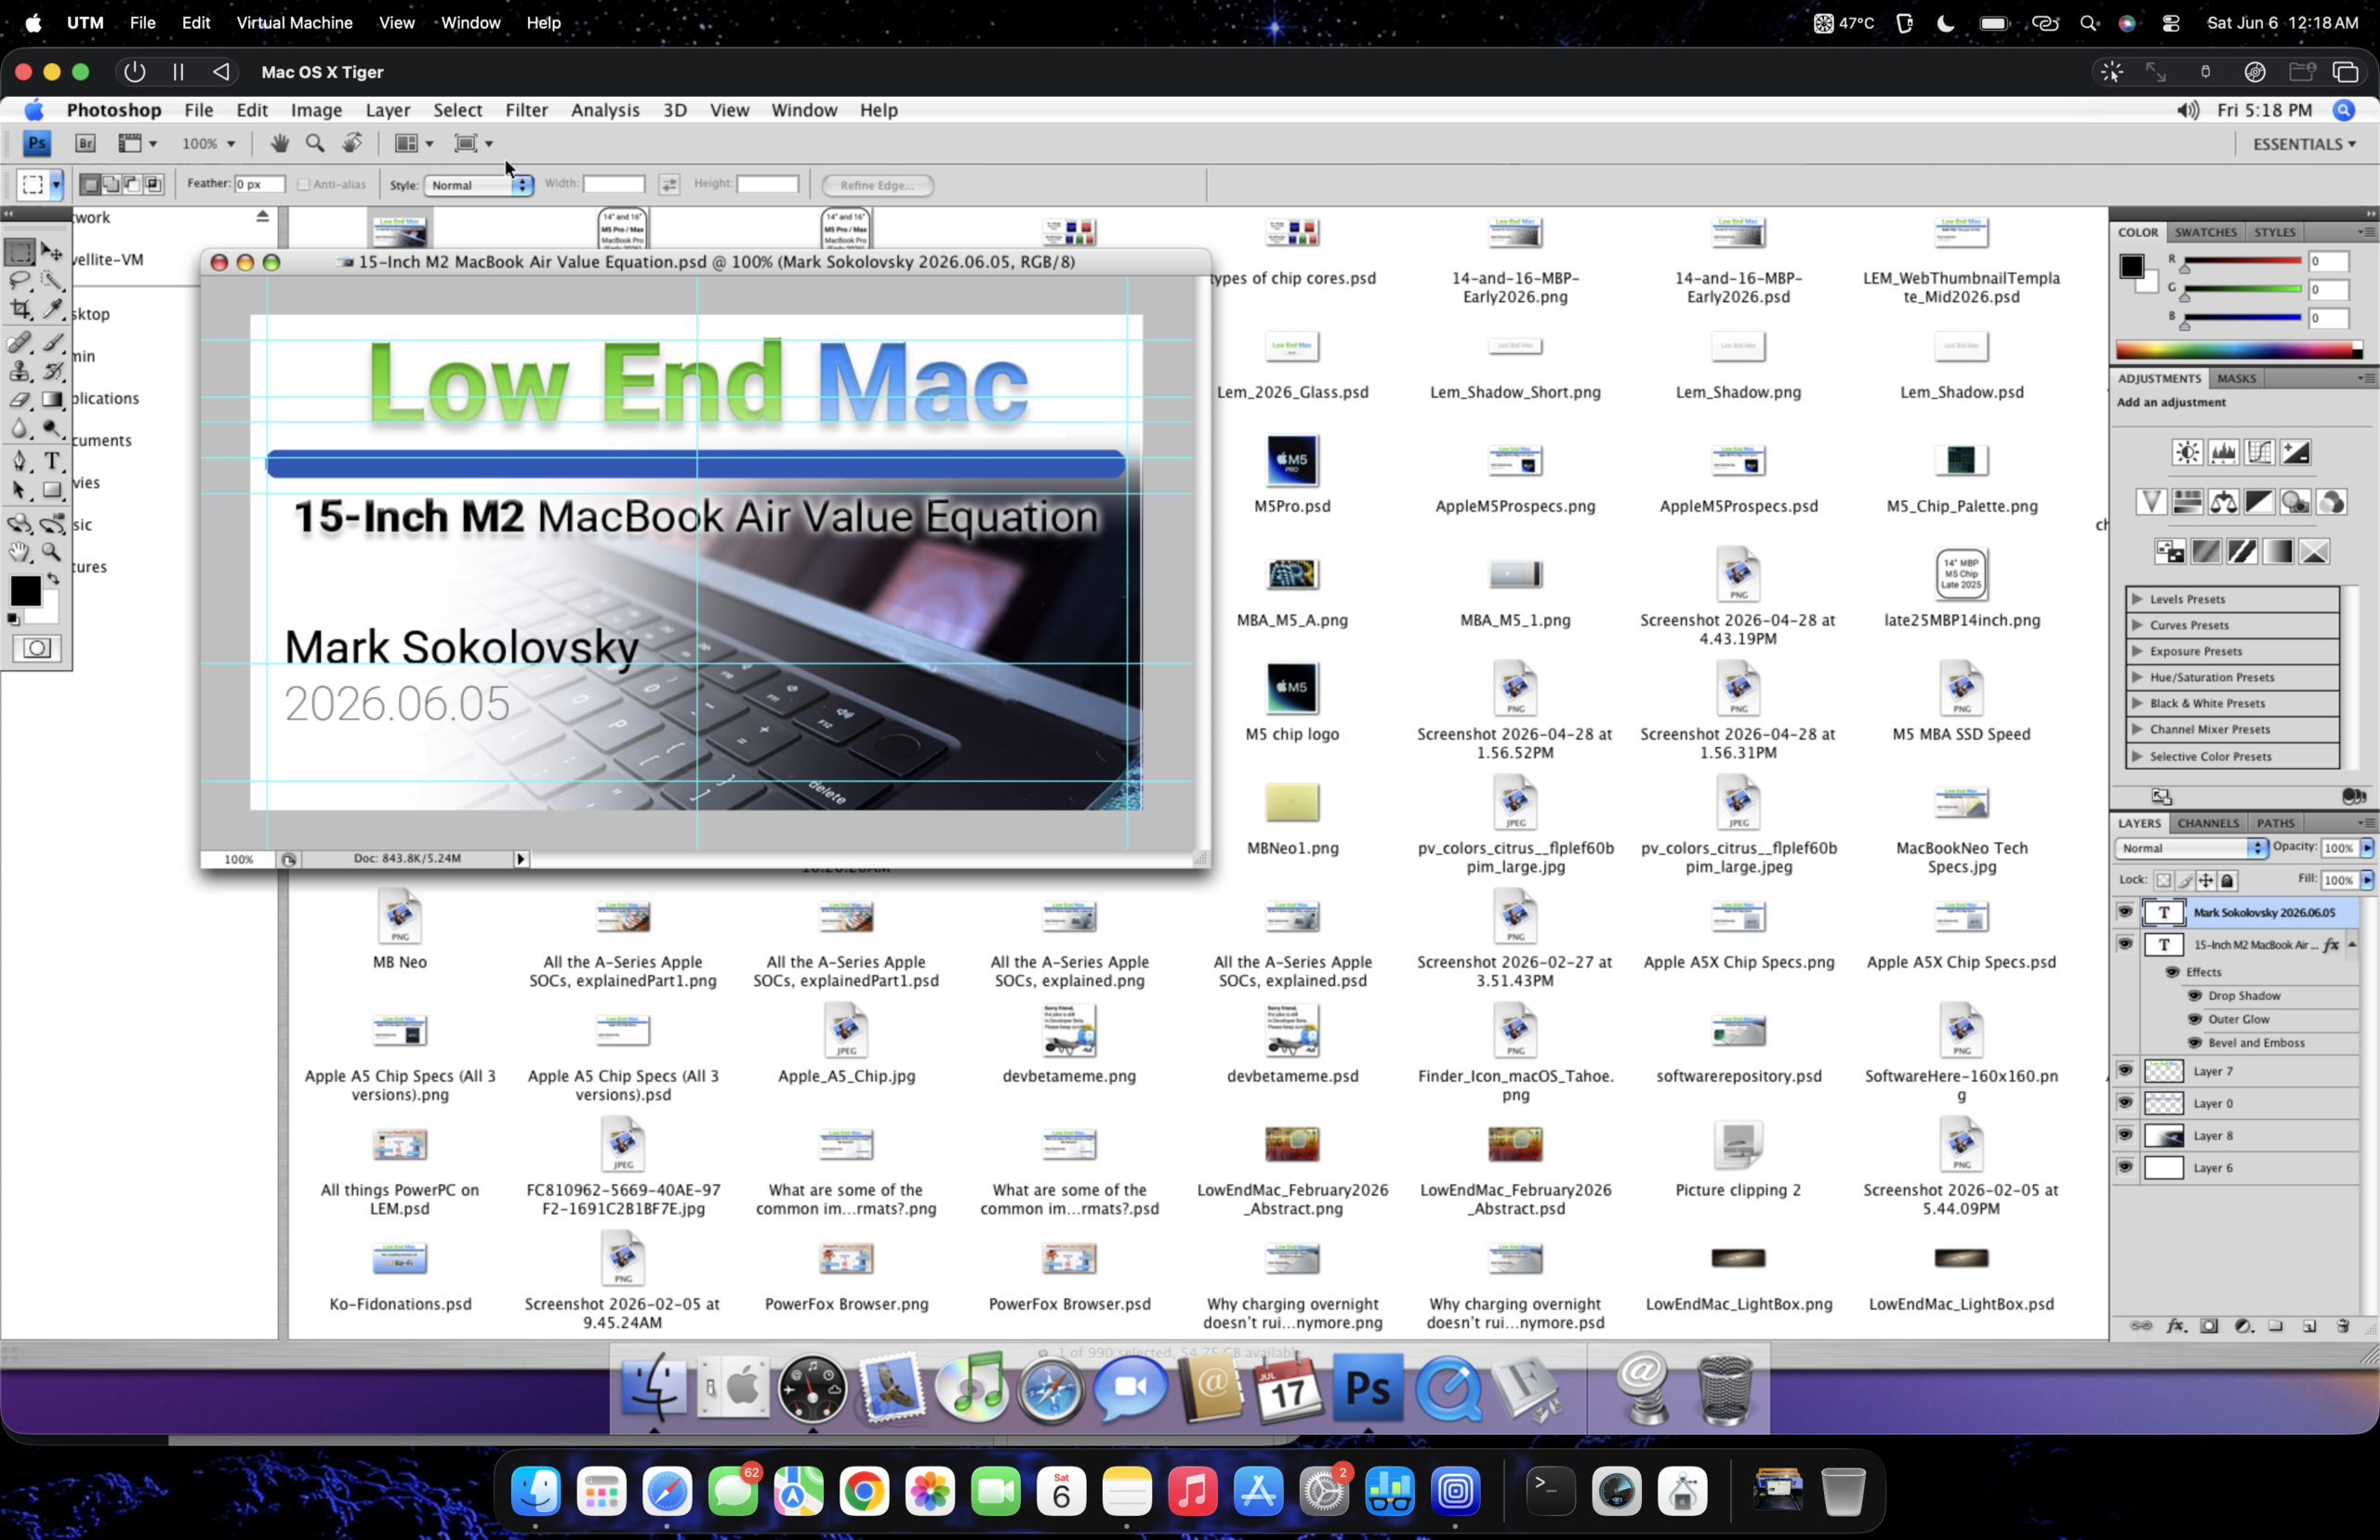
After installing the full set of Roboto, San Francisco and Valera Round fonts, the graphic files for the website were rendering properly within the VM. Quartz Compositor has much less overhead versus Core Animation, and while no kext is loaded in either the Tiger or Leopard VM, Photoshop seems to play nice only in Mac OS X Tiger.
Giving editing a go
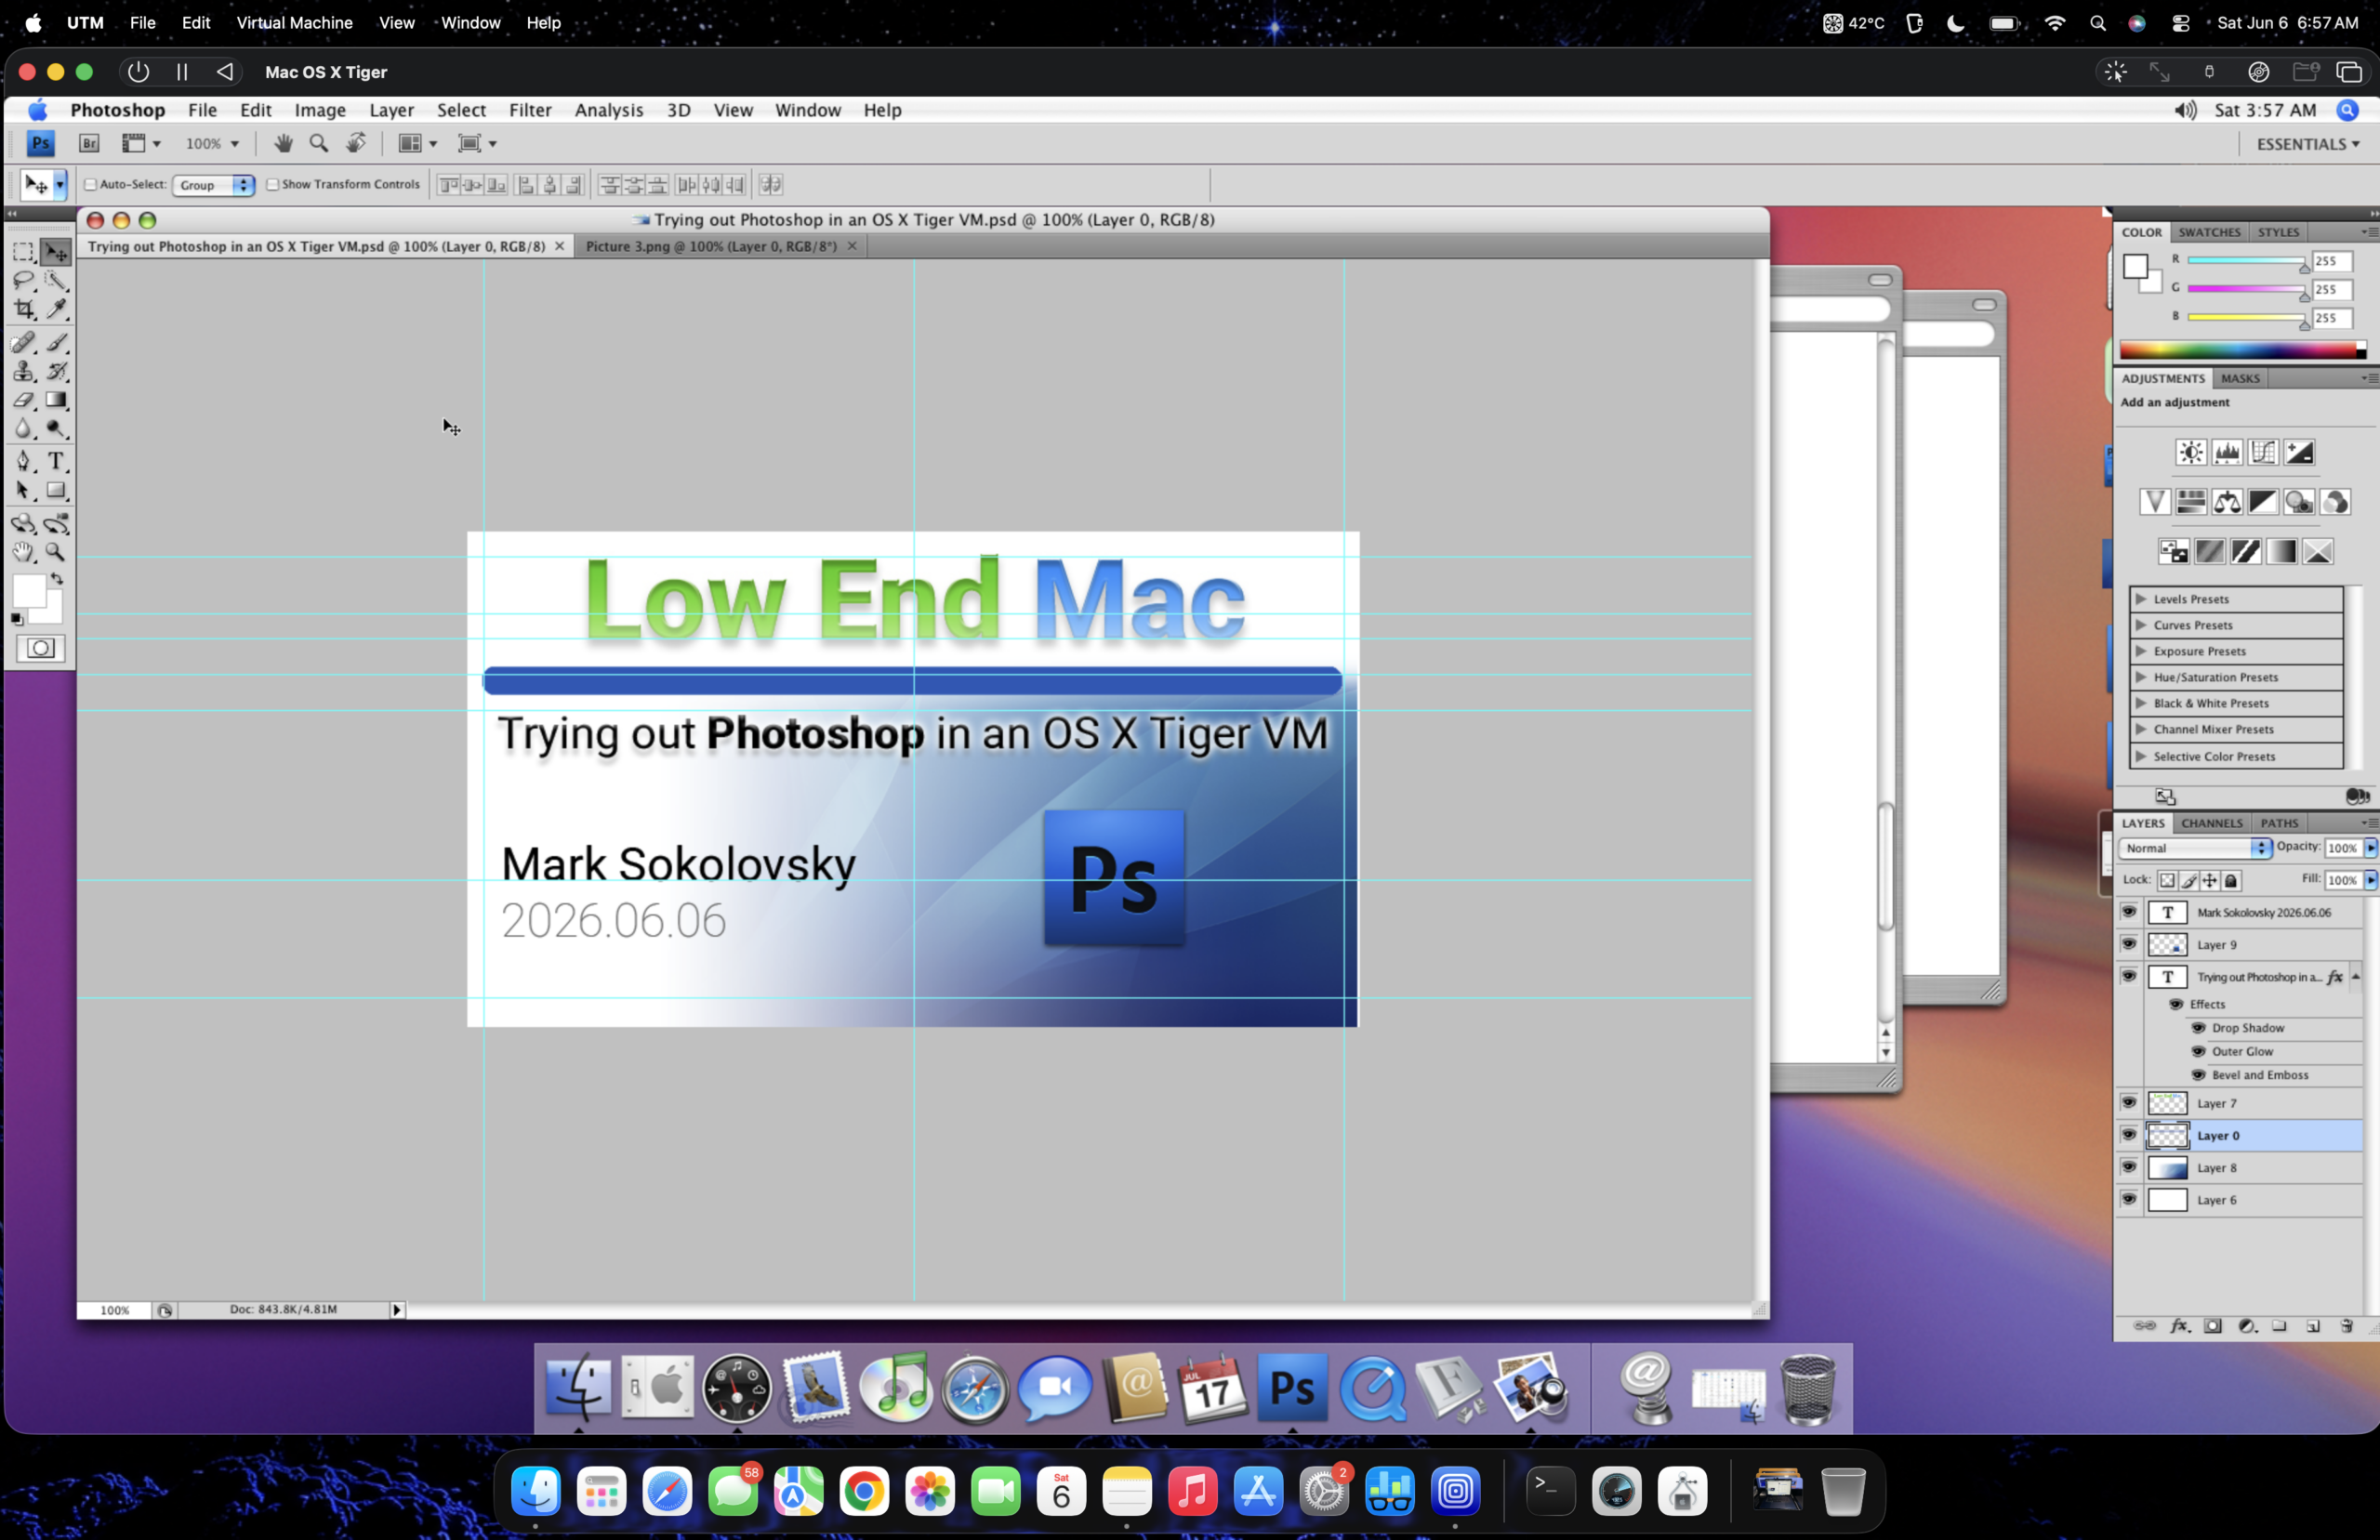
I was able to take the web thumbnail preview of a recent article, and customize it using the same process I normally would, finally tuning it into something completely different – a usable web thumbnail preview for this article. It didn’t even sneeze when opening, copying, then pasting the full sized Tiger Aqua Blue wallpaper from a separate tab.
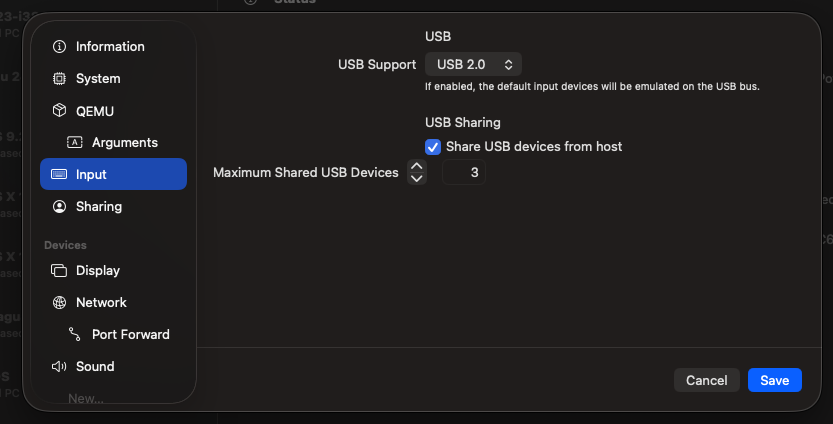
One of my favorite features of UTM is how seamlessly it works integrating compatible plugged-in USB peripherals, even in an old version of Mac OS X. It may or may not be enabled by default, but it works well ~90% of the time. Using this method, I’m able to drag files back and forth between the machine and VM.
I still would prefer sitting in front of an actual PowerPC or early Intel Mac every time if possible, so this is my solution for not being at home in front of my Power Mac G5 for the time being. I grew up and learned around CS4, feeling most comfortable with this version of the app. No subscription fees either.
