The Macintosh IIcx, IIci, and Quadra 700 share the same case design, and some users have found it a challenge removing the hard drive.
That’s a shame, because the IIcx was designed for ease of construction. Apple demonstrated assembling one from part in under two minutes, if I recall correctly.
You can use any standard 3.5″ half-height or third-height SCSI hard drive in these computers.
Step 1

Remove the lid. There are two tabs at the back of the lid. Pull up on them, which releases the lid.
Step 2
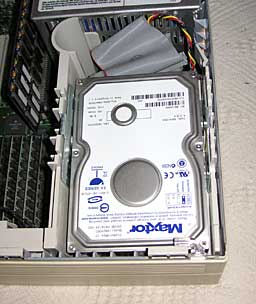
Locate the hard drive. It’s hard to miss.
Step 3

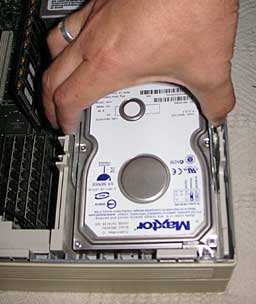
Locate the metal tabs on each side of the hard drive. Grab it with your thumb and middle finger (or whatever feels most comfortable for you).
Step 4
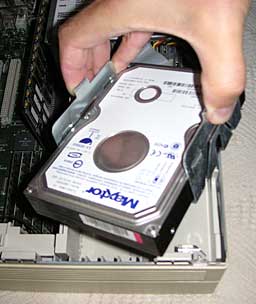
Lift up the sled holding the hard drive. Disconnect the power and SCSI cables.
Step 5

Turn the sled over. You’ll see 4 screws holding the drive in place. Remove them and the drive will come free.
Step 6
Attach your new drive to the sled. Connect the SCSI and power cables. Clip the sled back into place.
Step 7
Put the lid back on your Mac.
That’s all there is to it.
- Got a vintage (pre-PowerPC) Mac? Join our Vintage Macs email list.

